
Have you ever listened to a song and wished you could remove everything except the piano? Or maybe just keep the drums and get rid of the vocals? Great news — you don’t need to be a sound engineer to do that! With Filmora, it can be surprisingly easy and a lot of fun. This guide will show you how to separate audio into different instruments using Filmora — even if you’re brand new to video or audio editing.
TL;DR
Filmora doesn’t separate instruments natively, but with a few simple steps and a free tool, you can do it! First, use an AI-powered tool to split the audio into stems (like vocals, drums, bass, etc). Then, import those stems into Filmora and edit them however you like. It’s quick, easy, and perfect for beginners. Ready to make some audio magic? Let’s go!
What You’ll Need
Before diving in, make sure you have a few things:
- Wondershare Filmora – installed and updated
- An internet connection – for using a free audio splitter tool
- An audio file – any song or sound you want to split
- Headphones (optional) – to hear each instrument better
Step 1: Use a Stem Separation Tool
Filmora doesn’t have a built-in tool to separate instruments directly. But don’t worry! There are tools online that do this using AI. They’re called “stem separators.” A stem is like a track for a single instrument. You can use these tools to split your song into vocals, drums, bass, and other instruments.
Here are a few great options:
- EZ Stems – Free, easy to use, and fast
- Splitter.ai – Splits into vocals and instrumental
- Moises.ai – More advanced, requires signup but free
Here’s how to use one (let’s pick EZ Stems):
- Go to ezstems.com
- Click Choose File and upload your audio
- Select how many stems you want (we recommend 4 or 5 stems)
- Click Split
- Wait a minute, and you’ll get separate files for vocals, drums, bass, etc.
Tip: Save these files in a folder where you can easily find them later.

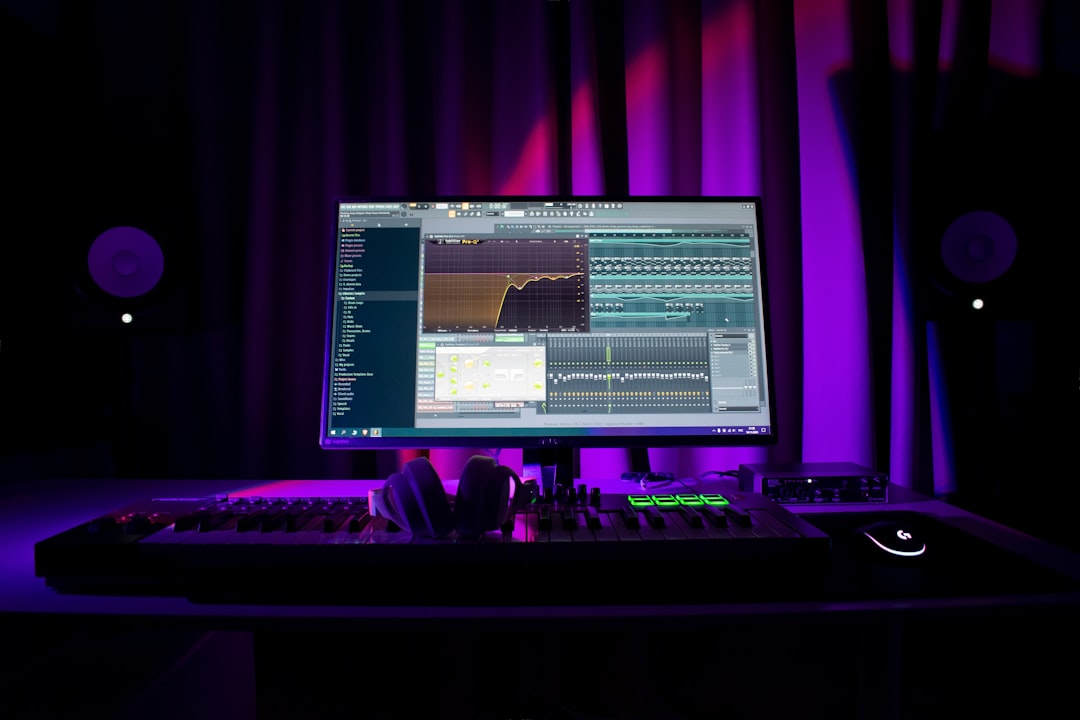
Step 2: Import Stems Into Filmora
Now that you have your instrument stems ready, it’s time to jump into Filmora and get creative!
Follow these steps:
- Open Filmora
- Create a new project
- Click Media and then select Import
- Choose all your stem files (like vocal.mp3, drums.mp3, etc.)
- Drag each stem onto its own audio track in the timeline
Pro Tip: You can click the lock icon on each audio track to work on them one at a time. It’s a great way to avoid confusion!
Step 3: Edit Each Instrument
Now the real fun begins. You can adjust the volume of each instrument, add effects, or even delete one track entirely. Want only the drums and bass? Mute or delete the other tracks. Want to reduce vocals and highlight guitars? Lower the vocal stem.
Here are some things to try:
- Volume Control: Click on the audio stem and reduce or increase the volume as needed
- Fade In/Out: Right-click and choose Fade In or Out for smoother transitions
- Add Effects: Go to the Audio Effects tab for reverb, echo, and more
- Remove Unwanted Sounds: Simply delete the stem or slice the parts you don’t want
This is where you get to be super creative. Make a karaoke track. Isolate just the guitar for practice. Or mash up drums from one song with vocals from another!

Step 4: Export Your Final Track
Once you love how everything sounds, it’s time to export it.
- Click Export in the top-right corner
- Choose MP3 or MP4 if your project includes video
- Name your file and set the quality
- Click Export again and wait for the magic to finish
That’s it! You now have a custom, instrument-isolated audio file you can use anywhere — YouTube, practice sessions, or creative remixes.
Why Do This in Filmora?
You might be wondering – why not just use a full audio-only program?
Here’s why:
- User-Friendly: Filmora is super intuitive with drag-and-drop features
- Visual Editing: If your track is part of a video, it’s all-in-one
- Quick to Learn: No steep learning curve or complex menus
Plus, Filmora lets you pair visuals with your custom audio. Add lyrics on screen, music videos, or animations synced to your isolated track.
Fun Ideas to Try Next
Once you learn how to separate and edit instruments, the possibilities are endless! Here are some fun ideas:
- Create a karaoke night video: Remove vocals and add on-screen lyrics
- Instrument practice: Make tracks with just the drums or guitar to play along with
- Remix time: Combine stems from different songs to make mashups
- Background music: Use a stripped-down version of a song for your vlog or video intro
Final Thoughts
Separating audio into instruments with Filmora might sound like high-level editing, but it’s actually super accessible. All you need are a few free online tools, a bit of time, and a creative spirit. Whether you’re a YouTube creator, music lover, or karaoke enthusiast, chopping up stems and putting them into Filmora opens up a world of possibilities.
So go ahead, pull apart your favorite track and turn it into something totally new. Who knows—you might just create your next masterpiece!

Products Businesses Explore Instead of Webhook.site for API and Webhook Testing
Modern software teams rely heavily on APIs and webhooks to connect services, automate workflows, and synchronize data across platforms. During…