Once you make a page, you will need a little help to make it as accessible as possible. There are many ways to do this, and one of them is the use of sticky elements.
Visitors or customers will be able to browse your WordPress website while having access to easy navigation without having to scroll up and down on the page, all thanks to sticky elements.
Before we tackle sticky elements, if you are still in the planning phase of developing your website and are looking for reliable and affordable WordPress hosting, make sure to check out WPMU DEV, which is quickly becoming one of the best choices on the web. Get 20% off any of their fully-managed and dedicated plans.
Sticky elements will increase customer satisfaction and enrich the look of your WordPress website. They will become one of the most beneficial features you can add to your website or blog. Therefore, we would like to show you how to create sticky elements on your WordPress page.
Creating Sticky Elements
One way to make these sticky elements is by programming. You can write some code in CSS, which is a sheet language.
If it’s your first time hearing about it, do not worry, as it is easy to use. The only downside to coding is that it cannot change those sticky elements too much. Just follow these few steps below to properly add them to your page.
Creating Sticky Elements Using CSS
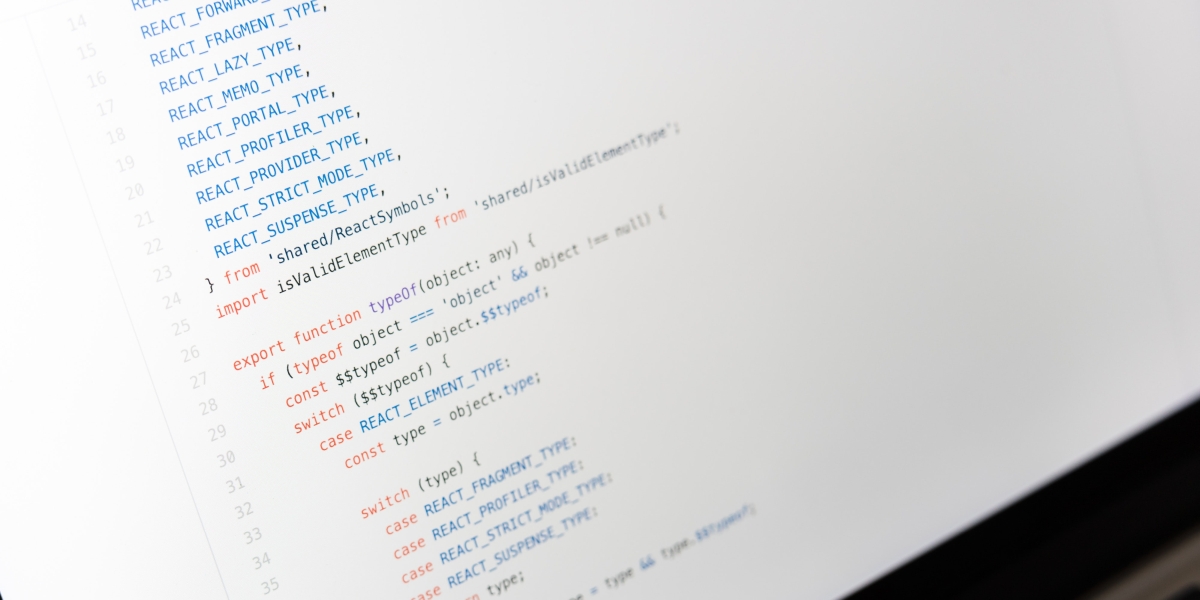
To write any code, you first need to open Options and then navigate to the Appearance category. Then select customize to access your blog’s personalization choices. To add any additional code, press the Additional CSS button in the bottom right corner.
This will open a programmer console in which you can write the code. Simply hit the Publish button when you have added your code, then reload the page to see it in action.
Creating Sticky Elements Using WP Sticky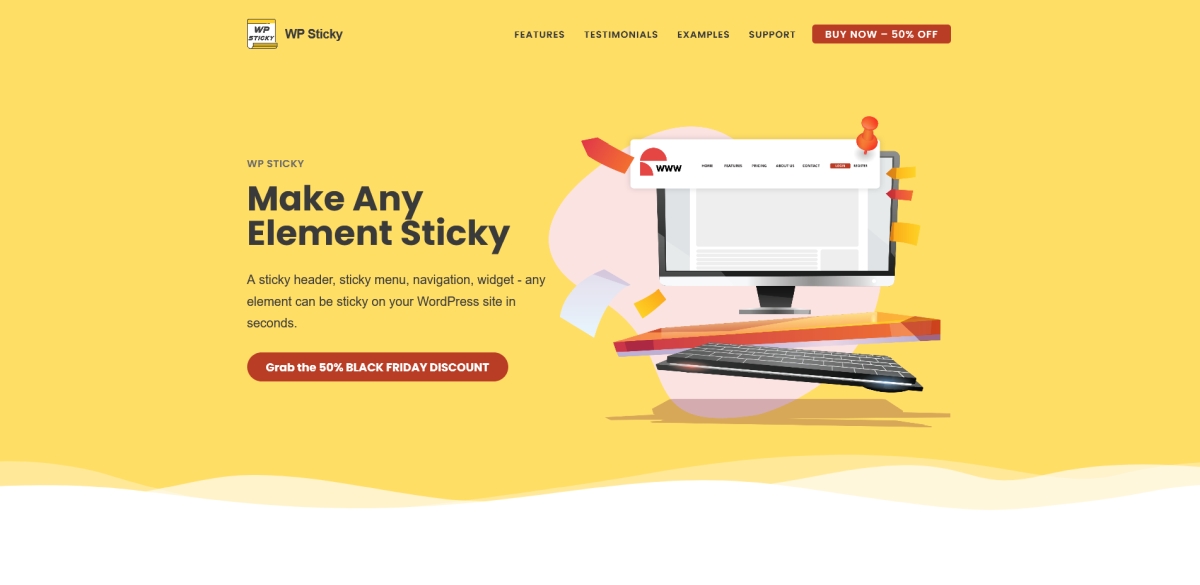
If you do not know how to use coding and but still want to check out how exactly these elements work or add them to your website, then WP Sticky is great for you.
WP Sticky’s features are amazing, and you will adore them, especially if you really want to upgrade the effectiveness of your website. You can quickly add sticky elements to your WordPress blog with just a few clicks. If you want to add this plugin to your site, all you need to do is follow these next few steps.
The first thing you will need to do is buy this plugin. After you do that, quickly install. Then you can access it in your WordPress options. Simply press the WP Sticky PRO button, and you are off to the races.
You can quickly add the previously stated sticky elements to your WordPress website with this plugin. But one of the best things about this plugin is that you can add them without needing to understand any fundamentals of coding or knowing any coding languages.
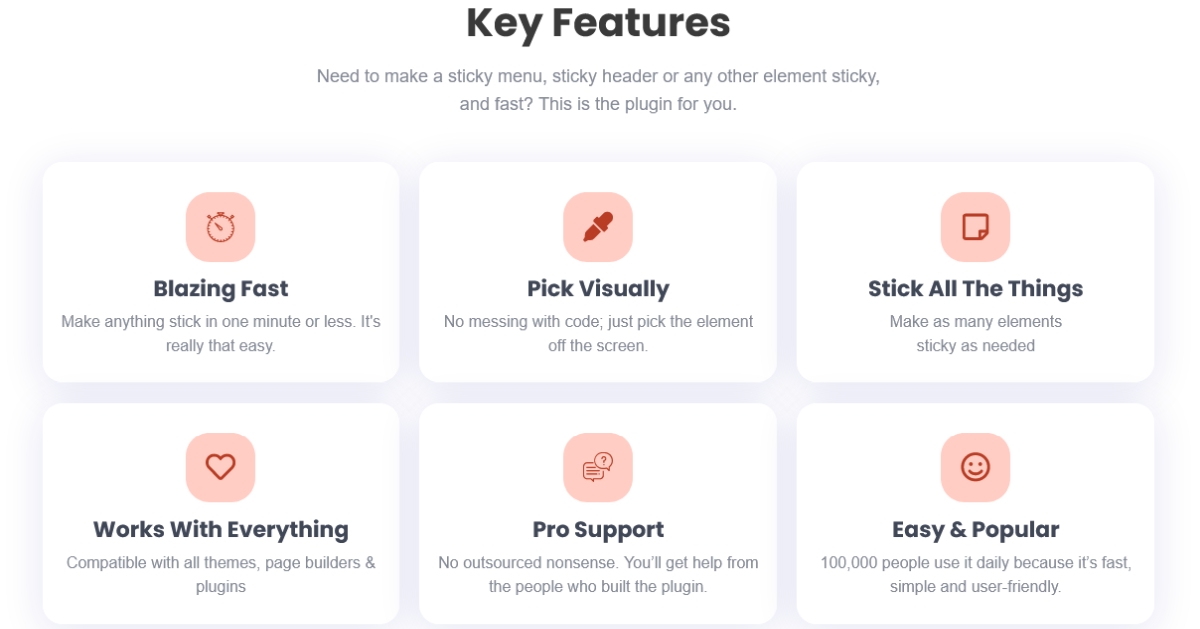 You might be surprised by the fact that a lot of popular companies use these sticky elements on their websites. And with WP Sticky, it has never been easier to add sticky elements or floating menus to the top of your website.
Also, you can use this plugin to make any element on your website sticky, such as a logo, widget, menu, Smith.ai live chat icon, or header. And you will be able to do it as many times as you desire. In a short amount of time, you can develop a website that will have perfectly working sticky elements without needing to use any other plugins or tools.
After installing the WP Sticky plugin, you will be able to change the color scheme of all the sticky elements that you add, and you will be able to create a z-index, change the brightness, and use the white-label mode and visual picker tool.
To make navigating simpler while personalizing your web page, you can name each sticky element individually. You can also see how your page will look from the perspective of your visitors before you finish creating your website.
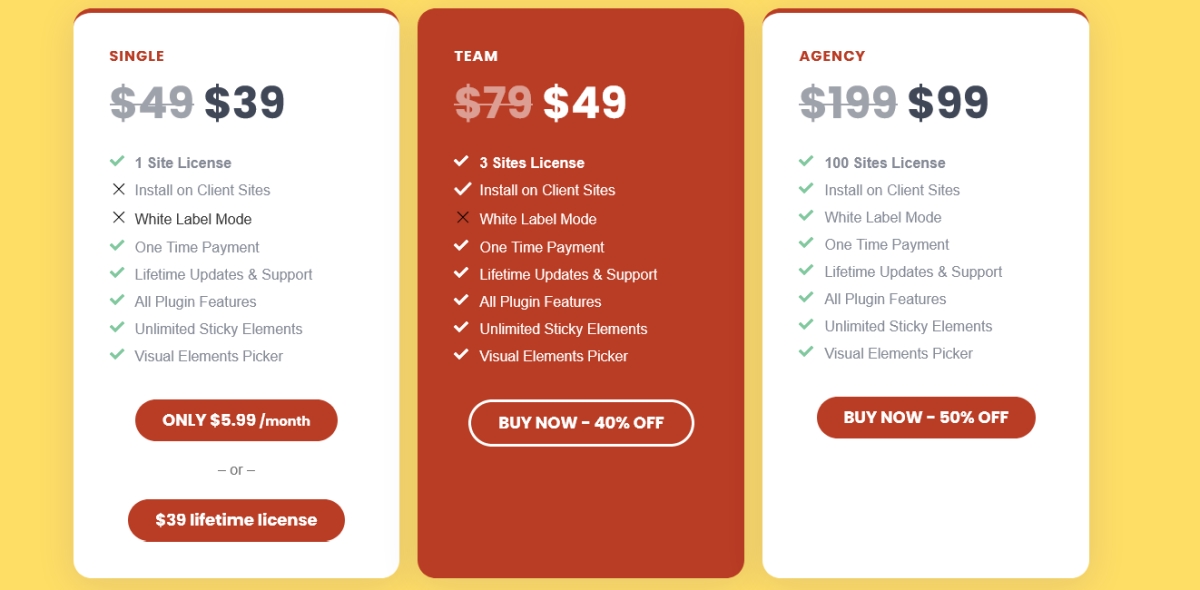
All the options and prices are available on the WP Sticky plugin’s website. The WP Sticky offers three pricing plans. You can pick from three different plans: single, team, or agency. There are advantages to each plan. The most notable difference with them is the number of web pages on which this plugin may be used. Look at the image below to see a quick comparison.
 Conclusion
After reading this article and getting acquainted with the concept of sticky elements, you should strike while the iron is hot and give them a try. As you could conclude from reading, WP Sticky is a simple add-on that will change your page in the blink of an eye.
With them, you will be able to personalize your page with elements such as logos, menus, headers, and more without compromising usability. In addition, it will help you improve your branding.
Think of sticky elements as Dainty Jewells pieces used to decorate your site.
At first, it might sound very difficult to master, but once you try it for yourself, you will quickly get a grasp on the whole process. In case you don’t like it, don’t worry as they offer a 100% money-back guarantee within a seven-day period. So, do not worry and just try it out for yourself.
yehiweb
Related posts
New Articles
How to Change Reference Number in LaTeX
LaTeX is renowned among researchers, engineers, and academics for its precision in formatting documents, particularly those that are heavy on…

