


Force SSL before you send a single patient to a new registration form. A dental clinic form may collect names, birth dates, phone numbers, insurance details, and medical notes, so the full site should load over HTTPS, not only the form page. Chrome also labels HTTP pages as “Not secure,” which can scare patients away before they submit anything [source: Google].
TLDR: Install a valid SSL certificate, then use WP Force SSL to redirect every WordPress page from HTTP to HTTPS. For example, if your dental clinic gets 1,000 visits per month and only 8% reach the registration form, even a small trust issue can cost dozens of completed forms. After setup, test the form, images, scripts, and admin area. Do not assume the green lock means your patient data workflow is fully compliant; check hosting, email, backups, and access rules too.

Why SSL matters after adding a patient registration form
An online patient registration form changes the risk level of your website. A simple brochure site is one thing. A form that asks for health details is different.
Patients expect privacy. They also expect the site to feel professional. If the browser shows a warning, many people will stop. Honestly, it feels like one of those small technical issues that turns into a front desk problem by Monday morning.
SSL encrypts the connection between the patient’s browser and your website. It helps protect form submissions from being read during transit. It also gives the browser a proper HTTPS address and lock icon.
SSL is not a full security plan. It does not fix weak passwords. It does not secure email inboxes. It does not replace legal review for HIPAA or local privacy rules. Still, it is one of the first fixes you should make.
Step 1: Confirm that your SSL certificate is active
Before using a WordPress plugin, make sure your hosting account has an SSL certificate installed. Most good hosts offer a free Let’s Encrypt certificate. Some clinics use a paid certificate through their IT provider.
Open your site with https:// at the start of the address. For example:
- Correct: https://yourdentalclinic.com
- Needs fixing: http://yourdentalclinic.com
If the HTTPS version does not load, contact your host first. A plugin cannot create a working certificate if the server is not ready.
Step 2: Back up the WordPress site
Take a backup before changing redirects. This should include files and the database.
At minimum, back up:
- The WordPress database
- The wp-content folder
- Theme files
- Plugin files
- The patient registration form settings
This sounds boring. It is also the thing you will wish you had if a redirect loop locks you out of the admin area.
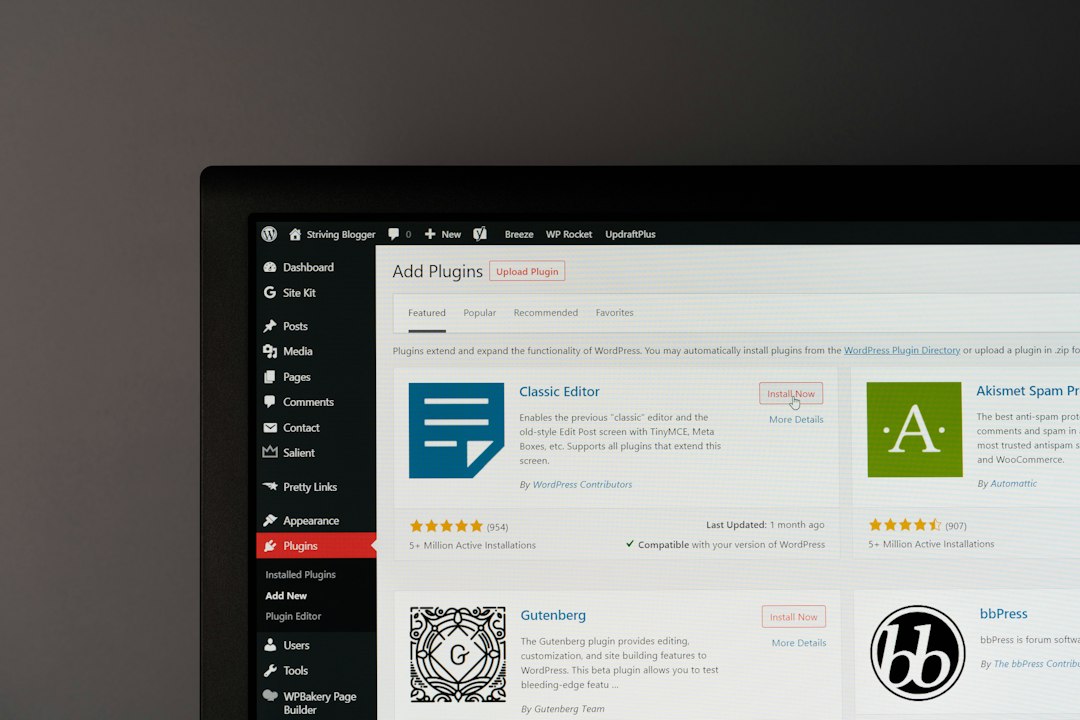
Step 3: Install WP Force SSL
For this specific job, use WP Force SSL. It is built to force HTTPS on WordPress sites and fix common SSL issues. That makes it a practical choice for a dental clinic site that has just added a sensitive registration form.
In WordPress, go to:
- Plugins
- Add New
- Search for WP Force SSL
- Click Install
- Click Activate
Expect to waste a few minutes if your caching plugin is stubborn. Some cache tools keep old HTTP assets around longer than they should. Clear the cache after installing the plugin.
Step 4: Turn on HTTPS redirects
Open the WP Force SSL settings page. Enable the option that forces SSL across the whole website. This sends visitors from the old HTTP version to the secure HTTPS version.
This matters because patients may reach your form from old links, search results, email reminders, or bookmarks. If one of those links starts with HTTP, the plugin should send the visitor to HTTPS automatically.
Check these pages after turning it on:
- Homepage
- New patient registration page
- Contact page
- Insurance information page
- Appointment request page
- WordPress login page
Step 5: Fix mixed content warnings
A page can use HTTPS and still show warnings if images, scripts, fonts, or styles load over HTTP. This is called mixed content.
On a dental clinic site, this often happens with:
- Old logo image URLs
- Before and after gallery images
- Embedded maps
- Form scripts
- Tracking pixels
- Theme CSS files
Use the SSL scan or mixed content tools in WP Force SSL to identify insecure assets. Then update those links to HTTPS. If the file is hosted on your own site, WordPress can often serve the HTTPS version once the URL is corrected.
Step 6: Update WordPress address settings
Go to Settings > General in WordPress. Check these two fields:
- WordPress Address URL
- Site Address URL
Both should start with https://. If they still use HTTP, update them carefully. Save the changes and log back in if WordPress asks.
Step 7: Test the patient registration form
Do not stop after the lock icon appears. Submit a test registration like a real patient would.
Test the form on:
- Desktop Chrome
- Desktop Safari or Edge
- iPhone
- Android
Confirm that:
- The form page loads with HTTPS
- No browser warning appears
- Submission works
- Confirmation messages appear
- Admin notifications arrive
- No patient details are sent to an unsafe email inbox

Step 8: Check redirects and search results
Type the old HTTP version of your site into the browser. It should move to HTTPS right away. Test both the www and non-www versions if your clinic uses them.
Also update links in:
- Google Business Profile
- Email signatures
- Appointment reminder templates
- Social media profiles
- Printed QR codes, if possible
If your QR code points to an HTTP address, the redirect should still protect visitors. But it is cleaner to update the final link when you reorder printed materials.
Security does not end with SSL
SSL protects data in transit. Your clinic still needs strong passwords, limited admin access, secure hosting, safe backups, and careful handling of submitted forms.
If the form stores patient data inside WordPress, restrict who can see it. If the form emails submissions, review that process with your compliance adviser or IT provider. Many clinics should avoid sending sensitive health details through plain email.
The best practical setup is simple: active SSL certificate, WP Force SSL enabled, mixed content fixed, form tested, and patient data handled with strict access controls. That gives your dental clinic a safer registration process and a more professional first impression.
How to Force SSL on a WordPress Dental Clinic Website After Adding an Online Patient Registration Form


How to Force SSL on a WordPress Dental Clinic Website After Adding an Online Patient Registration Form
Force SSL before you send a single patient to a new registration form. A dental clinic form may collect names,…