Steam makes it very easy for you to take a screenshot of the current in-game screen, which you can do so by using a hotkey (F12 by default) in any game.
You can use the screenshots for your social media accounts or add them to your Steam profile. The feature also makes it easy to report any technical issue you face while playing any game.
But sometimes, you may run into issues, like being unable to find the steam screenshots locations. There are two methods for you to access the screenshots that you have taken.
The first one is to access them through the screenshot manager. And the second method is to navigate to the steam screenshots location (directory).
Steam is one of the most popular gaming platforms, with over 30,000 titles under its belt. And, as a player, you must enjoy capturing those fleeting moments of glory while playing. Taking a screenshot on Steam is also the quickest way to report a technical issue.
If you have recently started using Steam and don’t know how to take screenshots and access them? Read on. You will learn how you can take a screenshot in-game and access the Steam screenshots location.
Method #1: Access Steam Screenshots Location Via Screenshot Manager
Using Steam Client to access Steam Screenshots location is the most convenient method. Below we have outlined few steps for you to access the screenshot from the Steam client:
- Launch the Steam Client app from your desktop shortcut.

- From the menu bar, click on View, and from the drop-down menu, select Screenshots.

- Steam will open the Screenshot Uploader with all your captured screenshots.

- Screenshot Uploader presents your options about what to do with screenshots.
- Select any screenshot and click on the “Show On Disk” button.
- By clicking on the button, you will gain access to Steam Screenshots Location on your system.
Method #2: Access Steam Screenshots Location Via File Explorer
Steam Client creates a folder on everyone user’s system where it saves screenshots. You can access the folder from where the Steam Client gets installed. By default, the installation directory for the client is C.
So to access Steam Screenshots location, first navigate to Steam’s installation directory. The default location for Windows 8 and Windows 10 is.
As for Linux users, the default location is.
But, if you’ve installed Steam Client somewhere else, navigate to that directory. After that, use the steps outlined below to access the Steam Screenshots location.

- Navigate to the directory “userdata.” Depending on the number of accounts you’ve created in your Steam client. One or more folders will have a number in place of their name. That’s the number assigned to each account’s user ID. There will be only one folder in the vast majority of situations. But, if you have many users, it may take some digging to find the folder that’s linked to your account.
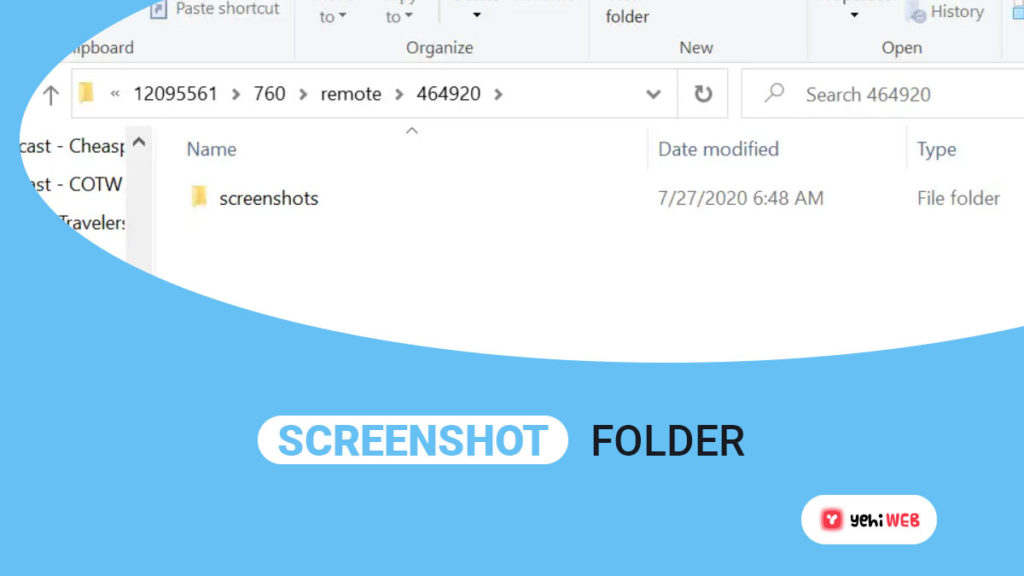
- Find the folder associated with your user ID and open it, then look for a folder labeled “760“. Open it, and then from here, open the folder labeled “remote.”
- Now the tricky part is that games also have an ID like users in Steam. So, if you have an extensive library of games, you will be wasting a lot of your time finding the one you are looking for. Visit this page first to determine the ID of the game you’re looking for.
- After you have your game’s ID, find and open the folder associated with it in the “760” folder.
- From there, find and open the folder labeled “Screenshots.”
FAQ
Saad Shafqat
Related posts
New Articles
HostMonster Web Hosting Review
Choosing the right web hosting provider is essential for anyone looking to establish a strong online presence. Whether you’re managing…


