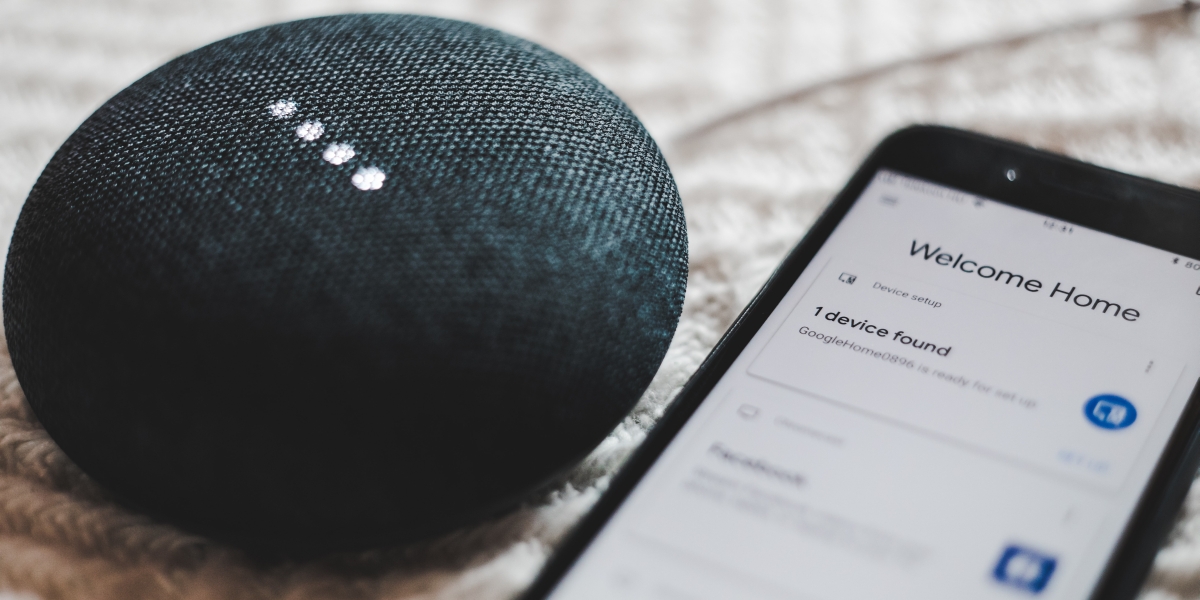
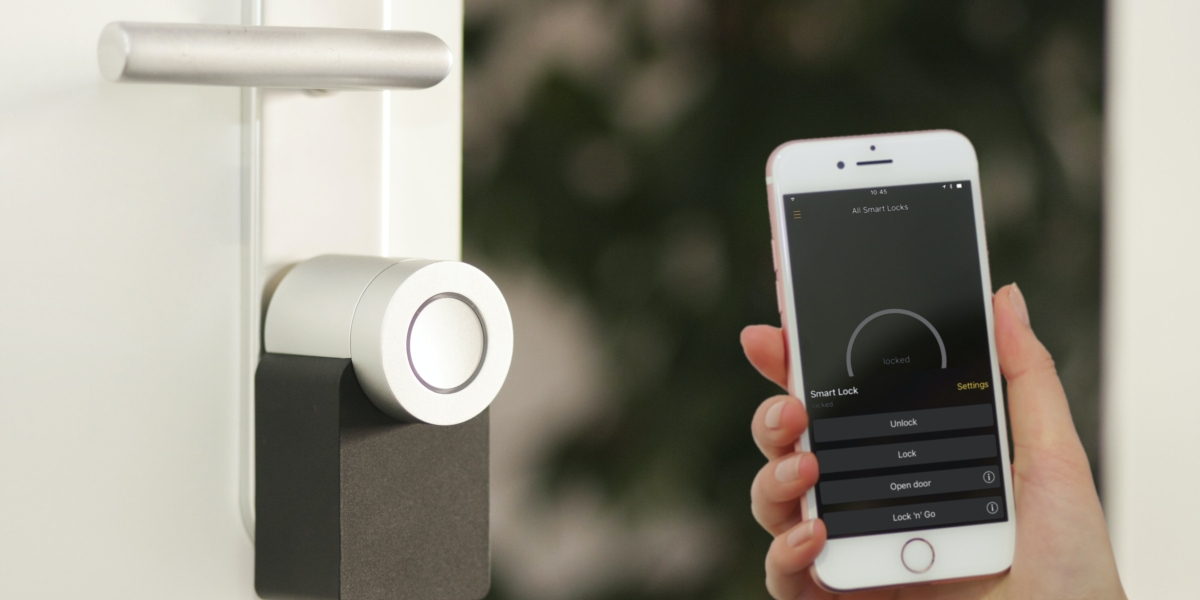
The Internet of Things (IoT) is the interconnection of computing devices embedded in everyday objects, enabling them to collect and exchange data. As IoT devices increasingly support interoperability, they will be able to form larger networks through which information can be exchanged!
A typical IoT device is a sensor or actuator capable of sending information to other devices using existing internet infrastructure. For example, a smart electric meter could, in theory, connect to your home Wi-Fi router and report power consumption back to your energy provider. An RFID tag on your clothing could detect when you’re running and automatically upload your performance metrics to social media.
If you’re a student, you’re probably thinking – “I wish I could make the internet do homework for me!” And the best part is – that it can! Studyfy is an online homework helper filled with professionals who are more than ready to help you with yours. It’s affordable, fast, private, and professional – what more do you need?
Now – truly understanding the importance of IoT requires that you consider how businesses will use it to enhance their operations. However, many business leaders are still struggling with what IoT even means. Here’s a look at 9 steps you can take to start creating a basic Internet of Things setup.
The 9 Steps to Create a Basic Internet of Thing Setup
1. Think Big Picture

The key to developing an IoT strategy that has a lasting impact is to understand its potential and limitations. The first step is to think of the big picture; otherwise, you won’t come anywhere close to realizing its full benefits.
Start by determining how your business could benefit from an IoT system and what its limitations might be. For example, if you manufacture clothing products, an IoT system could help you automate the production line for better quality control.
That automation could also allow you to restructure your manufacturing facility or cut costs by reducing energy consumption and the use of raw materials.
2. Gather Requirements
The first step is gathering all the requirements for your IoT system. This includes the types of sensors that will be used and deciding how you plan to utilize them.
For example, if you’re a school administrator, you may want to use sensors in your classrooms to monitor temperature, humidity, and light levels. You may also want to gauge which classroom has the highest student attendance rate!
3. Determine the Network Infrastructure
After the requirements have been gathered, it’s time to determine how you want the network infrastructure set up.
An IoT system can utilize a variety of options, including Bluetooth Low Energy (BLE), Wi-Fi, ZigBee, or 6LowPAN. For example, BLE is a short-range radio technology used for connecting devices within a close range of each other. On the other hand, Wi-Fi reaches farther but is less secure than BLE or ZigBee.
4. Find Out What Your Device Supports

It’s important to note that there isn’t any standard for IoT devices. The protocol that a manufacturer uses for connecting their device is up to them, which means compatibility between different brands will vary.
Some devices will only connect using Bluetooth or BLE, while others might use Wi-Fi or another type of protocol altogether.
5. Define Your Goal for the Project
You have to understand what you want to achieve before you can tell how to go about it. Do you want to be able to check your temperature from your phone when you are traveling? Set your thermostat remotely?
Monitor when doors or windows are opened and closed? These are all valid great examples of means. But what you want to clearly define is what you are trying to achieve by monitoring these metrics.
ThingSpeak is an excellent choice for a small and simple type of project. It provides an easy-to-use DIY option and APIs for multiple languages, including JavaScript, which can help you get off the ground relatively quickly.
6. Pick a Platform
There are many platforms out there that support IoT applications. They all have their own pros and cons; some are easy to use while others offer greater flexibility.
The platform you choose will depend on what type of application you want to build and the resources that are available to you.
7. Designate a Device to Be the “Gateway” for All of Your IoT Devices
Here, we’re referring to your home router (if you have one), which is the standard way for the Internet of Things devices to connect to your network.
If you don’t have a home router, pick up one that supports “smart” or “advanced” mode and gives you access to advanced settings (it should be easy to find this information on the web).
8. Pick Out an Application That Works With IoT Devices

This could be a hub like Philips Hue or SmartThings, or it could be an app like IFTTT or Particle app. The application will function as your central control panel for all of your connected devices.
We recommend using Particle as it’s compatible with a wide range of products and services and it’s free!
9. Select an Operating System for Your Gateway Device
The process will differ depending on what device you choose, but any smart hub should come with some sort of manual that outlines how to set it up.
Keep in mind that some operating systems are proprietary and can only work with certain products (such as Apple HomeKit), while others, like Particle’s Photon, are open-source.
Final Thoughts
The Internet of Things is upon us. This is the future of technology and one that will become more and more important in the coming years.
The popularity of smart devices, automation, and IoT will continue to grow. And you want to be sure that you are ahead of the curve when it comes to implementing these technologies into your daily life.
If you’ve followed the steps in this guide, you should have a working Internet of Things setup. It’s not perfect, but it works well enough to be useful, and you can use it as a starting point to improve your IoT experience.
If you’ve made it this far, you have a good idea of how to create and manage an Internet of Things setup that is capable of interacting with the outside world.
This is just one basic example of how IoT can be used and is by no means the only way of doing it. You can take this guide and modify it to do something totally new and have fun while you’re at it!
yehiweb
Related posts
New Articles
How to Separate Audio Into Instruments Using Filmora
Have you ever listened to a song and wished you could remove everything except the piano? Or maybe just keep…


