The most typical reason for a computer “not turning on” is that it turns on but does not display anything on the monitor. Nothing appears on your screen even though you see lights on the computer case, hear fans operating from within, and perhaps even hear sounds.
Fix: Computer Turns On But No Display On Monitor
Try the following common fixes in the order we outlined:
- Check your monitor. Before moving on to more difficult and time-consuming troubleshooting with the rest of your computer, make sure your display is operating correctly.
Turn the display on and off while it is disconnected from your computer. You know the display is powered and capable of showing content if it displays diagnostic information of any type.
- Check to see whether your computer has completely restarted and is turning on after being turned off.
When a computer appears to be “off,” it’s having trouble restarting from Windows’ Standby/Sleep or Hibernate power-saving mode.
- If you get a beep code, try to figure out what’s causing it.
A beep code will tell you exactly where to check for the problem of your computer having to shut down.
- Clear the CMOS memory. Doing so will restore the BIOS settings on your motherboard to factory defaults after clearing the BIOS memory on your motherboard. A BIOS misconfiguration might be the cause of your computer not booting properly.
If clearing the CMOS resolves your issue, make sure that any BIOS changes you make are done one at a time so that if the problem reappears, you’ll know which adjustment caused the problem.
- Make sure that your power supply voltage switch is turned on. Your computer may not turn on properly if the power supply’s input voltage is incorrect.
If this switch is broken, your computer may not turn on at all, although an improper power supply voltage may also prevent your computer from starting properly in this manner.
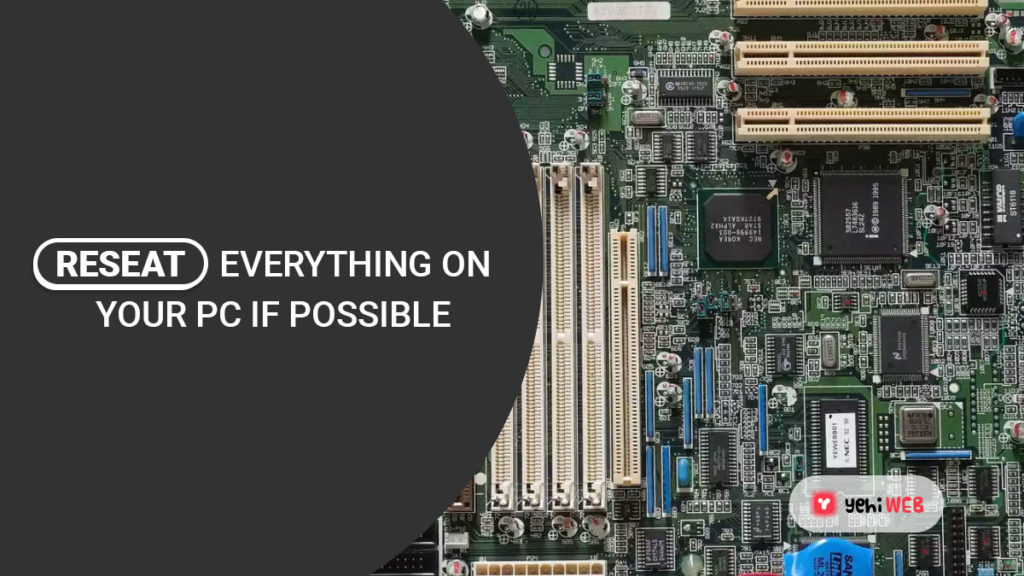
- Reseat everything on your PC if possible.
Reseating your computer will restore the different connections inside it and is frequently a “magic” remedy for issues like these.
Replace the following components and check to see whether your computer shows anything:
• Data and power cables
• Memory modules
• Expansion cards
- You should only reseat the CPU if you think it has come loose or has not been installed correctly.
- Examine your computer for signs of electrical shorts. If you locate them, you’ll need to look into what’s causing the electrical shorts.
- Make sure your power supply is working. The fact that your computer’s fans and lights are operational does not imply that the power supply works. The PSU is more likely than any other component to create issues, and it is often the reason for a computer’s components working selectively or infrequently.
If your power source fails any of your tests, replace it right away.
Do not disregard a power supply test because “things are getting electricity,” implying that the problem is not with the power source. Power supplies have different degrees of functionality; one that isn’t entirely functioning must be replaced.
- Start your PC with only the essential hardware. The goal is to eliminate as much hardware as possible while still allowing your computer to turn on.
Proceed to Step 11 if your computer boots up normally with only the required hardware installed.
Proceed to Step 12 if your computer is still not displaying anything on your monitor.
- Reinstall each piece of hardware you removed in Step 10 one at a time, testing each one as you go.
Since only the most essential hardware was installed when your computer turned on, those components must function correctly. This indicates that one of the hardware components you removed is preventing your PC from properly turning on. You’ll ultimately identify the hardware that caused your problem by reinstalling each device and testing it each time.
Once you’ve discovered the faulty hardware, replace it.
- Using a Power On Self Test card, you can test your computer’s hardware. A POST card can assist in discovering whatever piece of leftover hardware is preventing your computer from fully booting up.
If you don’t have a POST card and don’t want to buy one, move on to step 13.
- Replace every piece of essential hardware in your computer with an equal or equivalent spare piece of hardware that you know works, one at a time, to figure out which component is at fault. To discover which component is faulty, do a test after each hardware replacement.
- If you don’t have a POST card or extra components to swap in and out, you won’t be able to tell which portion of your PC is broken. In these situations, you have no choice but to rely on the assistance of persons or businesses who provide these services.
Saad Shafqat
Related posts
New Articles
What is the difference between FMWhatsApp and GBWhatsApp?
In the world of messaging apps, WhatsApp reigns supreme as one of the most popular platforms for connecting with friends…


