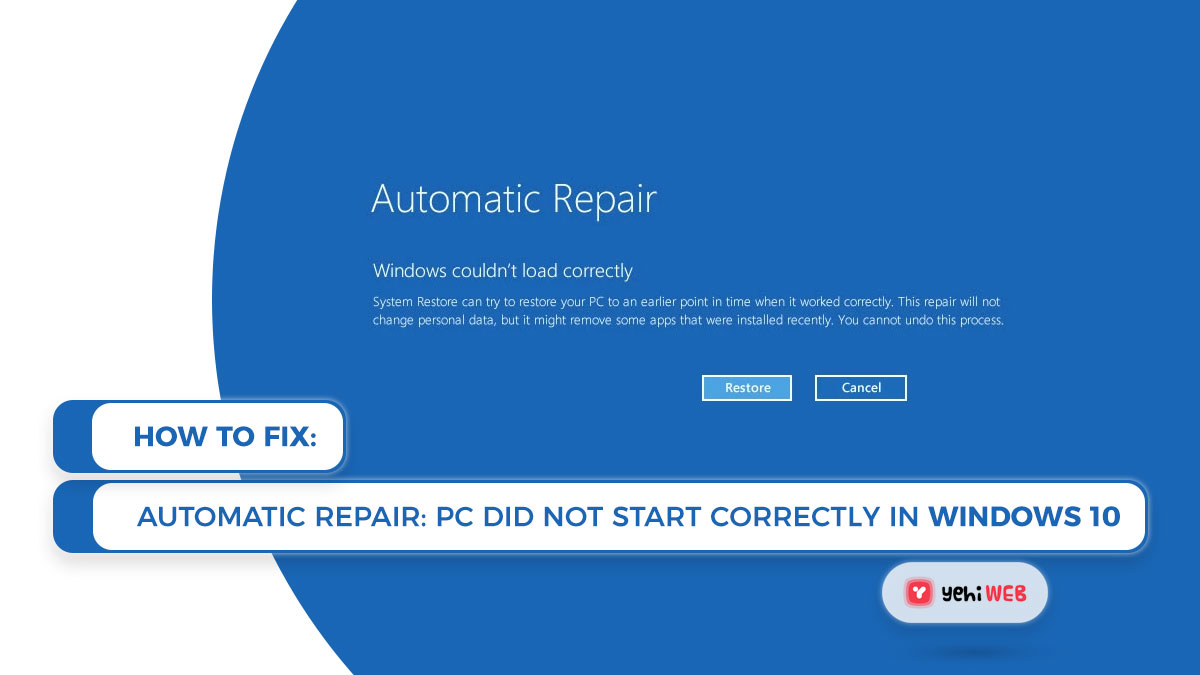
Trending News

Blog

How to Fix: Automatic Repair; Your PC Did Not Start Correctly In Windows 10 [ Ultimate Guide ]
How To

How to Fix: Automatic Repair; Your PC Did Not Start Correctly In Windows 10 [ Ultimate Guide ] 

How to Fix: Your PC Did Not Start Correctly? Do not worry; You can find solutions to this problem in this article. Now, check out the following methods to fix your PC if it is unable to start correctly.

When your Windows PC does not start the way it should after booting, you will get an error message that says “Automatic Repair, Your PC did not start correctly.” out of nowhere. (as seen in the image below)

Automatic Repair, Your PC did not start correctly Yehiweb
Automatic Repair, Your PC did not start correctly

Many people are now keen to learn how to fix their PC’s inability to start correctly in Windows 10/8/7.

In this article, we have outlined several solutions for the error ”Automatic Repair; Your PC Did Not Start Correctly“. So keep reading.

We want to share two more common Automatic Repair errors with you, including “Automatic Repair, Your PC did not start correctly” and “Windows couldn’t load correctly” when it comes to the “Automatic Repair couldn’t repair your PC” error.

For more information, see our previous post, “How To FixWindows Automatic Repair Not Working.”

Fixes: Automatic Repair, Your PC Did Not Start Correctly

As mentioned above, we will outline several methods to fix this error ” Your PC Did Not Start Correctly” in our article. To fix your error, please follow the methods and the steps mentioned below.

Method 1:  Run sfc /scannow  in Command Prompt

When your PC gets stuck in a loop of not starting correctly, consider executing the sfc/scannow command from the Command Prompt.

Insert and boot from the Windows bootable drive.

Select your preferred language and then click Next.

Navigate to Repair Your Computer -> Troubleshoot -> Command Prompt.

advance options yehiweb
Advance options

In Command Prompt, type sfc /scannnow to run System File Checker and hit enter.

After the command is executed, type Exit and hit enter to close the window.

Restart and check whether the error “Your PC Did Not Start Correctly” is resolved.

Method 2: Boot Windows 10 In Safe mode

To fix the automatic repair, your PC did not start correctly error message in Windows 10/8/7. Consider uninstalling new software or drivers or updating them to the latest available version.

Because you can not boot into Windows because of the Automatic Repair errors, you will have to boot windows 10 in safe mode and uninstall the software or drive from there.

  • Insert and boot from the Windows bootable drive.
  • Select your preferred language and then click Next.
  • Select Repair your computer.
  • Navigate as follows: Troubleshoot > Startup Settings > Restart.
  • To Boot Windows in Safe Mode, press the F4 key.
startup settings yehiweb
Advance options

Method 3: Rebuild BCD (Boot Configuration Data) to Fix the error

If you still can not get your PC to boot normally after trying the two solutions above, your Boot Configuration Data may be corrupted.

(BCD stands for Boot Configuration Data, which is a firmware-independent database for boot-time configuration data.) It replaces the boot.ini that NTLDR used in Microsoft’s new Windows Boot Manager.)

Following the steps below, we suggest rebuilding BCD to resolve your PC startup issue.

  • Insert and boot from the Windows bootable drive.
  • Select your preferred language and then click Next.
  •  Press Shift + F10 to open the command prompt after choosing the language.
  • Now execute the following three commands in the command prompt one by one to rebuild BCD
    • bootrec /fixmbr
    • bootrec /fixboot
    • bootrec /rebuildbcd
rebuild BCD Yehiweb
Rebuild BCD
  • Now Type Exit and press enter to close the window

After that, restart the computer and see if the error “Automatic Repair, Your PC did not start correctly” is resolved. Continue reading if not.

Method 4: Disable Anti-Malware Protection

According to some reports, the error “Automatic Repair, Your PC did not start correctly.” could be caused by your antivirus software. As a result, the early launch anti-malware protection option needs to be disabled to resolve the error.

Following are the steps to do so:

  1. When you see the following error message, select Advanced options:
  2. Navigate to Troubleshoot -> Startup Settings
  3. Restart your PC by Clicking on restart. And you should see some new options listed on your screen.
  4. Disable early launch anti-malware protection by pressing the 8 or F8 key on your keyboard. Early-launch anti-malware protection can now be disabled before Windows starts up.
  5. Then restart the computer to see if the error is resolved.

Method 5: System Restore

Some users stated that restoring the system resolved the automatic fix error message in Windows 10/8/7. The steps are as follows:

  1. Navigate to Troubleshoot -> Advanced Options -> System Restore
  2. Select your target Operating System
  3. After that, you can see the System Restore interface. To proceed, press the Next button.
  4. On the system restore window, you will be given detailed operating prompts. Follow the prompts to perform system restoration.
restored File Setting Yehiweb
Restored File Setting

It is recommended to take a backup of your important data before performing a system restore as some of it will be missing after this.

Method 6: Fix MBR (Master Boot Record)

To fix MBR (Master boot record), you will need the original Windows 10 installation DVD. You can also use a Bootable USB.

The steps are as follows:

  1. Start by booting from the installation DVD (or the recovery USB)
  2. Select Repair your computer on the Welcome screen.
  3. Select Troubleshoot.
  4. Select Command Prompt.
  5. Type the following commands into the Command Prompt after it has loaded:
    1. bootrec /FixMbr bootrec /FixBoot bootrec /ScanOs bootrec /RebuildBcd
  6. After each command, press Enter and wait for the process to complete.
  7. Take the DVD out of the disk tray.
  8. Type exit in CMD and hit enter.
  9. Check if Windows 10 can now boot normally by restarting your computer

Method 7: Perform Reset or Refresh Your PC

If your PC still won’t start correctly after trying the above solutions, you will need to perform a Reset or Refresh your PC to resolve the issue.

Choose Troubleshoot from the Windows Boot Options menu. Choose between two options: Refresh your PC or Reset your PC.

To finish this operation, follow the wizard’s instructions.

Regardless of whichever option you chose, some of your important data will be lost. So it is recommended to take a backup of your file or save them to somewhere safe such as a Flash Drive.

Conclusion

Several solutions are provided here for your PC that did not start correctly in Windows 10/8/7 issue.

You should try the above solutions one by one if your Windows is stuck on a black screen with the error message “Automatic Repair, your PC did not start correctly”.

If you have any other ideas about how to fix your PC that did not start correctly in Windows, please share them in the comments section.

Related posts

Leave a Reply

Required fields are marked *