Install Apache Web Server
The Apache HTTP server is the most widely-used web server in the world.
It provides the following powerful features:
- Loadable modules
- Robust media support
- Extensive integration
Moreover, it is customizable, and you can integrate it with other modules. Thus, installing and configuring Apache for basic setup is quite easy. This guide will walk you through the process of installing Apache on Ubuntu 20.04.
We will also cover the following in this guide:
- Manage Apache2 Services
- Opening Webserver port in Firewall
- Testing the Apache2 Installation
- Configure a Virtual Host Environment
Prerequisites
On your server, make sure you have a regular, non-root user with Sudo privileges configured. You must also enable a basic firewall to prevent the use of non-essential ports. Learn how to configure your server by reading our initial server setup guide for Ubuntu 20.04.
Install Apache Web Server on Ubuntu 20.04
Apache is available in Ubuntu’s default software repositories. Thus, making it possible to install using the conventional package management tools.
First, let us reflect on the latest upstream changes by updating the local package index:
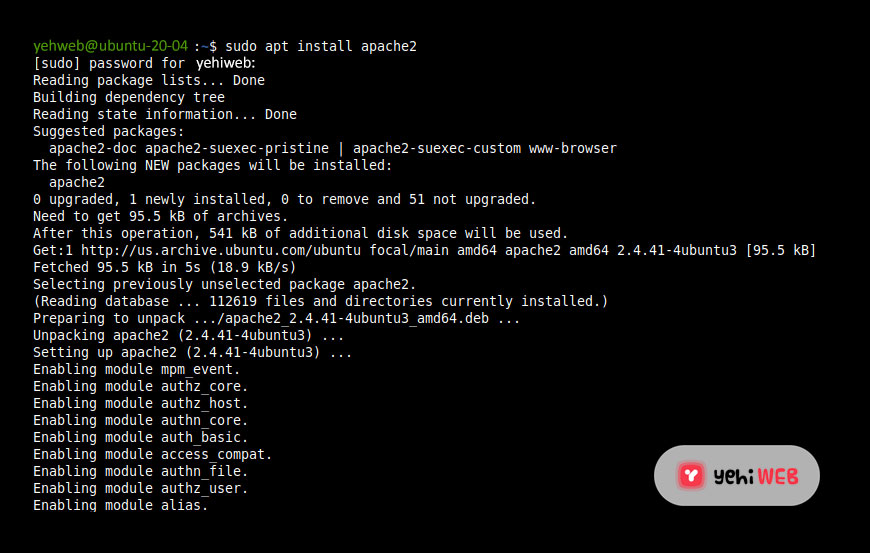
Install the apache2 package after that:
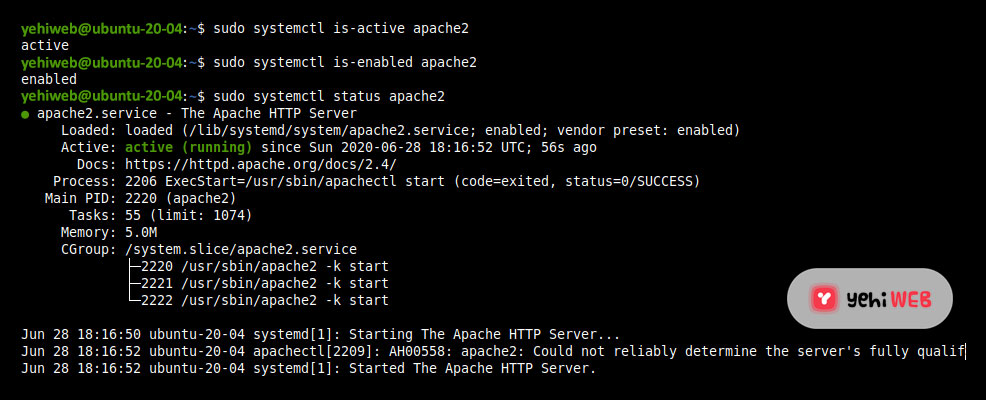
Apache2 installer during installation triggers systems to start and enable the apache2 services. Use the following commands to verify apache2 services are active and enabled.
Configure Firewall
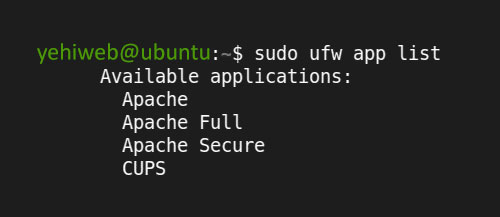
To access Apache from the outside, we will need to open up several ports on our server. Let’s start by listing the application profiles to which Apache needs access. To do so, use the following command:
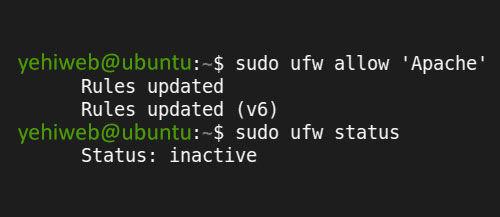
To enable network connectivity on port 80, we will use the restrictive profile “Apache.”
Check Web Server
Ubuntu 20.04 starts Apache at the end of the installation process. So the webserver should be up and running at this point.
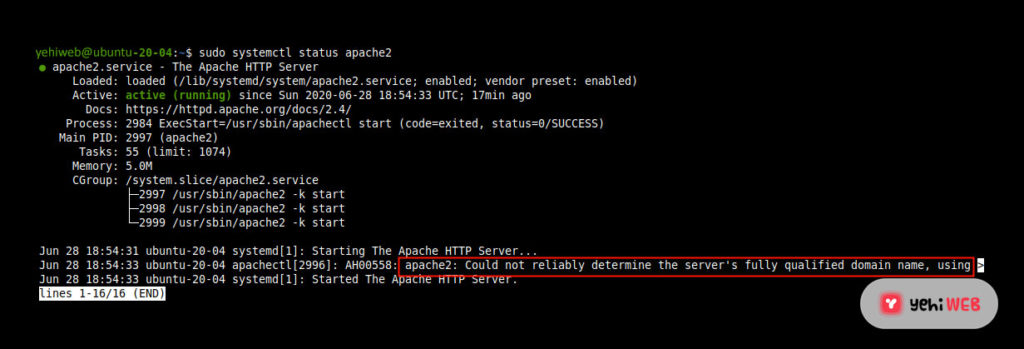
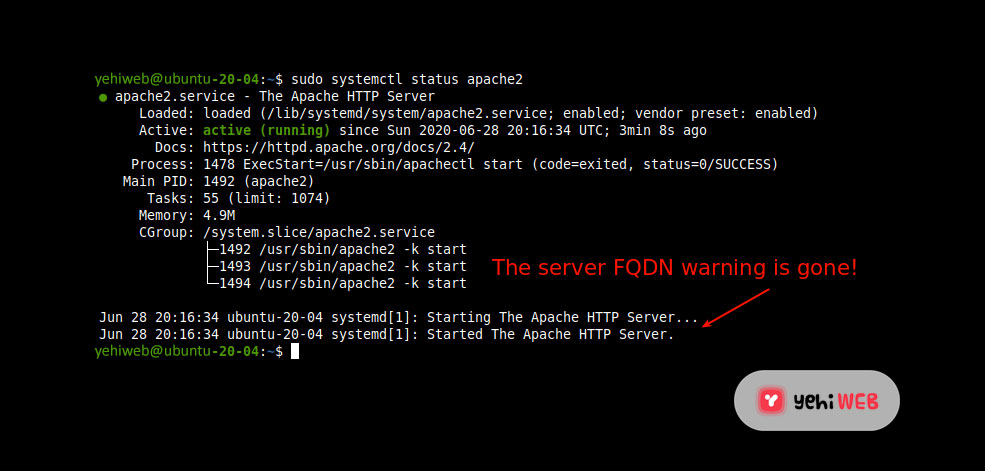
To check that the service is up and running, use the systemd init command:
Output
The service has started, as seen by this output. But, requesting a page via Apache is the best method to test this.
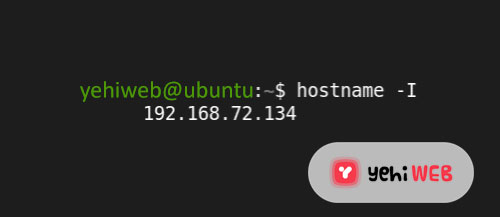
To verify that the software is running through your IP address, go to the default Apache landing page. If you do not know your server’s IP address, you can get it from the command line in a few different ways.
You will get a list of addresses separated by spaces as a response. You can test each one in your browser to see whether it works.
Another method is to use the Icanhazip tool. Which should provide you with your public IP address as read from another location:
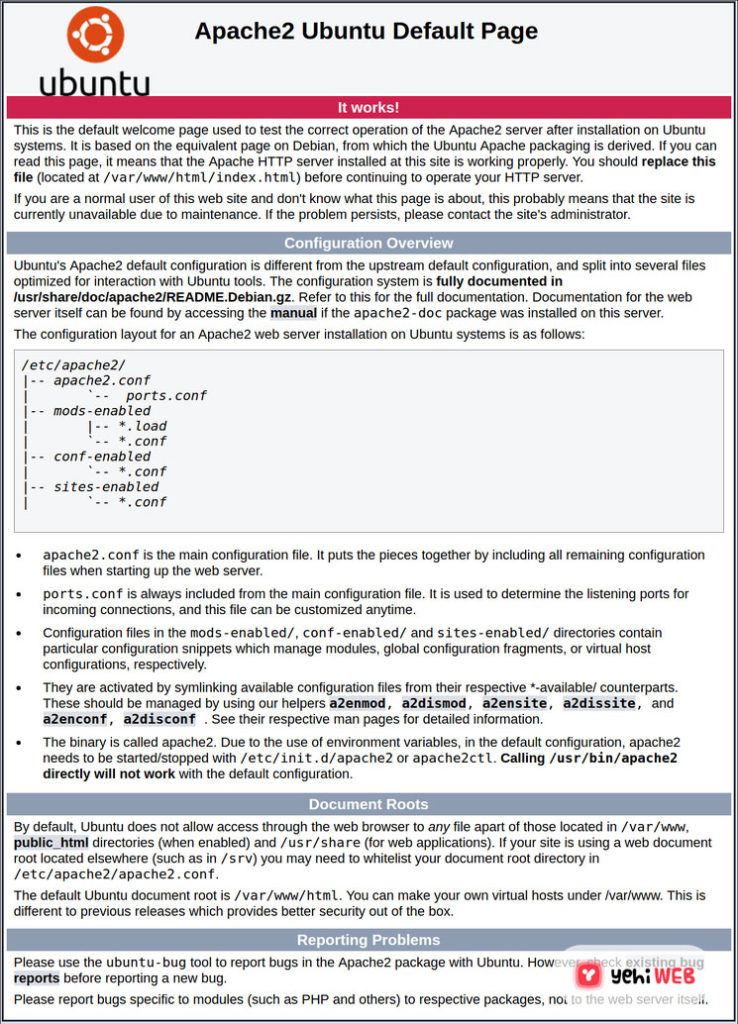
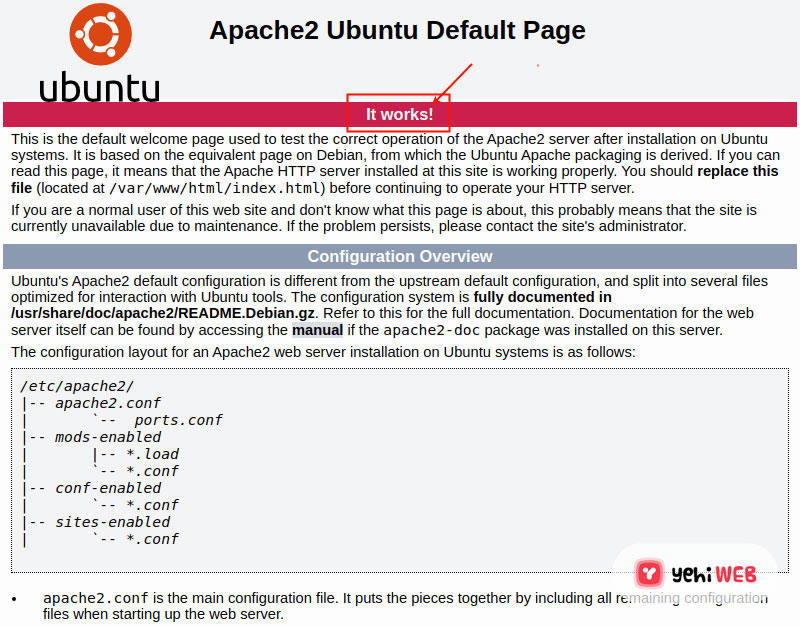
Enter your server’s IP address into the address bar of your browser:
This page shows that Apache is up and running. And the basic information about the locations of important Apache files and directories.
Manage Apache Web Server in Ubuntu 20.04
Now that we have the webserver up and running. Let’s go through some basic systemctl management commands.
When making configuration changes, Apache can often reload without losing connections. Use the following command to do this:
Apache is set to start the moment your server boots up by default. If that’s not something you want, use the following command to disable the behavior:
Use the following command to re-enable the behavior for the webserver to start at bootup:
Configure Apache In Ubuntu 20.04
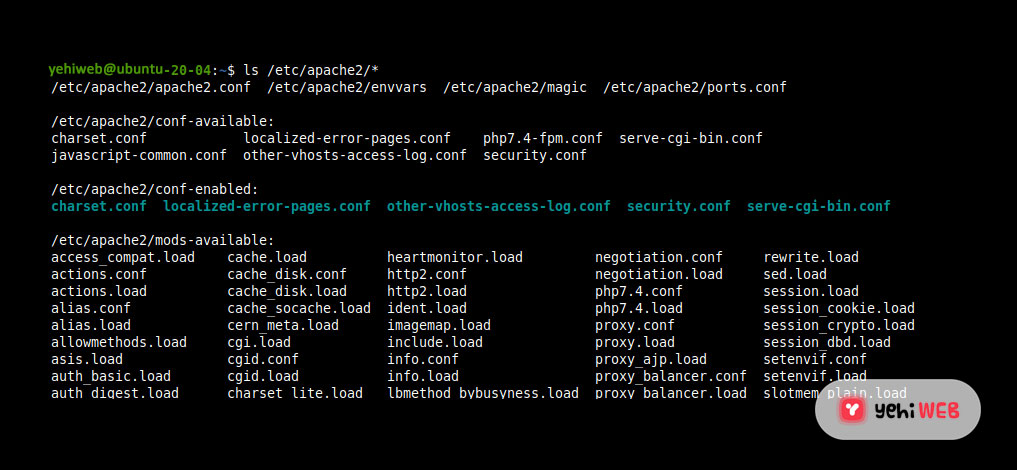
/etc/apache2 directory includes all Apache2 configuration files. And with the following is command, you can see all files and subdirectories under it. - etc/apache2/apache2.conf – Main global Apache configuration file that includes all other configuration files.
- /etc/apache2/conf-available – stores the available configurations.
- /etc/apache2/conf-enabled – Includes all enabled configurations.
- /etc/apache2/mods-available – Includes all available modules.
- /etc/apache2/mods-enabled – Includes all enabled modules.
- /etc/apache2/sites-available – includes the configuration file for the sites available (virtual hosts).
- /etc/apache2/sites-enabled – contains a configuration file for sites enabled (virtual hosts).
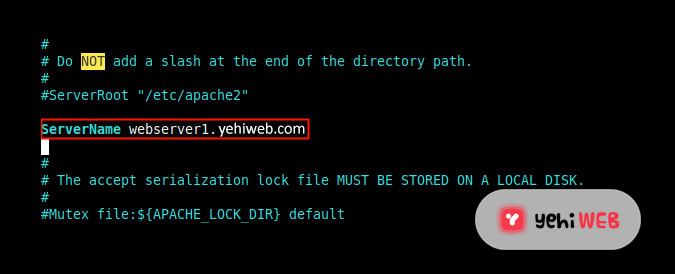
In the main apache configuration file, set the ‘ServerName’ Directive to remove this message globally.
/etc/apache2/apache2.conf file. Use your preferred text editor to open the file to edit it. webserver1.yehiweb.com with your FQDN). Test Apache Web Server installation on Ubuntu 20.04
If the Apache Ubuntu default welcome web page appears, your web server is up and running.
Setup Virtual Hosts
You can use virtual hosts (like server blocks in Nginx) to encapsulate configuration. And you can also host more than one domain from a single Apache Web Server. We will create a domain named Your_Domain, but you should use your own domain name instead.
On Ubuntu 20.04, Apache is enabled by default and set to serve documents from the /var/www/html directory. While this is fine for a single site, it might become difficult if you have many sites to host.
/var/www for your domain instead of modifying /var/www/html. And leave /var/www/html as the default directory to serve if a client request does not match any other sites. your_domain directory as follows: $USER environment variable, assign ownership to the directory: Ensure your permissions are correct and allow the owner to read, write, and execute the files. And grant only read and execute permissions to groups and others. To do so, use the following command.
Next, using your preferred editor, create a sample index.html page as follows:
Add the following HTML inside the file:
Instead of tweaking the default configuration file at /etc/apache2/sites-available/000-default.conf. Let’s make a new one at /etc/apache2/sites-available/your_domain.conf:
Copy and paste the following configuration block. Which is identical to the default but updated to reflect our new directory and domain name:
You can see that we have updated the DocumentRoot to our new directory and the ServerAdmin to an Email address. One that your site administrator for your domain can access.
Moreover, we already added two directives: Servername and ServerAlias. Servername establishes the base domain, which should match for virtual host definition. ServerAlias defines more names that should match as if they were the base name.
Output
Apache should now serve your domain name. You can verify this by going to http://your domain to see something like this:
Bilal Shafqat
Related posts
New Articles
Android Not Opening PDFs – Causes and Easy Fixes
Imagine settling down for a cozy evening, ready to dive into that important PDF document you’ve been meaning to review….

![How to Install Apache Web Server on Ubuntu 20.04 [ Easy Guide ]](https://yehiweb.com/wp-content/uploads/2021/06/How-to-Install-Apache-Web-Server-on-Ubuntu-20.04-Yehiweb-1200x675.jpg)
