This PC Can’t Run Windows 11
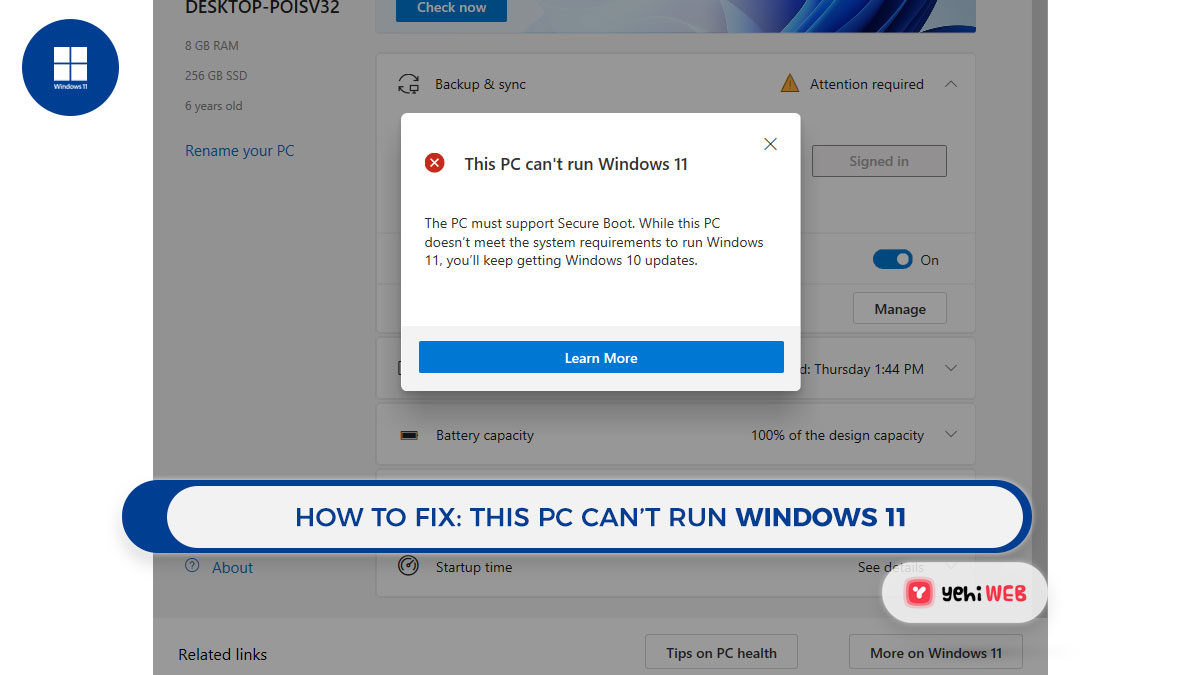
When checking for system compatibility with Windows 11, many users have reported getting the error “This PC can’t run Windows 11”. The system meets the hardware requirements for Windows 11. But Microsoft’s utility sends this error message.
This PC can’t run Windows 11—While this PC doesn’t meet the system requirements to run Windows 11, you’ll keep getting Windows 10 updates.
If you are having similar issues and are not sure if you need new hardware to install Windows 11. This post is for you.
Possible causes for error occurring.
Windows 11 is compatible with almost all modern PCs. But, even if you have a compatible device, the Health Check app may still display the “This PC Can’t Run Windows 11” message.
Causes of Windows 11 Incompatibility Error
- The Health Check tool generated an incorrect report.
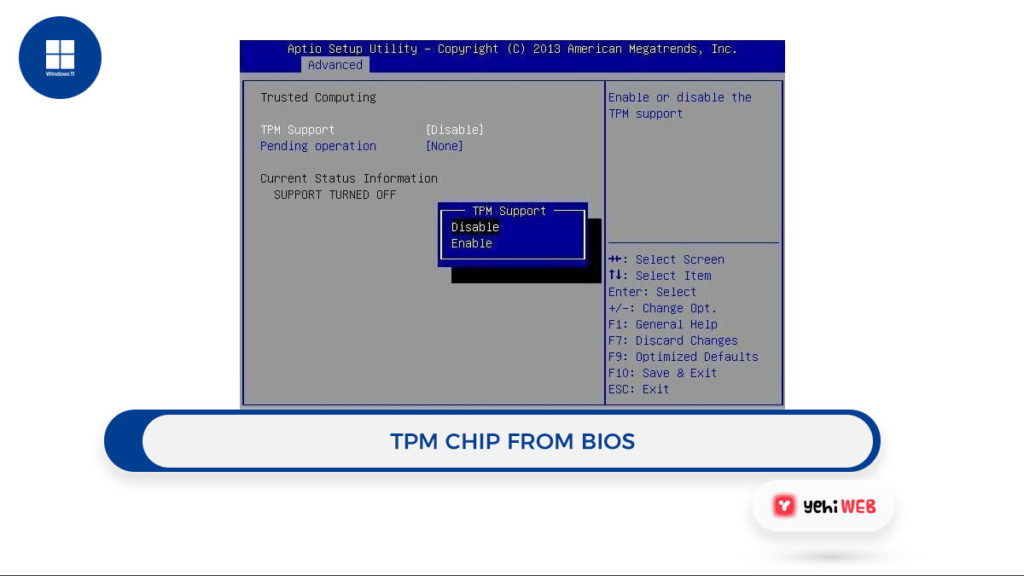
- TPM is Disabled in BIOS.
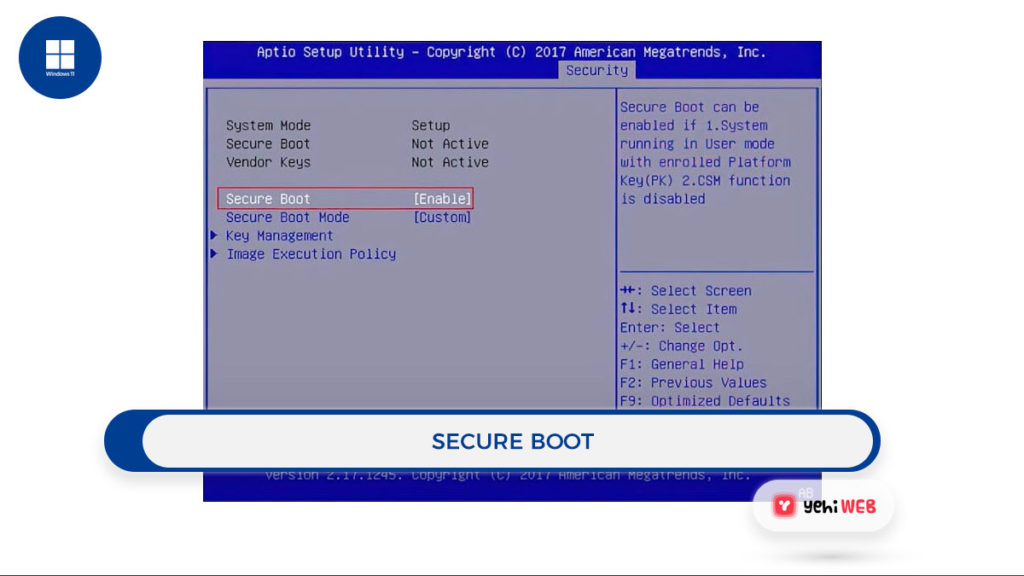
- Secure Boot is not enabled.
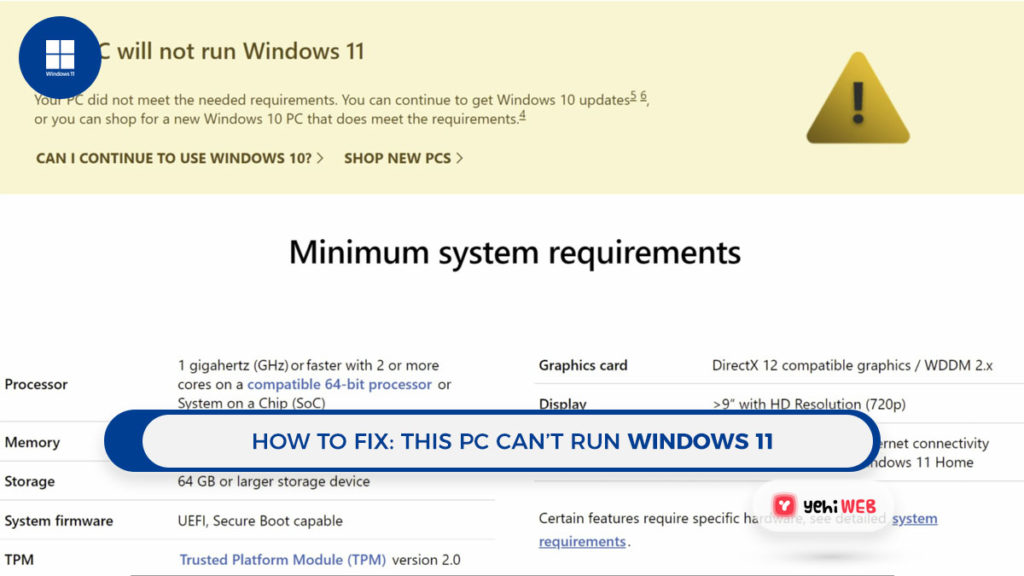
Update: Microsoft has updated the guidance around the TPM requirements for Windows 11 in the compatibility document. TPM 1.2 was the minimal need, but now TPM 2.0 is required to run Windows 11. Also, the Health Check app has been updated to display the exact cause of incompatibility.
Fix: This PC will not Run Windows 11
To start, check to see if your motherboard contains a TPM 2.0 chip. This component is generally present on most PCs, but it may not be on your motherboard if it is an older one. Here’s a quick guide to assist you with the process:
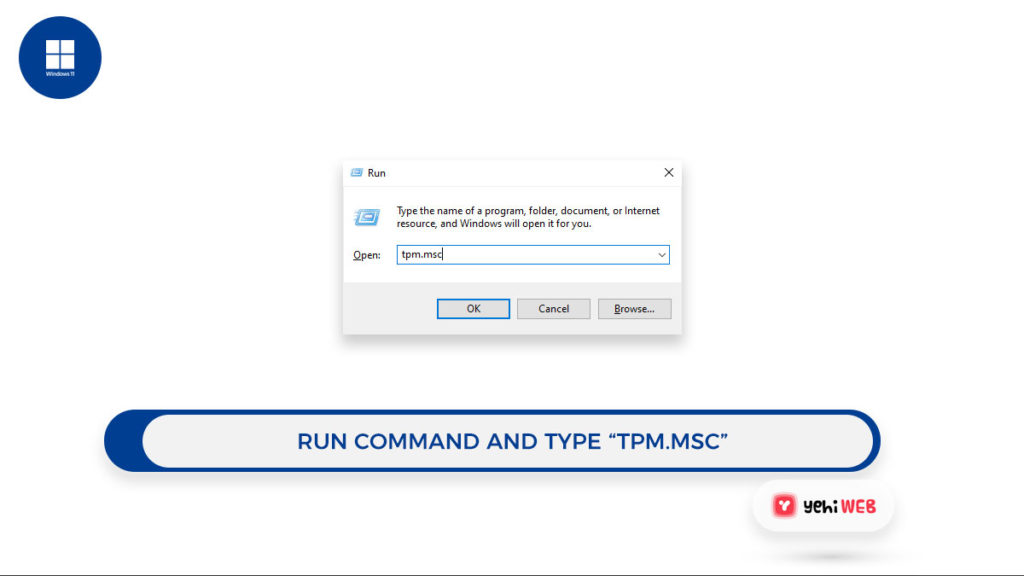
Open the Run Dialog Box by pressing Windows + R keys and type tpm.msc, then hit enter.
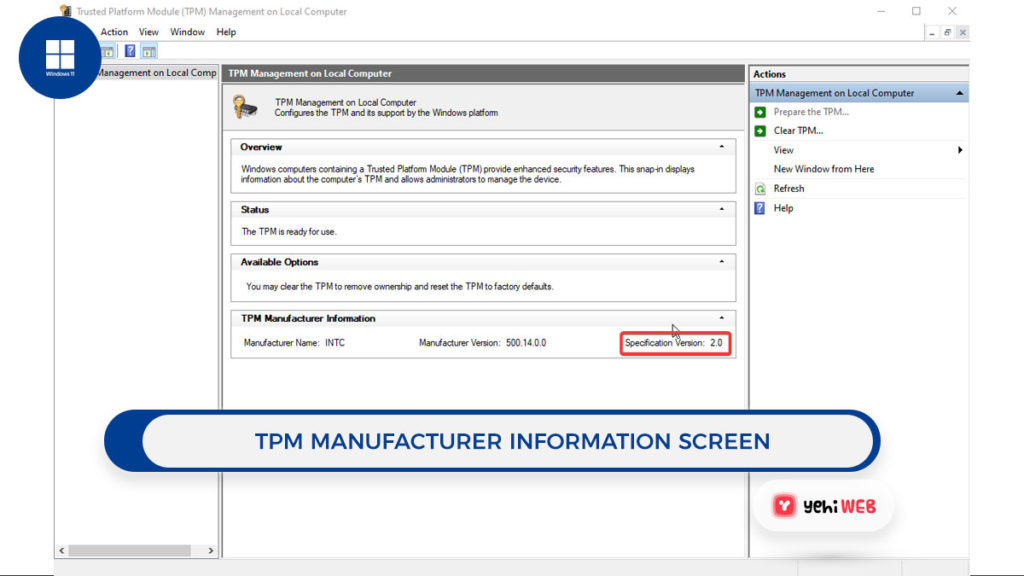
That should bring up the Management Console for the Trusted Platform Module (TPM).
Check the value of the Specification Version on the TPM Manufacturer Information screen. As seen in the picture below, this should be set to 2.0.
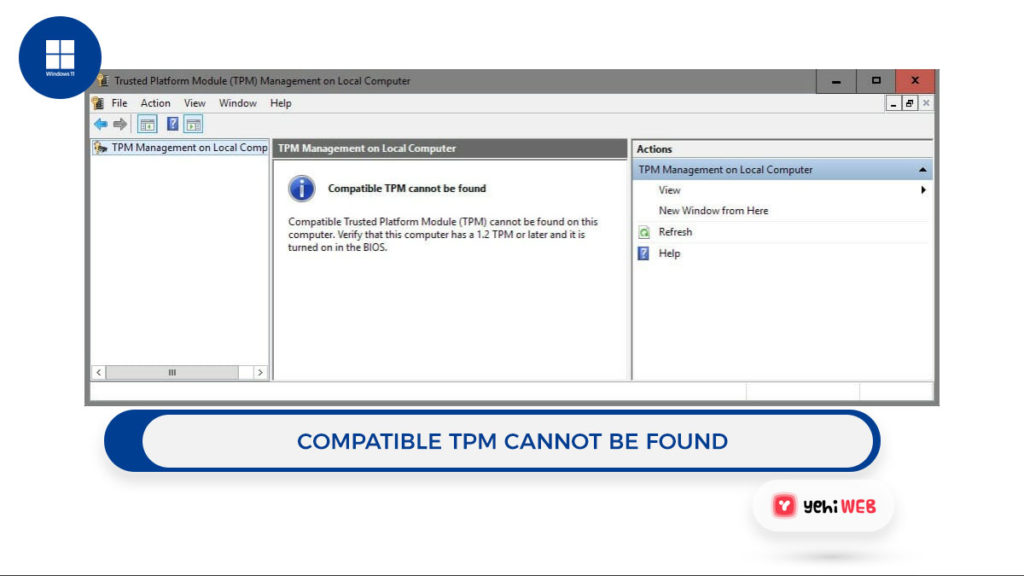
If you do not see this console screen and instead get an error that says “Compatible TPM not found.” And it means the TPM chip is not installed on your motherboard or not active in BIOS.
Download and replace the appraiserres.dll file
- You should first download the appraiserres.dll file from an external source or a Windows 10 ISO image.
- Install Windows 11 from an ISO file.
- Go to the Sources folder after mounting or extracting the ISO.
- Locate and remove the appraiserres.dll file from the folder.
- Copy and paste the appraiserres.dll file from the first step into the Windows 11 ISO.
- Reinstall Windows 11 on your computer.
The Windows 10 operating system does not check for a TPM 2.0 chip. By replacing the file with one from Windows 11, you can force it to skip this step.
Check to see if Secure Boot is on.
Microsoft announced that Windows 11 requires a Secure Boot-capable machine. This feature must also be on. Is not it a little more complicated than that?
To enable Secure Boot, restart your computer and go to the Boot menu. And to do that, press F2, F11, or the Delete key, depending on the device.
Now look through the Boot menu for the Secure Boot option and turn it on. Explicit instructions differ from one BIOS version to the next, but I am sure you will figure it out.
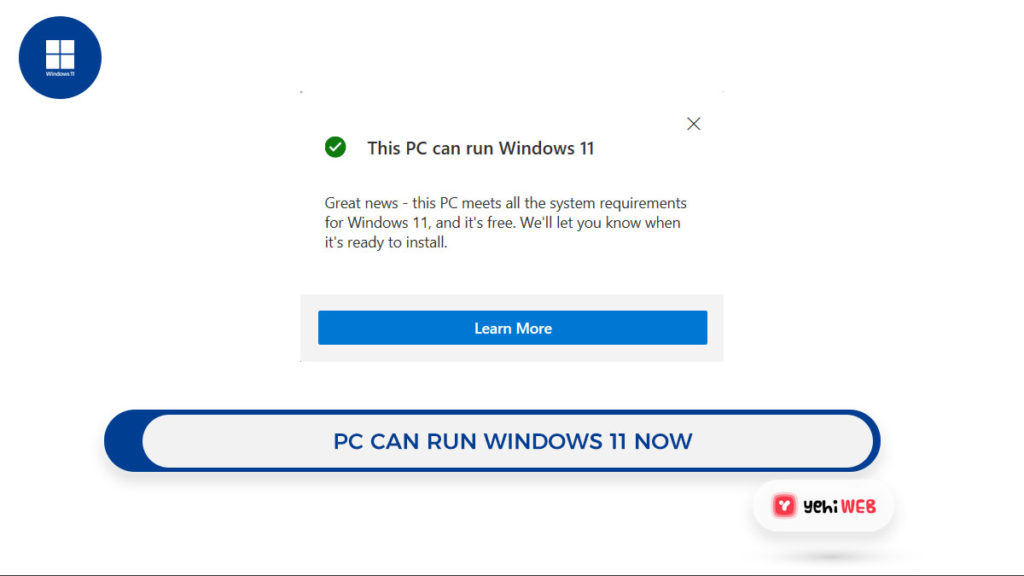
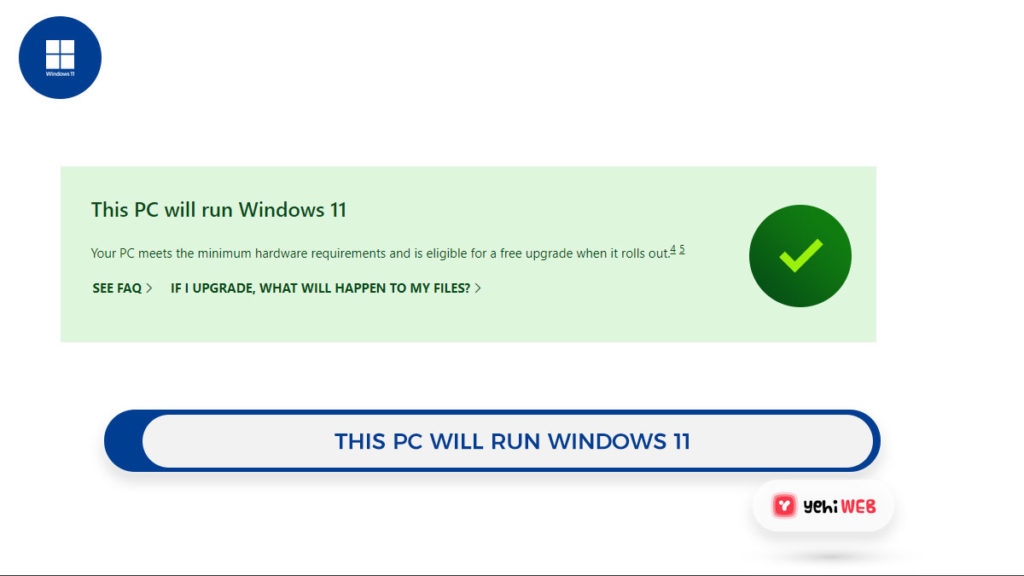
You can rerun the PC Health Check Utility at the end of the procedure. You should now receive a confirmation notice from the tool, like the one below:
But, you can get into a situation where your machine will not boot because there are no operating systems.
And in that case, you will have to use a disk converter to switch your partition style from MBR to GPT. Disk converter will not change or remove any data on your disk.
But to be sure, we would recommend creating a backup of your data before proceeding.
And disable the Legacy or CSM boot options in BIOS after converting the disk to GPT.
Saad Shafqat
Related posts
New Articles
What is the difference between FMWhatsApp and GBWhatsApp?
In the world of messaging apps, WhatsApp reigns supreme as one of the most popular platforms for connecting with friends…

