
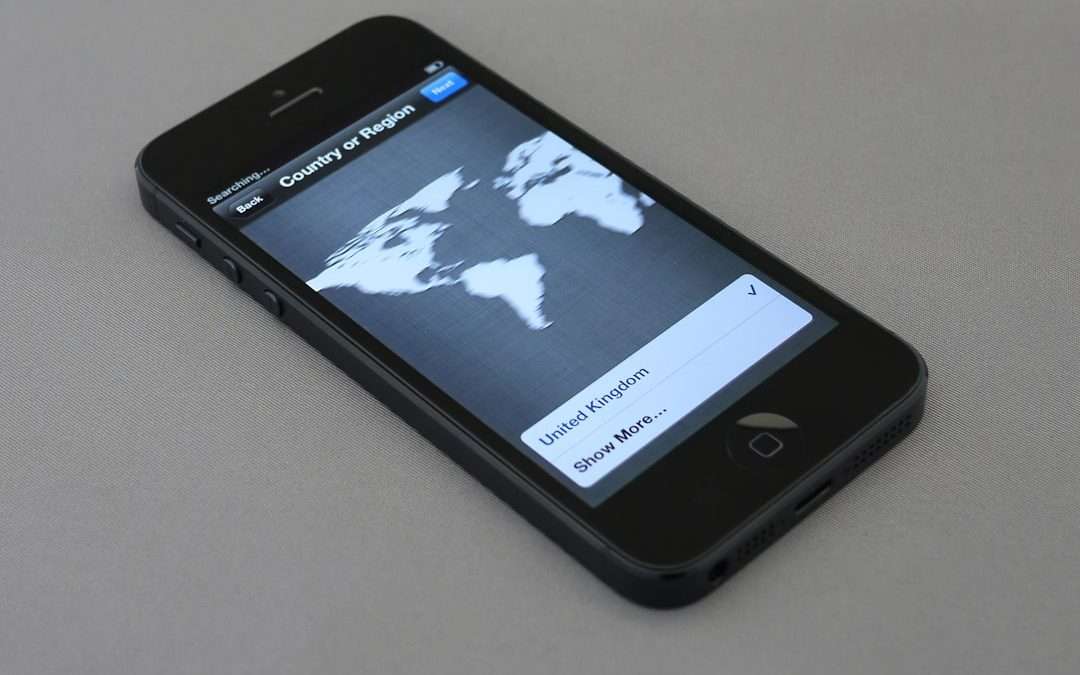

Setting up a new iPhone is not just a matter of signing in and downloading your favorite apps. The first hour with the device is the best time to make careful decisions about data transfer, account security, privacy permissions, and battery health. A structured setup process helps prevent missing messages, duplicate photos, unnecessary tracking, and early battery drain.
TLDR: Before using your new iPhone normally, back up your old device, transfer your data carefully, and confirm that contacts, photos, messages, and authenticator apps are working. Review privacy permissions, location access, iCloud settings, and app tracking requests before granting access. To improve battery life from day one, update iOS, manage background activity, enable optimized charging, and avoid letting unnecessary apps run constantly.
1. Prepare Your Old iPhone Before Transfer
Before turning on the new iPhone, spend a few minutes preparing the old one. This reduces the risk of incomplete transfers and makes troubleshooting easier if something does not appear correctly on the new device.
- Update iOS on the old iPhone if an update is available. Newer iOS versions usually transfer more smoothly.
- Connect to Wi Fi and plug the old device into power.
- Check available iCloud storage if you plan to use iCloud Backup.
- Make a fresh backup using iCloud or a computer.
- Confirm your Apple Account password and make sure you can receive two factor authentication codes.
If your old iPhone is damaged, unstable, or very low on storage, a computer backup through Finder on Mac or the Apple Devices app on Windows may be more reliable than a wireless transfer. For sensitive data such as Health records, Wi Fi passwords, and saved website credentials, make sure the backup is encrypted when using a computer.
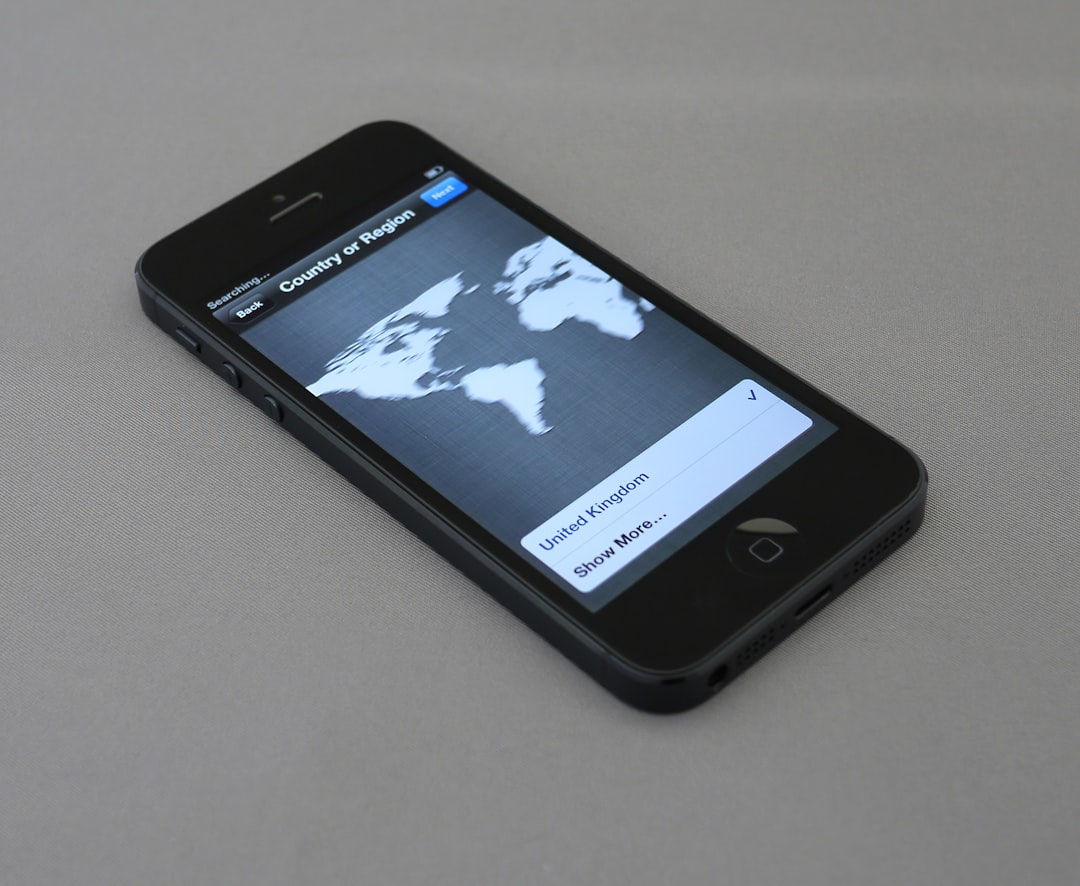
2. Choose the Right Transfer Method
Apple provides several ways to move data to a new iPhone. The best option depends on how much time you have, how stable your internet connection is, and whether your old device is available.
Quick Start
Quick Start is usually the easiest method if you still have your old iPhone. Place both devices near each other, turn on the new iPhone, and follow the prompts. You can transfer directly from device to device or restore from iCloud. Keep both phones charged and connected to Wi Fi until the process is complete.
iCloud Backup
Restoring from iCloud Backup is convenient when your old phone is not nearby or you already made a recent backup. The first setup may finish quickly, but apps, photos, and messages can continue downloading in the background for hours. Do not judge the transfer too early; give the iPhone time to complete syncing.
Computer Backup
A local encrypted backup from a Mac or PC is often the most complete option. It is especially useful if you have a large photo library, limited iCloud storage, or slow internet. Use a trusted cable, keep the computer awake, and verify that the backup completed successfully before restoring.
3. Verify Critical Data Before Erasing the Old Device
Do not wipe, trade in, or sell your old iPhone immediately after the new one turns on. First, confirm that essential information moved correctly. This step is one of the most important parts of a responsible setup.
- Messages: Open recent conversations and check that attachments are available.
- Photos and videos: Confirm that recent items appear in the Photos app.
- Contacts: Search for several important contacts manually.
- Notes: Check both iCloud notes and any notes stored under other accounts.
- Calendar events: Confirm work, personal, and shared calendars are visible.
- Mail accounts: Make sure email is sending and receiving properly.
- Authenticator apps: Open them and verify that codes are present and working.
- Banking and payment apps: Sign in and confirm identity verification if required.
Pay special attention to authenticator apps and password managers. Some services require manual migration or reauthorization. If you erase your old device too soon, you could lose access to important accounts.
4. Secure the Device Immediately
Security should be handled early, before installing many apps or logging into sensitive services. A new iPhone is secure by design, but the strength of that security depends on your settings and habits.
- Use a strong passcode: A six digit code is better than four digits, but an alphanumeric passcode is stronger.
- Set up Face ID carefully: Add an alternate appearance if needed, but avoid registering another person unless there is a clear reason.
- Enable Find My iPhone: This helps locate, lock, or erase the device if it is lost.
- Turn on Stolen Device Protection: If available in your region, this adds safeguards for sensitive changes when away from familiar locations.
- Review Apple Account security: Confirm trusted phone numbers and remove old devices you no longer use.
It is also wise to review emergency information. Open the Health app, update your Medical ID, and confirm Emergency SOS settings. These features are not exciting, but they can be important in real situations.
5. Review Privacy Permissions Before Apps Accumulate
Privacy settings are easiest to manage before dozens of apps begin requesting access. During setup and early app use, avoid tapping Allow automatically. Each permission should have a clear purpose.
Go to Settings > Privacy & Security and review the major categories:
- Location Services: Set most apps to While Using the App instead of Always.
- Photos: Use Limited Access for apps that only need selected images.
- Microphone and Camera: Revoke access for apps that do not clearly need it.
- Contacts: Avoid granting full contact access to apps that only need one contact or none at all.
- Bluetooth: Disable Bluetooth access for apps that use it for tracking rather than device connection.
- Tracking: Consider turning off permission for apps to request tracking across other companies’ apps and websites.

For location settings, also open System Services at the bottom of the Location Services menu. Some services are useful, such as emergency calls and Find My iPhone. Others may be optional depending on your preferences. Be cautious, but do not disable features you rely on without understanding their purpose.
6. Configure iCloud With Intention
iCloud can keep your data synchronized across devices, but it should be configured deliberately. Open Settings, tap your name, then select iCloud. Review what is syncing and whether it matches your needs.
For most users, syncing Contacts, Calendars, Notes, Photos, Keychain, Messages, and iCloud Backup is beneficial. However, if you use separate work accounts or third party services, check that data is not duplicated across multiple platforms.
Pay close attention to iCloud Photos. If enabled, your full photo library may take time to appear, especially on a large account. Leave the iPhone plugged in and on Wi Fi overnight. If storage is limited, choose Optimize iPhone Storage so full resolution images remain in iCloud while smaller versions stay on the device.
7. Install Apps Carefully and Avoid Restoring Clutter
A new iPhone is a good opportunity to stop carrying old digital clutter forward. Instead of restoring every app automatically, consider installing only what you actually use. Unused apps consume storage, request permissions, send notifications, and may run background processes.
Start with essentials: banking, communication, maps, password manager, work tools, transportation, health, and two factor authentication. After that, add entertainment, shopping, and social apps more selectively.
When opening each app for the first time, pay attention to three common prompts:
- Notifications: Allow only if timely alerts are genuinely useful.
- Location: Choose the least invasive option that still lets the app function.
- Tracking: Decline unless you have a specific reason to permit it.
This approach keeps the device cleaner, quieter, and more secure from the beginning.
8. Improve Battery Life From Day One
New iPhones often use more battery during the first day or two because they are indexing files, downloading apps, syncing photos, and analyzing data. Some warmth and faster battery drain can be normal at first. However, good settings still make a measurable difference.
- Install the latest iOS update: Updates often include battery and performance improvements.
- Enable Optimized Battery Charging: Find it under Settings > Battery > Battery Health & Charging.
- Use Auto Brightness: Display brightness is one of the largest battery drains.
- Limit Background App Refresh: Go to Settings > General > Background App Refresh and disable it for nonessential apps.
- Reduce unnecessary notifications: Frequent alerts wake the screen and use power.
- Prefer Wi Fi when available: Poor cellular signal can drain battery quickly.
- Avoid extreme heat: Heat is one of the most damaging conditions for lithium ion batteries.
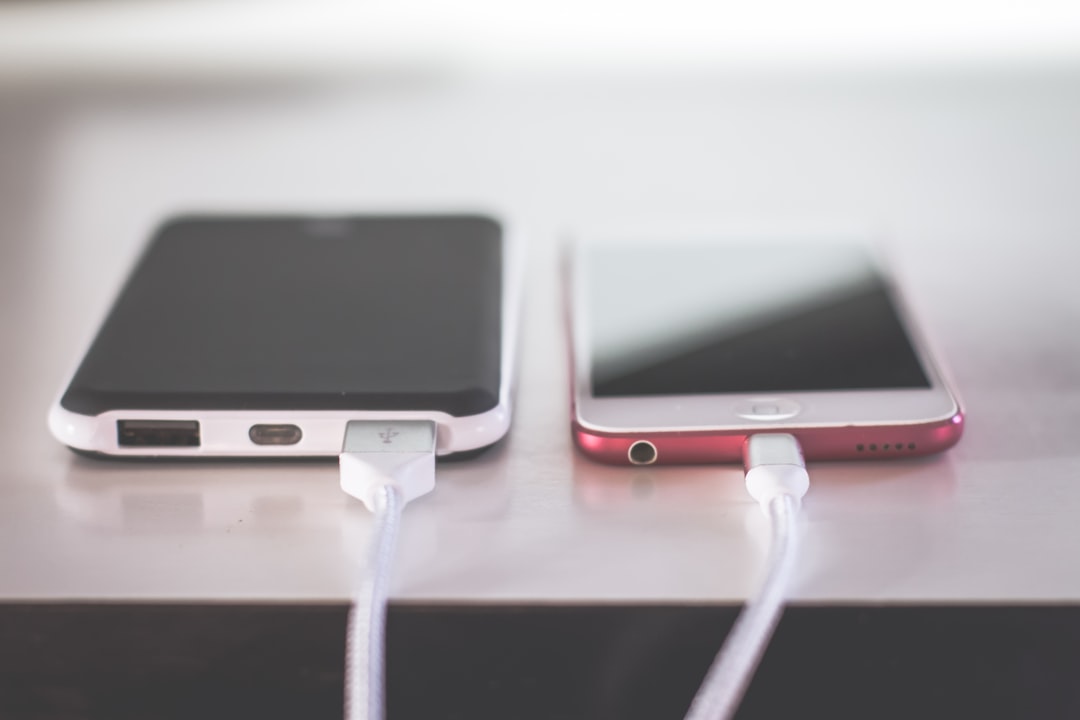
Do not obsess over keeping the battery at a perfect percentage. Modern iPhones manage charging intelligently. A practical approach is to avoid frequent overheating, avoid leaving the phone in direct sun, and use reputable chargers that meet safety standards.
9. Set Up Focus Modes and Notifications
Notifications can make a new iPhone feel chaotic. Instead of allowing every app to interrupt you, configure notifications with purpose. Go to Settings > Notifications and review apps one by one.
Use Focus modes for work, sleep, driving, and personal time. A well configured Focus mode can reduce distractions while still allowing important calls or messages. For example, you may allow family members during Sleep Focus and work apps during Work Focus.
Also consider using Scheduled Summary for lower priority notifications. This keeps nonurgent alerts from appearing all day while still making them available at a predictable time.
10. Confirm Apple Pay, Wallet, and Subscriptions
If you use Apple Pay, add your cards again and verify them with your bank. Some transit cards, car keys, hotel keys, or employee badges may require additional setup. Open the Wallet app and confirm that everything you rely on is active before leaving home without physical alternatives.
Next, review subscriptions under Settings > Apple Account > Subscriptions. A new device is a good reminder to cancel services you no longer use. Also check Media & Purchases settings if family sharing, purchase approvals, or shared payment methods are involved.
11. Adjust Display, Accessibility, and Usability Settings
Small usability settings can make the iPhone more comfortable and efficient. Review text size, display zoom, haptics, keyboard preferences, and accessibility options. These settings are not only for users with specific impairments; they can improve everyday use for anyone.
- Text Size: Increase or decrease readability under Display & Brightness.
- Dark Mode: Use automatic scheduling if you prefer it in the evening.
- Keyboard settings: Disable features you dislike, such as auto correction or predictive text.
- Back Tap: Assign useful shortcuts under Accessibility if supported.
- Display Always On: If your model supports it, disable it if you prefer maximum battery conservation.
12. Keep the Old iPhone Temporarily
Even after everything appears successful, keep the old iPhone for several days if possible. Some missing data is not obvious immediately. You might discover a missing note, an app that needs old device approval, or a two factor authentication issue.
When you are fully confident, prepare the old device properly. Sign out of your Apple Account, turn off Find My, erase all content and settings, remove the SIM or eSIM if appropriate, and unpair accessories such as an Apple Watch. If trading in the device, follow the carrier or retailer’s instructions closely.
Final Checklist
- Back up the old iPhone before starting.
- Use Quick Start, iCloud, or an encrypted computer backup for transfer.
- Verify messages, photos, contacts, notes, and authenticator apps.
- Enable strong passcode protection, Face ID, Find My, and Stolen Device Protection.
- Review privacy permissions before granting broad access.
- Configure iCloud, Photos, Keychain, and backups intentionally.
- Limit unnecessary apps, notifications, and background activity.
- Enable battery health features and avoid heat.
- Keep the old iPhone until you are certain the migration is complete.
A careful iPhone setup takes more time than simply accepting every prompt, but it pays off quickly. You begin with cleaner data, stronger privacy, fewer interruptions, and better battery behavior. Most importantly, you reduce the chance of losing access to important accounts or discovering missing information after the old device is gone.

What Is the 9:16 Aspect Ratio? Best Video Dimensions for TikTok and Reels
The best video size for TikTok and Instagram Reels is 1080 × 1920 pixels, using a 9:16 vertical aspect ratio….