Antimalware Service Executable High Memory is a prevalent issue reported by many users. If you have noticed the process taking up high memory (CPU Usage), you’re not alone.
Worry not; you can fix the issue yourself without having to contact a technician for help. The Antimalware Service Executable process is a key component of Windows Defender Service.
The process is infamous for taking up high memory (CPU Usage) far more than its share of processing power. It is capable of reducing your computer’s speed to a halt on its own.
Windows Defender Service is Microsoft’s built-in antivirus that comes bundled with Windows 11. The background process in Windows Defender is known as “Antimalware Service Executable.” MsMpEng.exe is another name for this program, which is part of the Windows operating system.
Following are the two most common reasons for the process to consume high memory (CPU Usage):
- Real-Time Scan Feature
- The feature scans files, connections, and other related applications in real-time. It safeguards your system in real-time, as the name implies.
- Full Scan Feature
- Full Scan feature scans and protects all files on your computer. The process can either run on a set schedule or when the computer wakes up from sleep. The whole process causes your system to lag/hang, or you may get delayed access/response from your input. It happens because the process of scan system files hijacks and consumes the CPU.
Suppose antimalware service executable consumes high memory because of the full scan feature. Let it run and complete the full scan; it may take few minutes or even an hour. It’s all dependent on how big your files and folders are.
But once the process is complete, it will release the CPU, and memory usage will drop back to normal. We will show you on How To Fix Antimalware Service Executable High Memory (CPU Usage).
Antimalware Service Executable High Memory (CPU Usage)
A built-in antivirus feature is the Antimalware Service Executable (Msmpeng.exe) process. It comes bundled with Windows 10, and you can find the process on the details tab in your task manager.
Antimalware Service Executable process scans files for malware whenever you access them. It does everything a security app does and performs a system scan in the background. It checks your system files for malicious or corrupted apps or files.
The process relies on the system’s CPU, which drains CPU, ram, bandwidth, and other resources. Antimalware Service executable high memory (CPU Usage) occurs especially after updating Windows 10.
Fix: Antimalware Service Executable High Memory (CPU/Disk Usage)
Solution #1: Properly reschedule Windows Defender
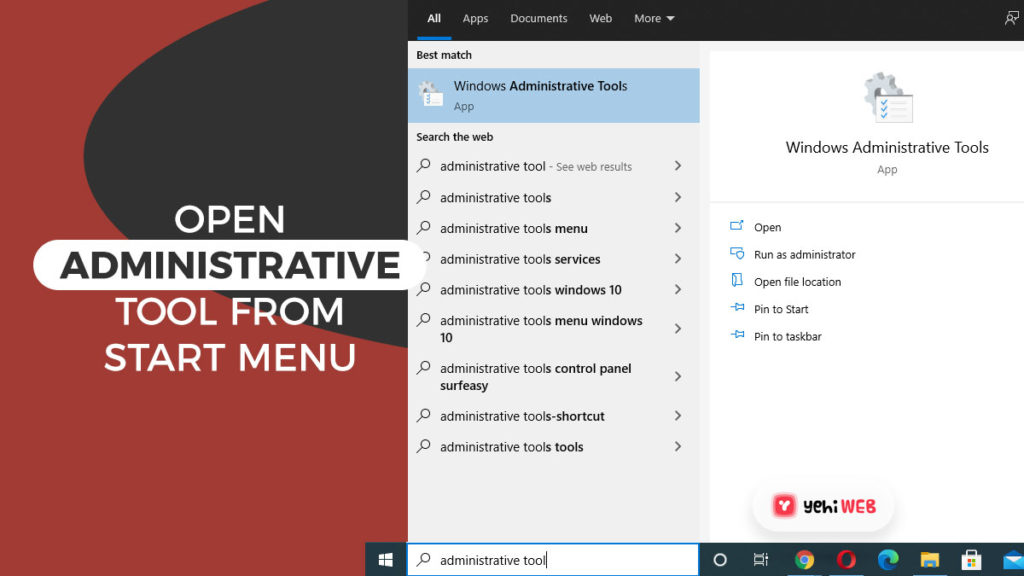
- Type Administrative Tools in the search bar after clicking the Start Menu button. From the search results, click on Administrative Tools to open it.
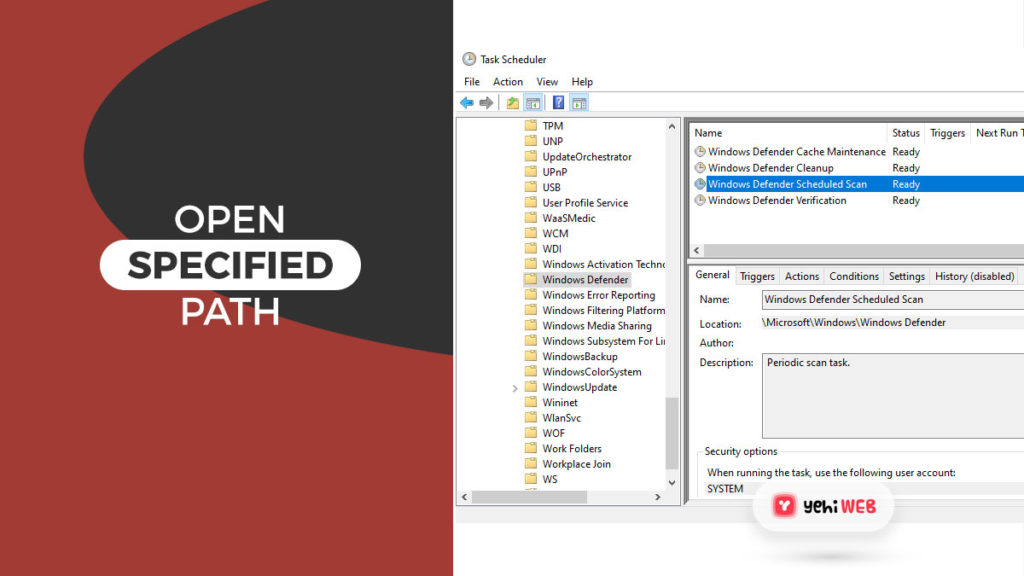
- In the administrative tools window, find and double-click on Task Scheduler to open it.
- Browse to the following path from the left pane of Task Scheduler:
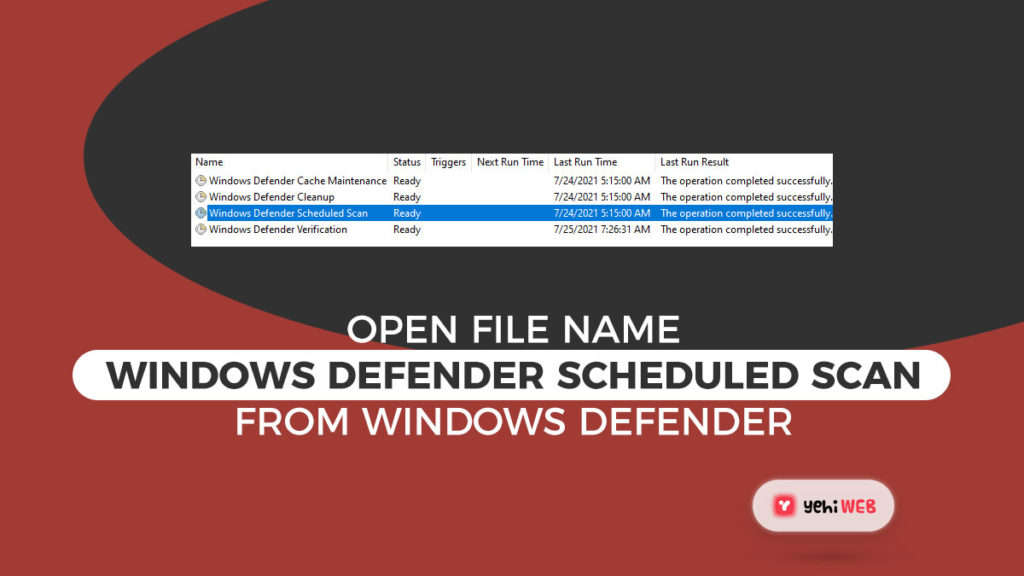
- Locate the name “Windows Defender Scheduled Scan” in the Windows Defender. To highlight it, click it once and then select Properties from the right pane.
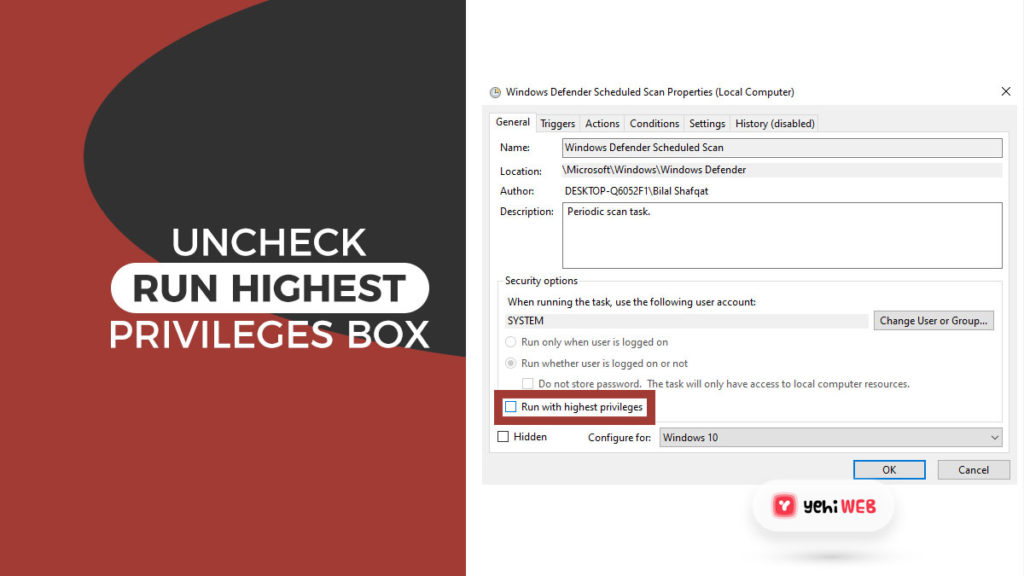
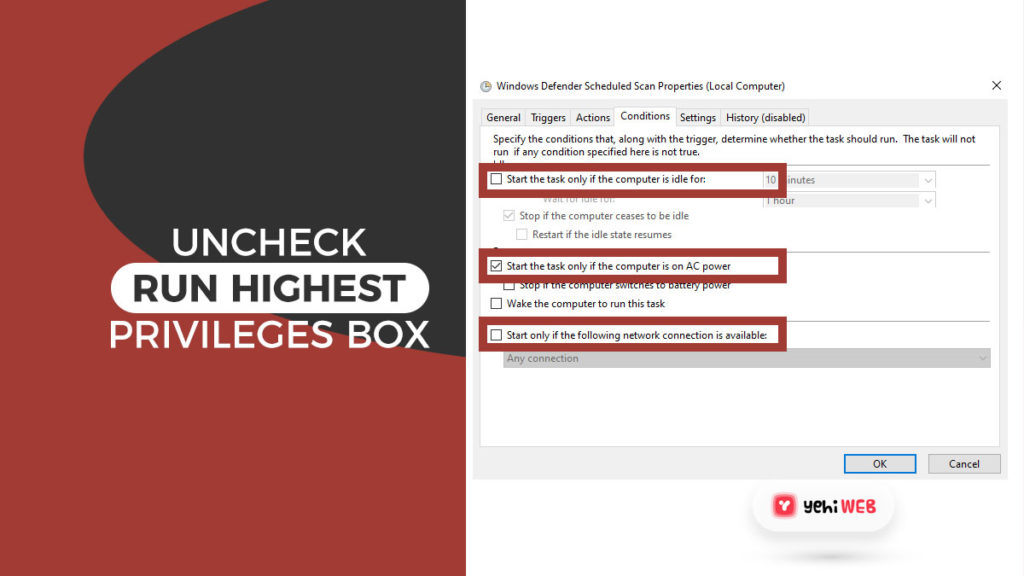
- Uncheck the box next to “Run with Highest Privileges” options under General Tab.
- Next, click on the Conditions tab, and uncheck the boxes next to the following options:
- Start the task only if the computer is idle for
- Start the task only if the computer is on AC power.
- Start only if the following network connection is available.
- Click OK, and now we will reschedule it.
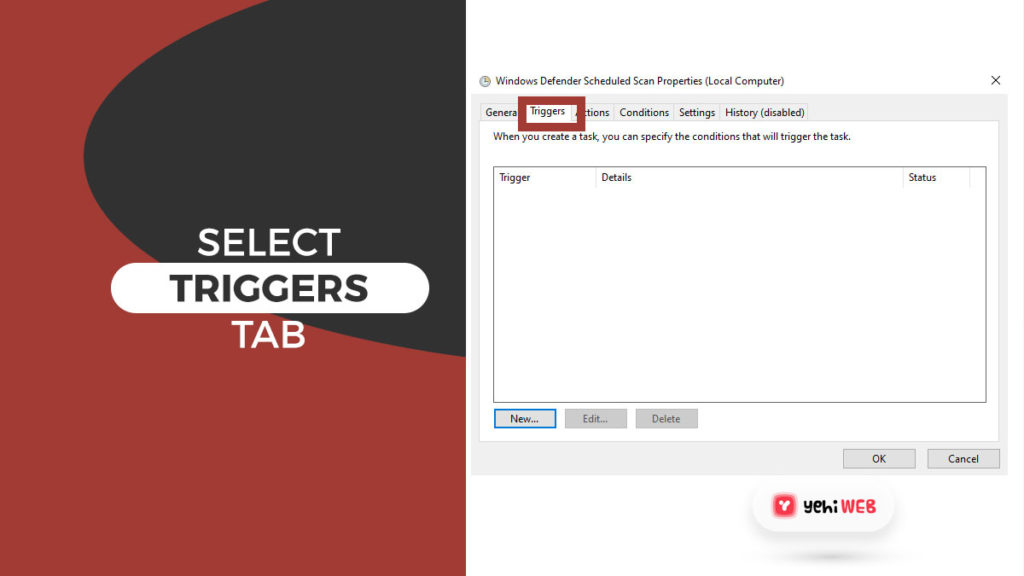
- Click the Properties button again from the right pane. Click on the Triggers Tab on the Properties window.
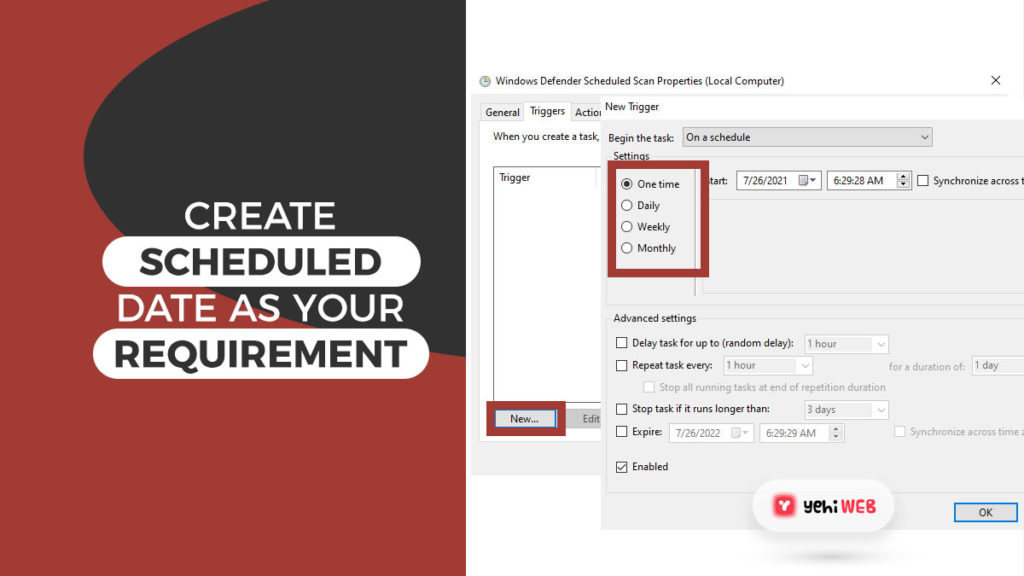
- Under the Triggers tab, select either the Weekly or monthly option as per your preference. After that, choose the day and ensure it’s enabled. Doing so will reschedule the defender to work as per your preference.
Repeat the steps for the following processes to reschedule them:
- Windows Defender Cache Maintenance
- Windows Defender Cleanup
- Windows Defender Verification
Ensure to turn the conditions off and set the trigger to run once a week or per your preference.
Solution #2: Disable Windows Defender Service
One of the best solutions to fix the high consumption of CPU/Disk and Memory is to disable Windows Defender. But you might want to install a third-party antivirus suite to keep your system secure.
There are two ways which you can use to disable Windows Defender Services. If you are on Windows Enterprise or Pro editions of Windows 10, use Local Group Policy Editor. And if you can’t use the Group Policy Editor, use the Registry Editor.
Disable Windows Defender With Local Group Policy Editor
- Launch run Dialog Box by pressing Windows + R keys on your keyboard. In the search box, type ‘Regedit’ and hit enter to launch Registry Editor.
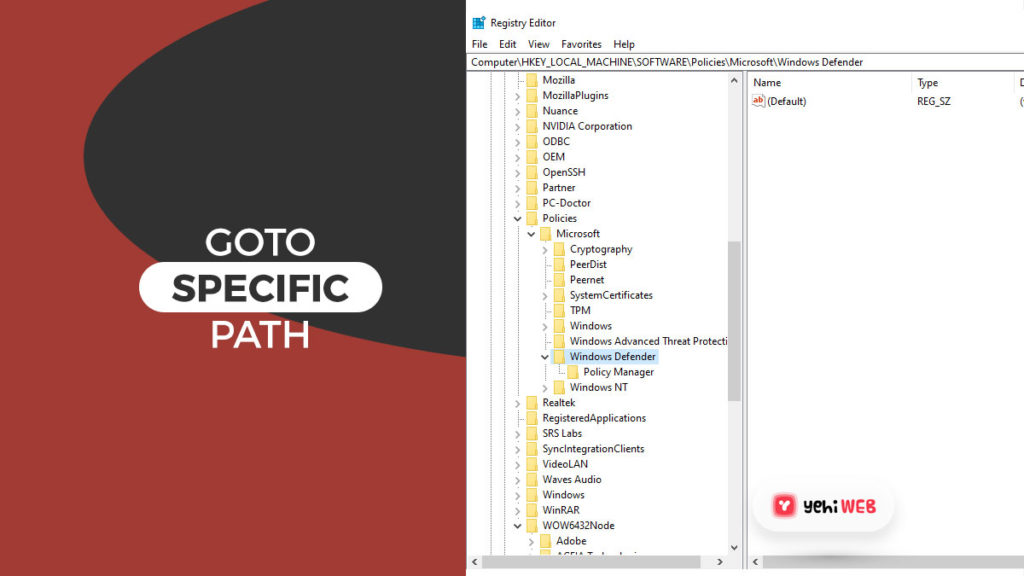
- Navigate to the following:
- Right-click on Windows Defender, and under New Submenu, select DWORD (32-bit value).
- Name the new key ‘DisableAntiSpyware’ and set the value to 1.
You can disable the Windows Defender Services with Command prompt if you are not fond of Editor. With only one command, you can make a change to your Registry editor.
Follow the steps outlined below to disable Windows defender with Command Prompt:
- Press Windows + R keys to open the run dialog box. Type CMD in the search bar and press CTRL + SHIFT + Enter to launch Cmd with administrative rights.
- Once in Command Prompt Windows, run the following command:
The command will make the change in your registry and disable Windows Defender. If you are tech-savvy, you might want to use a command to save time.
Use Registry Editor to Disable Windows Defender
The registry editor can also disable Windows Defender. You can do so following the easy steps mentioned below:
- Launch Run Dialog box by pressing Windows + R keys on your keyboard. Type ‘gpedit.msc’ in the search bar and hit enter to launch Group Policy Editor.
- Once in Group Policy Editor, navigate to the following from the left pane:
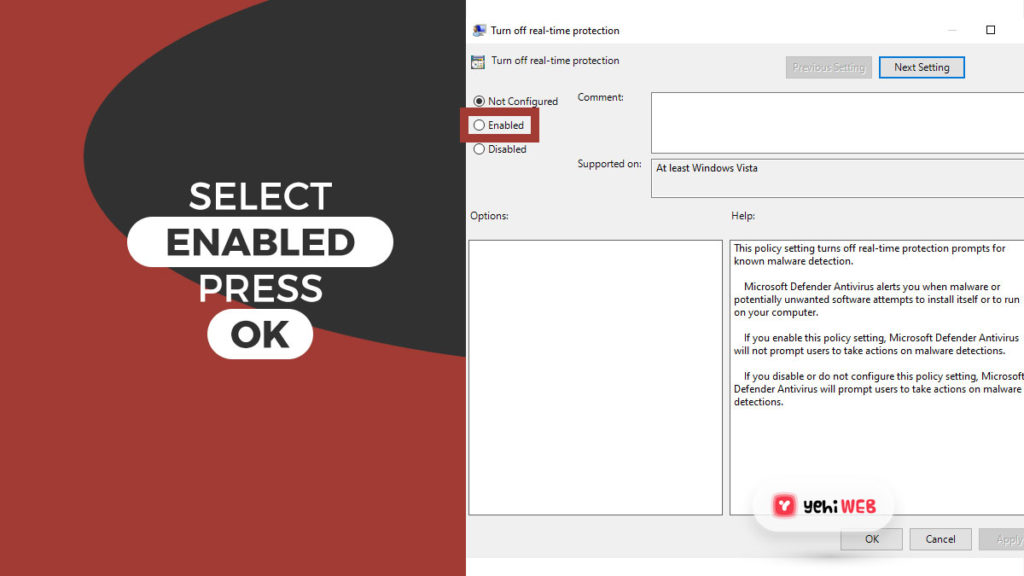
- Double-click on Turn off real-time protection from the right pane.
- To save changes, select Enabled and then click “Apply and OK.”
Following the steps will disable Windows defender and Antimalware Service Executable.
Solution #3: Exclude Antimalware Service Executable from Windows Defender
Windows Defender scans every file on your computer, including itself, throughout its scans. It may lead to some interesting interactions and is a typical cause of system lag.
You can configure Windows Defender to skip itself when scanning the system. Adding MsMpEng.exe to an exclusion list reduces CPU usage significantly.
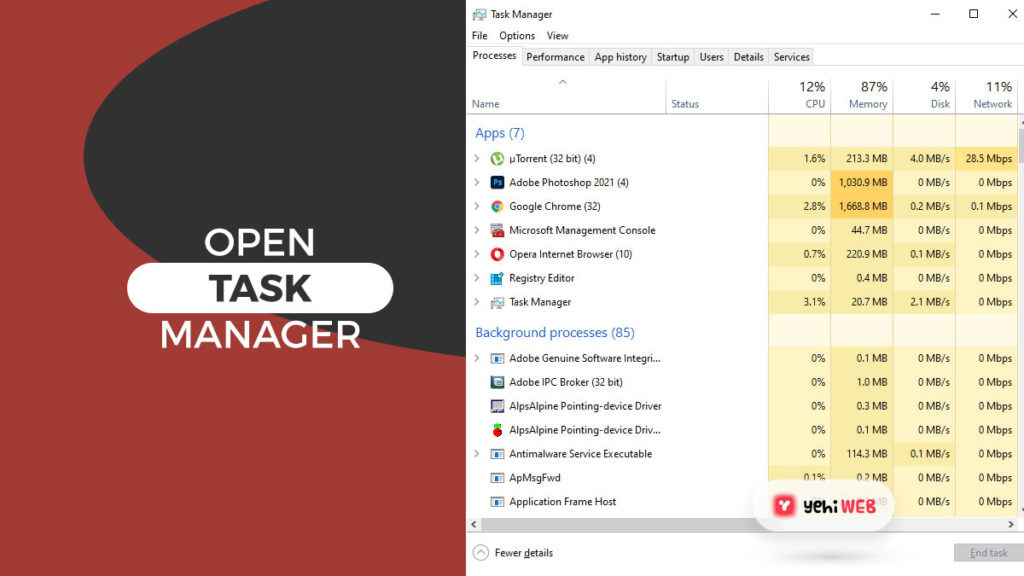
- Press Ctrl + Shift + Esc to launch Windows Task Manager.
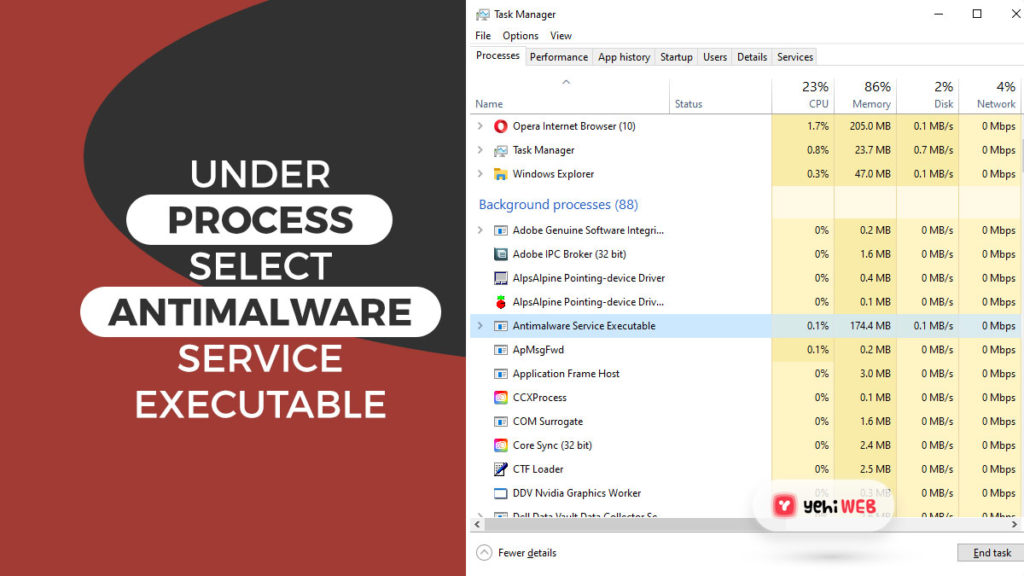
- Under processes list, location Antimalware Service Executable.
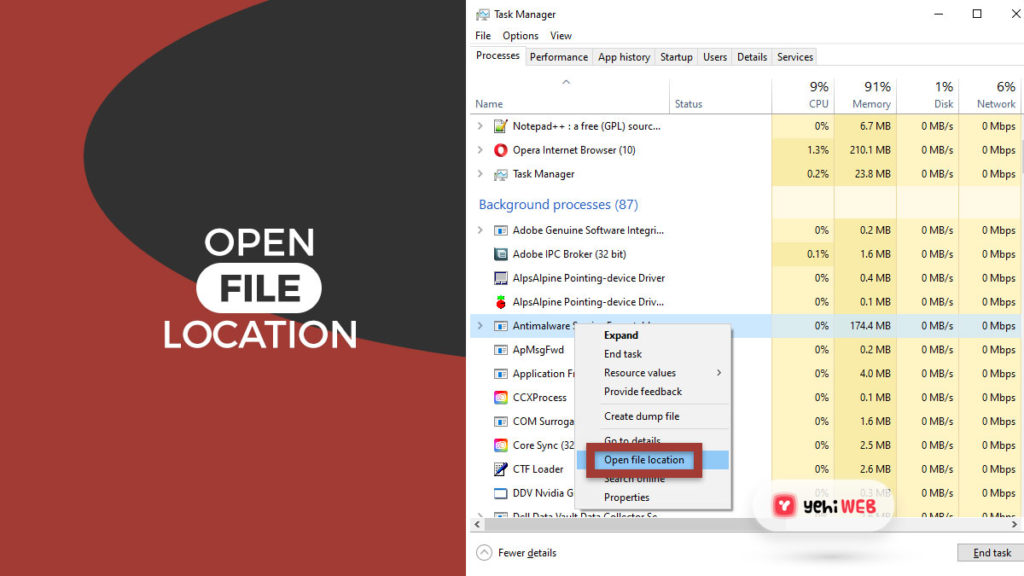
- Right-click on it, and from the submenu, select Open File Location.
- Copy the full path of Antimalware Service Executable from the address bar.
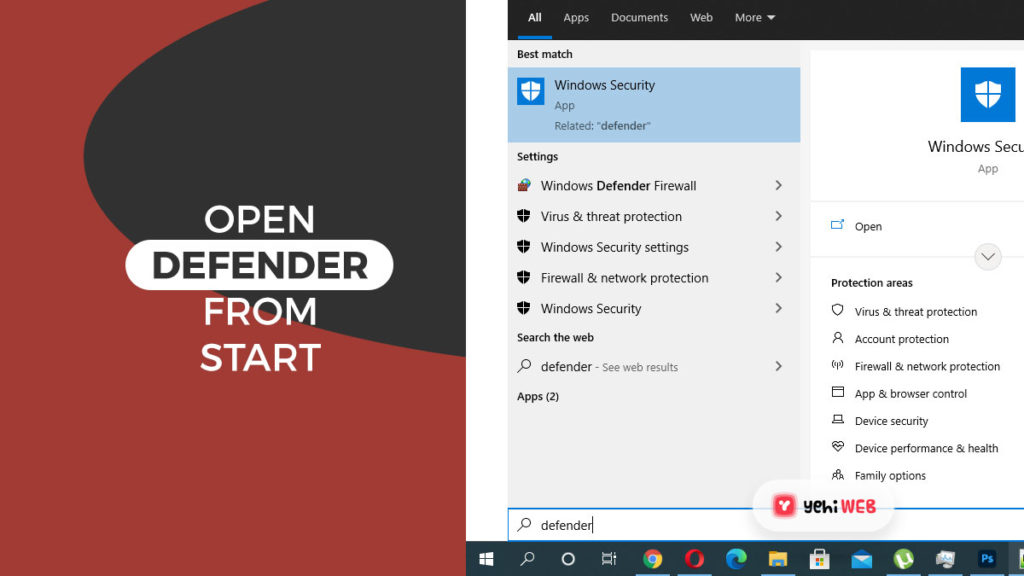
- Type ‘Windows Defender’ in the search bar after clicking the Start Menu icon. From the Search results, click on Windows Defender to launch it.
- Once in the Windows Defender Security Center window, click on Virus & threat protection.
- Next, click on Virus & threat protection settings.
- Scroll down to the Exclusions section and click on Add or remove exclusions.
- On the next window, click on add an exclusion and select folder. Then paste the copied path of Antimalware Service Executable in the address bar.
- Finally, click Open to exclude the folder from the scanning process.
Solution #4: Scan For Malware
A malicious script or app can also disrupt your computer’s performance. Malware is quite likely to have infected the MsMpEng.exe process. You can use apps like Malwarebytes or AdwClearner to remove any malware present on your PC.
Again as mentioned above, Windows Defender keeps your system secure. It’s a valuable and essential tool that comes bundled with Windows 10.
But when scanning, it does drain the CPU/Disk and memory of your PC, slowing it down. Take control of the process by following the steps mentioned above.
Solution #5: Remove Bad Updates
Windows Defender sometimes identifies Windows files as viruses. It happens when Windows acquires bad definition updates. That’s why in this step, we will remove these updates through the command prompt.
- Launch run dialog box by pressing Windows + R.
- Type CMD in the search bar and press Ctrl + Shift + Enter to launch CMD with administrative rights.
- Run the following command in CMD:
- Then run the following command in CMD:
- Wait for the process to complete before checking to see whether the issue is still present.
More About Antimalware Service Executable High Memory (CPU Usage)
Here are the most asked questions about antimalware service executable high memory. If you are having any of these issues, you can find the solutions here.
- Press Windows + R keys to launch the run dialog box.
- Type taskschd.msc in the search bar hit enter to launch task scheduler.
- Navigate to Task scheduler Library > Microsoft > Windows from the left pane.
- Under Windows, double-click on Windows defender. After that, double-click on Windows Defender Schedules Scan.
- Uncheck the box next to run with the highest privileges.
- Ensure to uncheck all the items in the Conditions sections, then click OK to save the changes.
Windows Defender comes with a real-time scan feature to detect malware. The process runs in the background, which consumes high memory.
The process runs itself whenever you open a file or run an application. Or the high memory or CPU usage can also mean that it’s installing an update or the directory size is too big.
Based on the size of your files and folders, the process can take anywhere from minutes to hours. Defender, in most cases, scans your system when it’s idle or when it’s scheduled to do so.
But it can still consume CPU/Disk or memory as you open new files due to its real-time protection feature. The behavior is normal and expected in any other antivirus program. And it requires CPU process power and memory to perform its tasks.
Bilal Shafqat
Related posts
New Articles
Wordle: The Puzzle That Turned Five Letters Into a Global Routine
Every morning, millions of people wake up and do the same small ritual. They grab coffee. They check their phones….


