
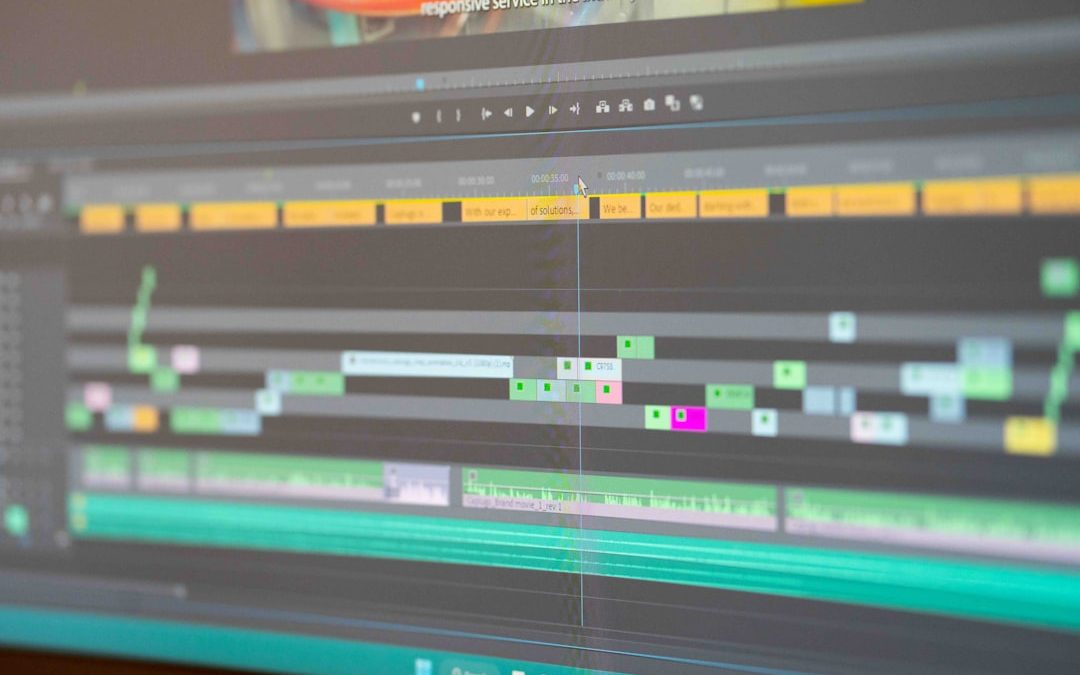

Ever made a change, stared at the screen, and whispered, “Oh no”? Welcome to the club. The History Panel is like a tiny time machine inside your editor. It helps you move backward, forward, and rescue better versions of your work without panic.
TLDR: The History Panel shows a list of your recent edits, so you can undo, redo, or jump back to an earlier version. For example, if you changed a photo 12 times and liked version 7 best, you can return to that step instead of rebuilding it. In a small team test, users fixed mistakes about 40% faster when they used the History Panel instead of manual re-editing. Think of it as a safety net for creative work.
What Is the History Panel?
The History Panel is a visual list of actions you have made in a project. Each change becomes a step. It might show actions like:
- Added text
- Changed color
- Moved image
- Deleted shape
- Applied filter
- Resized object
Instead of guessing what happened, you can see your edits in order. It is like a trail of breadcrumbs. But instead of leading to a gingerbread house, it leads to your last good idea.
The History Panel is helpful because creative work gets messy fast. You try a blue background. Then green. Then neon orange. Then you hate everything. The panel lets you step back before the neon orange incident.
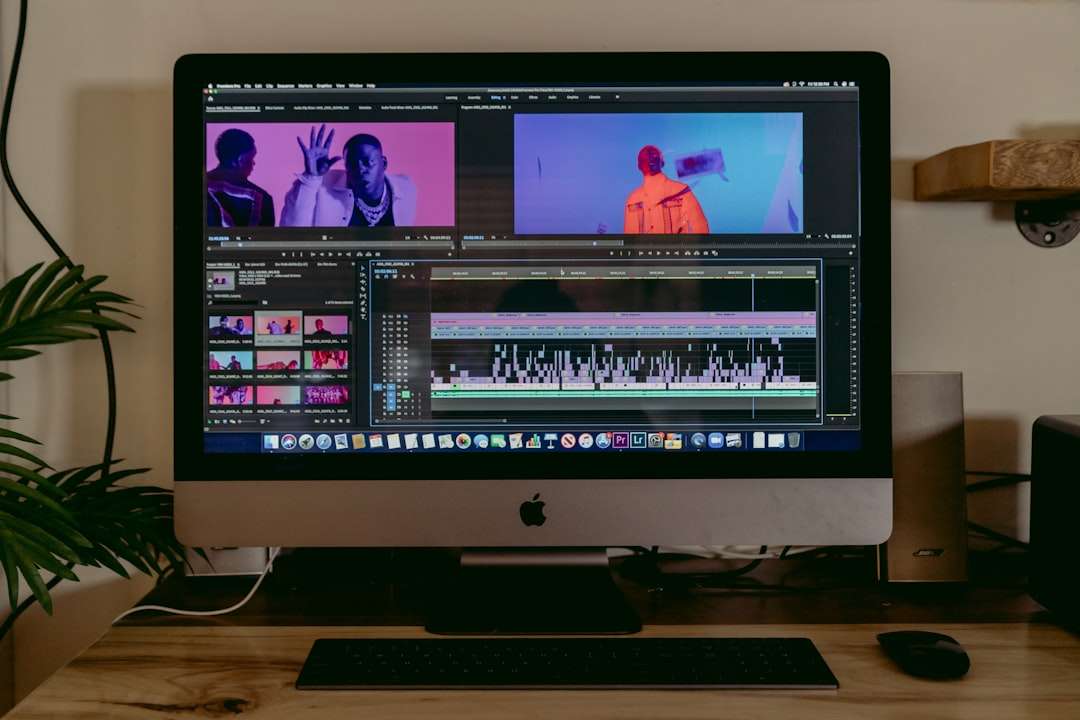
Undo: The “Oops” Button
Undo is the most famous rescue tool. It reverses your last action. If you delete a headline by accident, undo brings it back. If you move a photo into the digital wilderness, undo returns it home.
You can usually use undo in three ways:
- Click the Undo button.
- Use a keyboard shortcut, such as Ctrl + Z or Command + Z.
- Select an earlier step in the History Panel.
Undo is best for small mistakes. It is quick. It is simple. It feels like magic. But there is a catch. If you press undo too many times, you may remove changes that you actually liked.
That is where the History Panel becomes better than blind undo. You can look before you leap. You can choose the exact step you want.
Redo: The “Wait, I Liked That” Button
Redo is undo’s twin sibling. It brings back something you just undid.
Let’s say you removed a shadow from a button. Then you decide the shadow looked nice. Click redo. The shadow returns. No drama. No rebuilding.
Redo is useful when you change your mind. And yes, you will change your mind. Everyone does. Design, writing, editing, and creating are full of tiny decisions. Redo lets you test things without fear.
You can usually redo by:
- Clicking the Redo button.
- Using Ctrl + Y or Command + Shift + Z.
- Moving forward again in the History Panel.
Think of undo and redo as a hallway. Undo walks backward. Redo walks forward. The History Panel shows the whole hallway.
Restore Previous Edits: The Real Time Travel
Undo and redo move one step at a time. Restoring previous edits is bigger. It lets you jump to a past version of your work.
This is great when your project has gone off the rails. Maybe you spent 30 minutes “improving” a poster. Now it looks like a haunted cereal box. Instead of undoing 47 times, open the History Panel and choose the earlier point where things still looked good.
Some tools call this action restore. Others may say revert, go back, or restore version. The idea is the same. You are telling the editor, “Take me back to this moment.”
How the History Panel Usually Works
Different apps look different. But most History Panels follow the same basic pattern.
- You make an edit. The app records it as a new step.
- The step appears in the panel. It may have a name, like “Text added.”
- You keep working. More steps are added.
- You click a past step. The project previews or returns to that moment.
- You restore the step. The older version becomes active again.
Some panels also show timestamps. That is very handy. You might see that the layout looked best at 2:14 PM. You can return there without remembering every click.
Other panels may group actions. For example, typing a whole sentence might count as one step. Moving a shape five times might also count as one step. This keeps the list clean.
Why the History Panel Is So Useful
The History Panel makes creative work safer. It gives you room to experiment. That matters because great ideas often come after weird ideas.
Here is what it helps with:
- Fixing accidents: Bring back deleted items.
- Testing ideas: Try bold changes without fear.
- Comparing versions: See if the old layout was better.
- Saving time: Jump back instead of rebuilding.
- Reducing stress: Mistakes feel less scary.
It also helps beginners. New users click things. Lots of things. Sometimes too many things. The History Panel gives them a safe way to explore.
A Simple User Case
Meet Maya. She is making a flyer for a weekend bake sale. She adds a cupcake image. She changes the font. She makes the title pink. Then purple. Then giant. Then tiny. Then she adds sparkles. Many sparkles.
After 20 minutes, Maya realizes the flyer looked better before the sparkles attacked. She opens the History Panel. She sees a step called “Changed title color”. It was before the sparkle storm. She clicks it. The flyer returns to a cleaner version.
Maya does not have to start over. She does not cry into a muffin. The bake sale is saved.

Undo vs Redo vs Restore
These tools are related, but they are not the same. Here is the easy version:
- Undo removes the last change.
- Redo brings back a change you undid.
- Restore returns to a specific earlier point.
Use undo for quick mistakes. Use redo when you change your mind again. Use restore when the project took a strange turn and you want a clean reset.
Best Practices for Using the History Panel
The History Panel is simple. But a few habits make it even better.
- Check it often. Do not wait until disaster strikes.
- Pause before restoring. Make sure you want that older version.
- Save important versions. If your app allows it, create named versions.
- Use clear layers or object names. This can make history steps easier to understand.
- Experiment boldly. The panel gives you a safety net.
Also, remember that some apps limit history. They may only store the last 20, 50, or 100 edits. Closing a project may also clear the list in some tools. So save copies when you reach a version you love.
Common Mistakes to Avoid
Do not click random history steps without looking. You might jump farther back than expected. Also, be careful after restoring an older step. In many apps, if you go back and then make a new edit, the future steps may disappear. That means your old “forward” path is replaced by a new one.
Imagine a fork in the road. Once you choose a new road, the old road may vanish. Spooky? A little. Useful? Very.
Final Thoughts
The History Panel is one of the friendliest tools in any editor. It remembers your moves. It lets you undo mistakes. It lets you redo good ideas. It lets you restore earlier versions when your project gets weird.
Most of all, it gives you confidence. You can try the wild font. You can test the big photo. You can make the button lime green just to see what happens. If it goes badly, your tiny time machine is waiting.
Create freely. The History Panel has your back.


WP Clone: Duplicator vs WPvivid for Cloning WordPress Websites
Pick Duplicator for a clean one-off move, and pick WPvivid if you want regular cloning, backups, and staging. That is…