
Creating a paper booklet can be a rewarding project for personal use, school or college assignments, or even professional presentations. A booklet is a small, bound book, often used to compile information, tell a story, or present content in a concise format. Whether you’re crafting a simple DIY booklet at home or preparing a more polished version, this guide will walk you through the process step by step.
Materials You’ll Need
Before you begin, gather the following materials:
– Paper: Choose the type and size of paper that fits your booklet’s purpose. Standard letter-sized paper (8.5 x 11 inches) is commonly used.
– Printer: If you’re printing the content, ensure your printer can handle double-sided printing.
– Scissors or Paper Cutter: To trim the paper to the desired size.
– Stapler or Binding Tool: For binding the pages together.
– Cover Material: A thicker paper or cardstock for the booklet cover (optional).
– Design Software or Templates: If you’re creating the booklet digitally before printing.
Step 1: Plan Your Booklet Content
Start by planning the content of your booklet. Determine how many pages you will need and what will be included on each page. This will help you organize your thoughts and decide on the layout. If you’re designing the booklet digitally, tools like Microsoft Word, Adobe InDesign, or even Google Docs can be used to layout your pages.
Step 2: Set Up Your Document
If you’re designing your booklet digitally:
1. Create a New Document:
– Open your design software and set up a new document. Set the page size to match the paper size you’ll be using. For most home printers, standard letter size is ideal.
2. Configure Margins and Layout:
– Set margins to ensure your content doesn’t get cut off during printing. Consider creating two pages per sheet, which you can fold later to form a booklet.
3. Insert Content:
– Add text, images, and any other content to your pages. Arrange them in the order they will appear in the booklet.
4. Double-Sided Printing:
– Set your printer to print double-sided. If your printer doesn’t support automatic double-sided printing, you can manually print odd-numbered pages first, then reinsert the paper to print the even-numbered pages on the back.
Step 3: Print Your Booklet
Once your design is ready:
1. Test Print:
– Do a test print on a regular sheet of paper to ensure everything aligns correctly and looks good.
2. Final Print:
– Print all the pages of your booklet. Ensure you have set the printer for double-sided printing to get the correct order when the booklet is folded.

Step 4: Arrange and Fold Pages
After printing:
1. Arrange Pages:
– Lay out the printed pages in the correct order. If you printed them double-sided, the pages should naturally align in the order they are to be read.
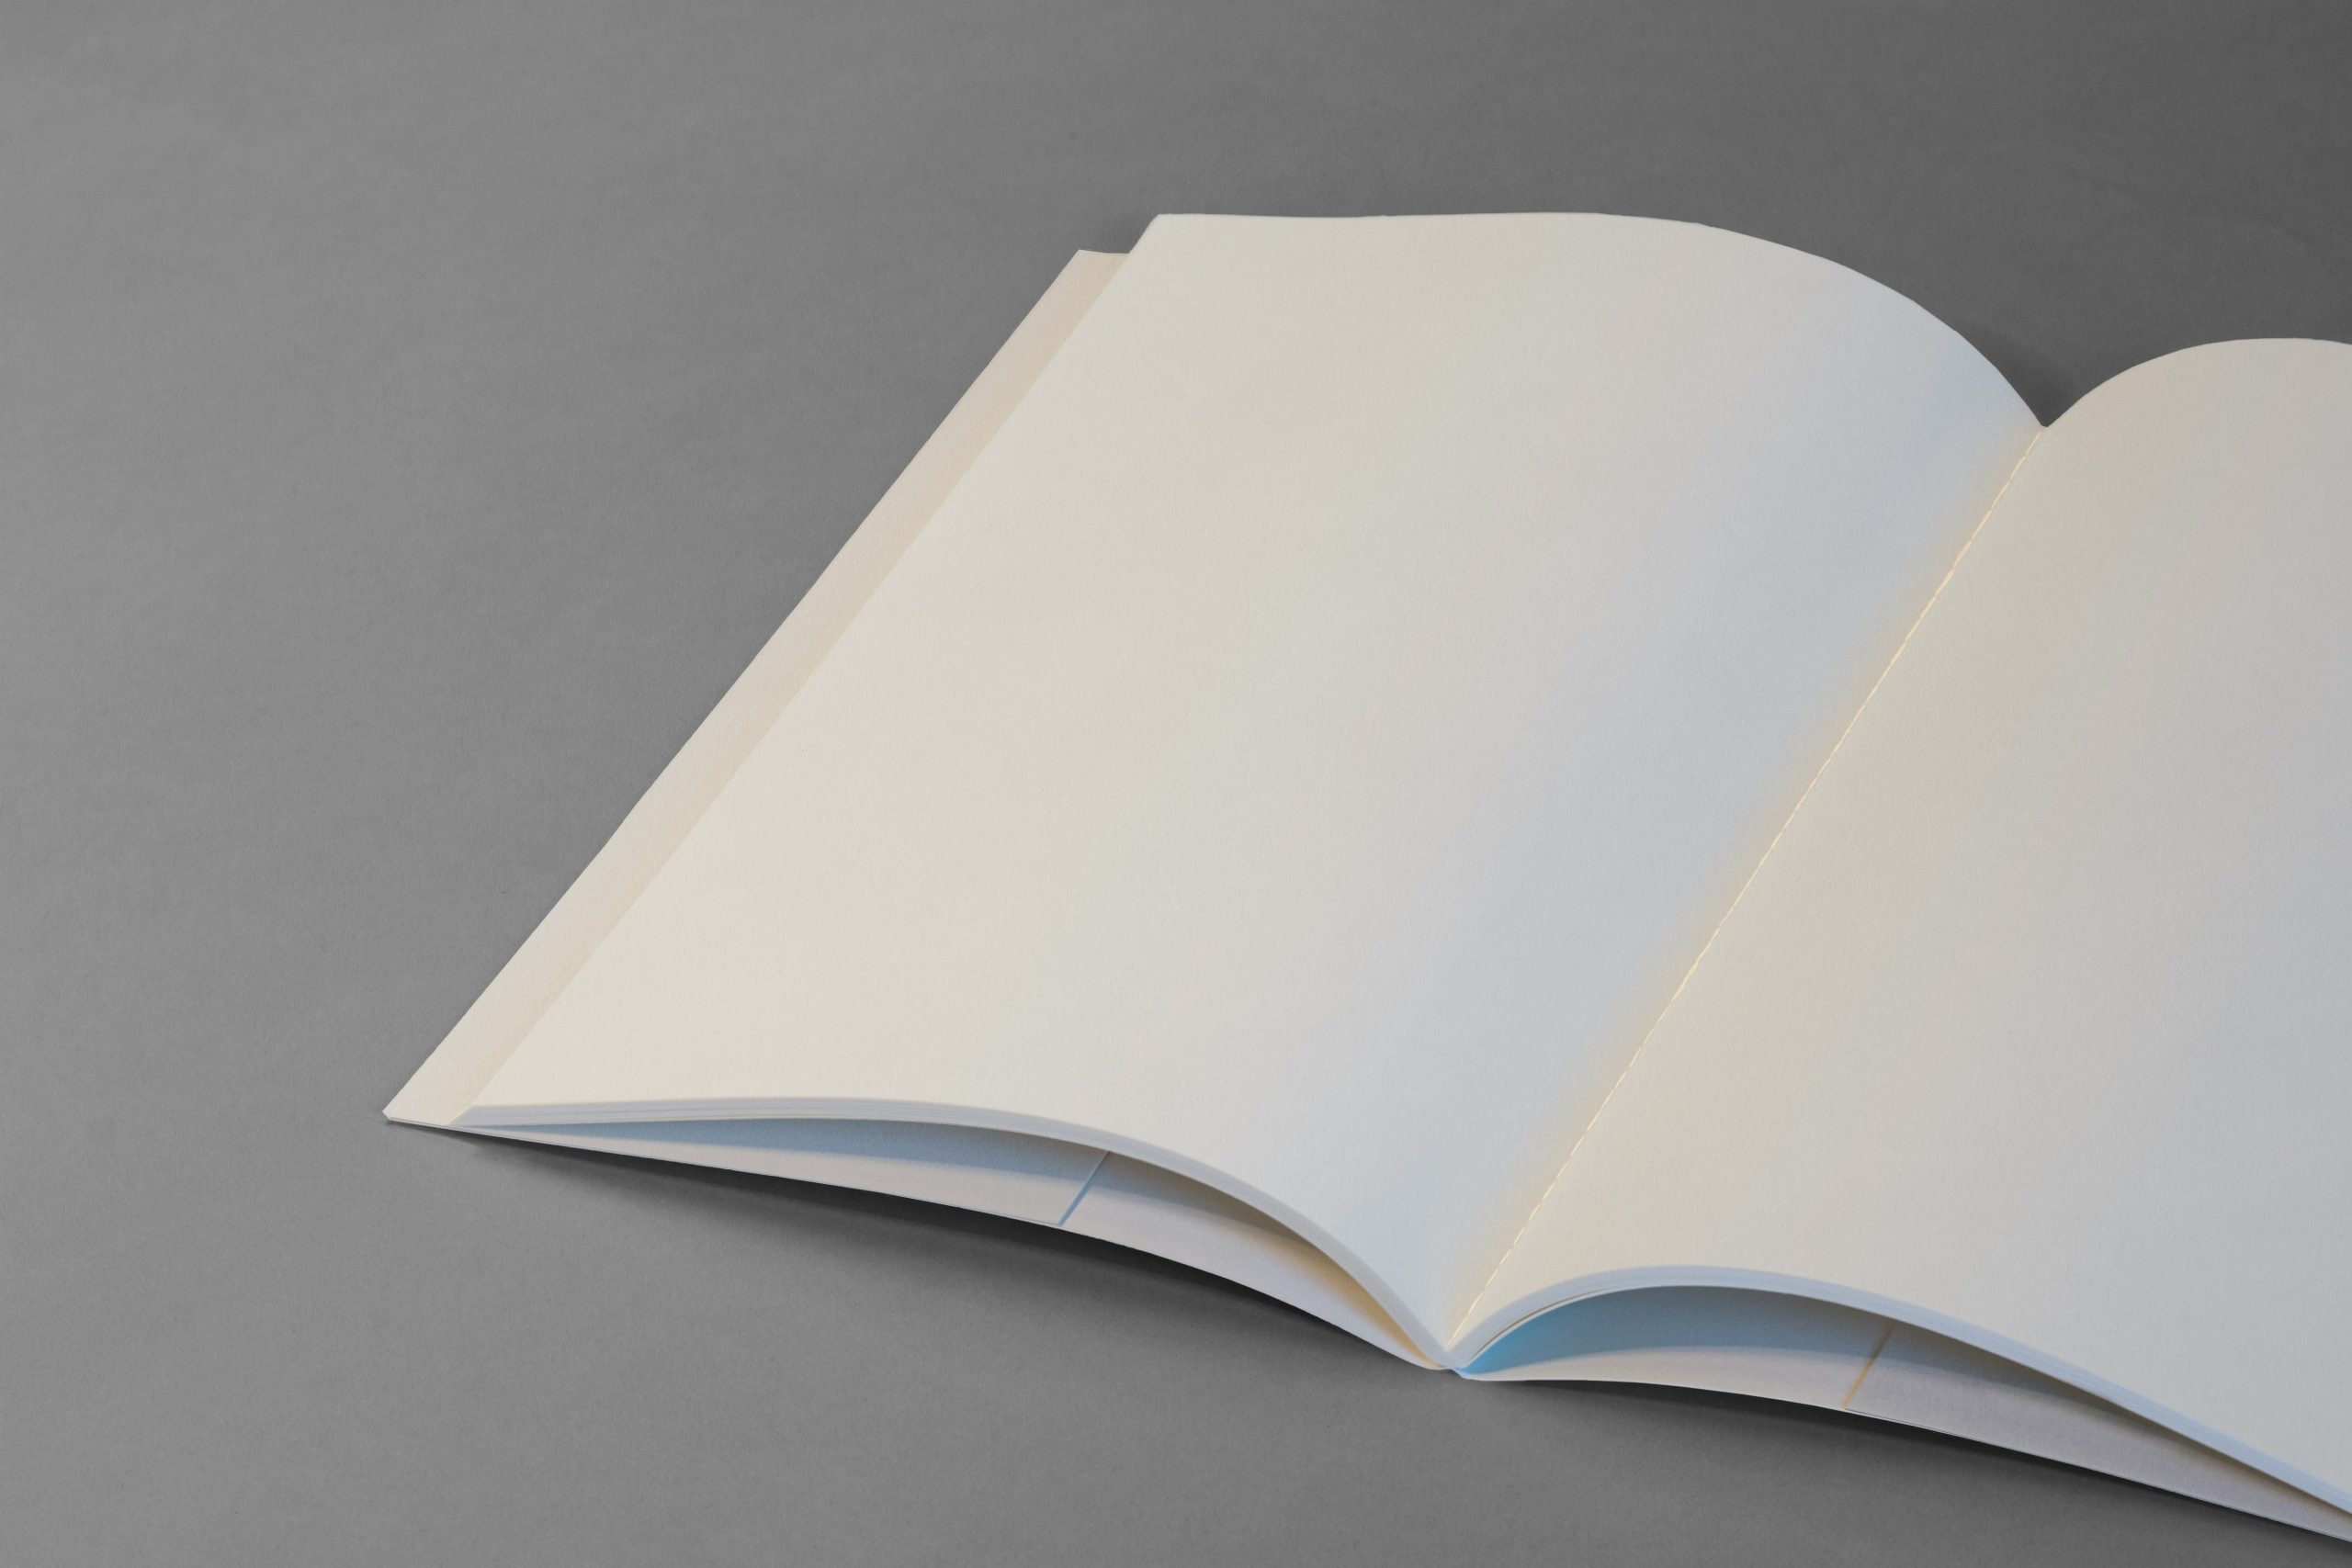
2. Fold Pages:
– Fold the pages in half to form the booklet. For a cleaner fold, use a bone folder or the edge of a ruler to press down on the crease.
Step 5: Trim the Edges (Optional)
If the edges of your folded booklet pages are uneven:
1. Trim the Edges:
– Use a paper cutter or sharp scissors to trim any excess paper, ensuring all pages are the same size. Be careful to cut evenly to maintain a professional look.
Step 6: Bind the Booklet
There are several methods to bind your booklet:
1. Stapling:
– Use a long-arm stapler to staple along the fold line of the booklet. Typically, two or three staples will suffice, depending on the size.
2. Sewing:
– For a more durable binding, use a needle and thread to sew along the spine of the booklet.
3. Glue Binding:
– Apply glue along the spine and attach a cover for a more polished finish.
Step 7: Add a Cover (Optional)
If you want your booklet to have a more professional look:
1. Choose a Cover:
– Select a thicker paper or cardstock for the cover. Cut it to size, ensuring it is slightly larger than the inner pages.
2. Attach the Cover:
– Wrap the cover around the folded pages and secure it by stapling or gluing along the spine.
Creating a paper booklet is a straightforward process that allows for a lot of creativity and personalization. Whether you’re making a simple homemade booklet or a more professional-looking document, following these steps will ensure you produce a quality booklet that suits your needs. With a little time and effort, you can create a booklet that is both functional and visually appealing.

6 Solutions Comparable to Fivetran for Data Integration Automation
As organizations increasingly rely on data to drive strategic decisions, the need for dependable data integration automation tools continues to…