There are several ways to take a screenshot on Windows 11. This guide will show you how to take a screenshot on Windows 11 in a variety of ways.
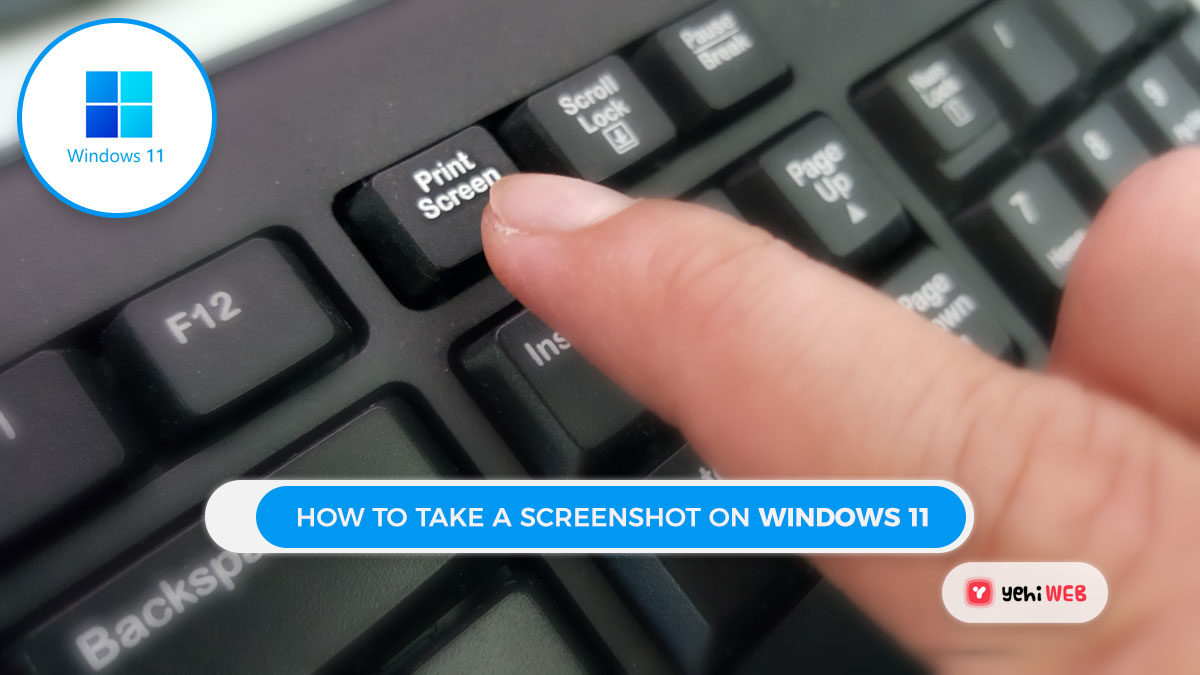
- PrtSc – Captures the full screen and saves it to the clipboard.
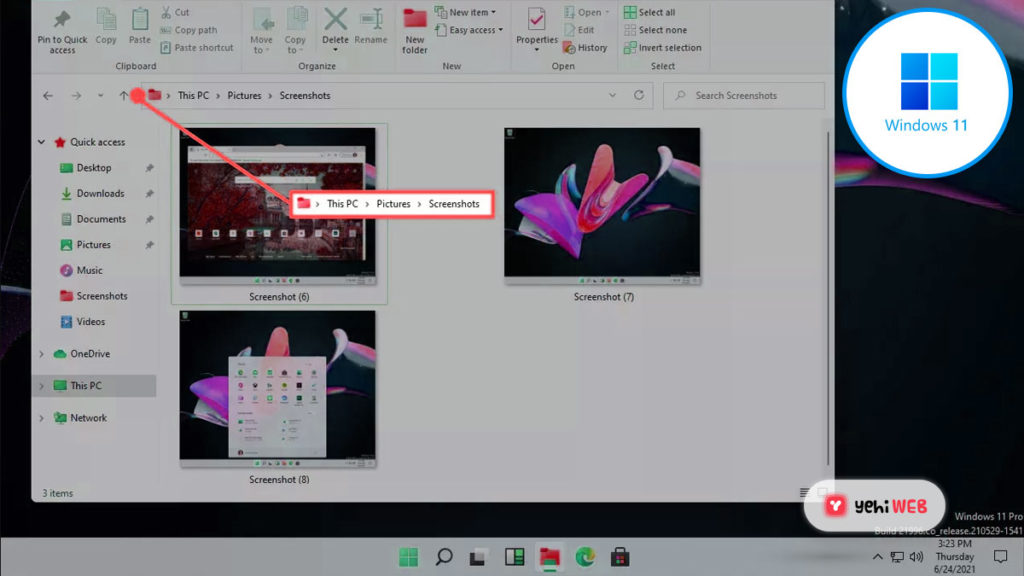
- Win+PrtSc – Fullscreen screenshots are automatically saved to Pictures > Screenshots.
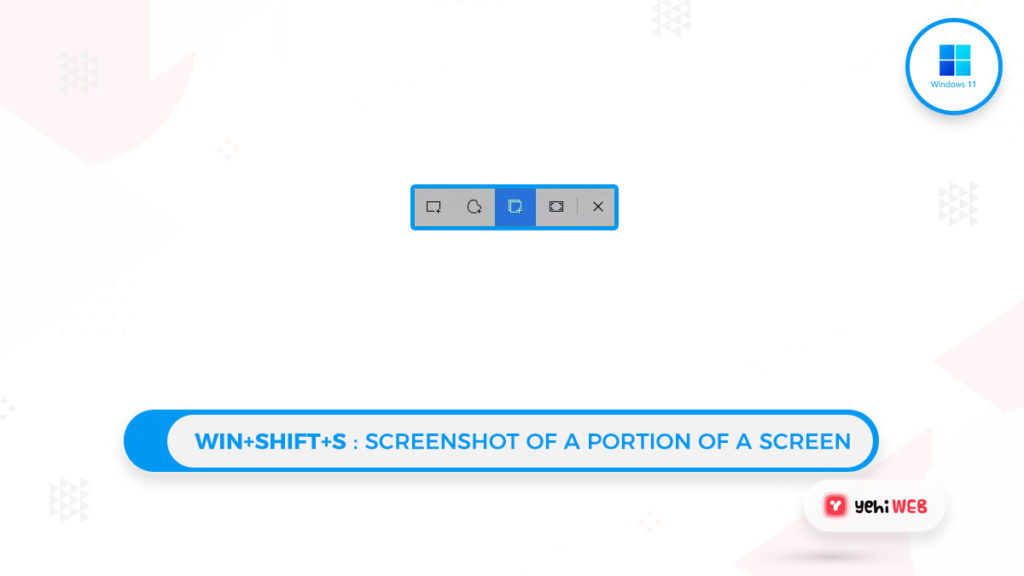
- Win+Shift+S – You can choose a window or an area of the screen.
Screenshot the Whole Screen with PrtSc
In Windows 11, there is a range of options for taking screenshots. The most simple method is to press the PrtSc key on your keyboard. This captures the whole screen, including any extra displays you may have, as well as any visible windows, the taskbar, and the Start button.
You can then paste the screenshot into any app that supports image posting. There are many ways on how you can take a screenshot, but it depends on what you are capturing.
The majority of methods need you to memorize a few keyboard shortcuts. But, there is a built-in feature in Windows 11 that can assist you in taking screenshots.
The majority of methods need you to memorize a few keyboard shortcuts. But, there is a built-in feature in Windows 11 that can assist you in taking screenshots.
Win+PrtSc: Auto-save Fullscreen Screenshot to Folder
If you are capturing a lot of screenshots, this approach will come in handy. Hold down the Windows key while pressing and holding the PrtSc key on your keyboard.
The fullscreen snapshot is then saved in the Pictures > Screenshots folder on your PC. One approach to go to that folder is to search for folders: screenshot.
Win+Shift+S: Screenshot of a Portion of a Screen
This three-button shortcut launches a far more useful snipping tool than PrtSc alone. It still allows you to take a snapshot of the entire screen, but there are three more options.
The screen will dim when you press those three keys, and a tiny menu will appear at the top of the screen. There are four buttons on the screen that allow you to snap various types of screenshots. Here’s how to put them to work:
- Full-screen Snip: Press to capture the entire screen. It is the same as using PrtScr.
- Window Snip: This allows you to take a picture of a window that is open. This is like the rectangle snip, but it eliminates the need for a steady hand to grab that one window. It will screenshot only that one window, removing the taskbar, and so on.
- Freeform Snip: Draw a shape that includes the information you want to save. If the rectangular snip is too limiting to catch everything you need, this is a great option.
- Rectangular Snip: Draw a box around the object you want to capture. This approach takes a screenshot of a small part of the screen (and ignores the rest).
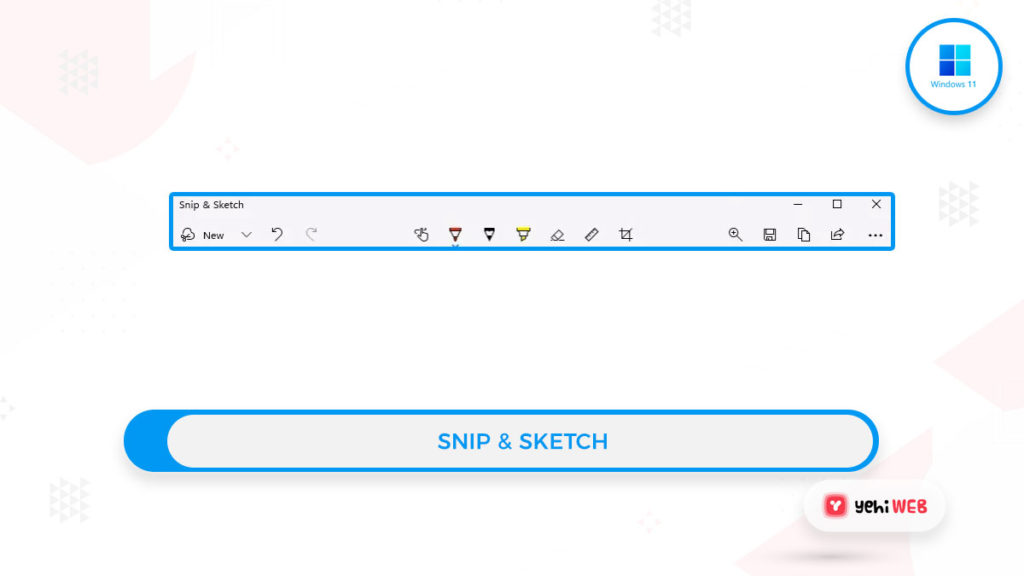
The snapshots are saved to the clipboard when you select one of those options. where you can then copy it and paste it into an email or any software that accepts pictures as attachments. Or, you can choose the prompt that appears at the bottom of the screen when you take a screenshot. It will open in Snip & Sketch, which has a lot of features.
Markup tools like a pencil and highlighter are available in Snip & Sketch. You can also print the screenshot and save it as a JPG or GIF file, and PNG.
Snip & Sketch Delayed Screenshots
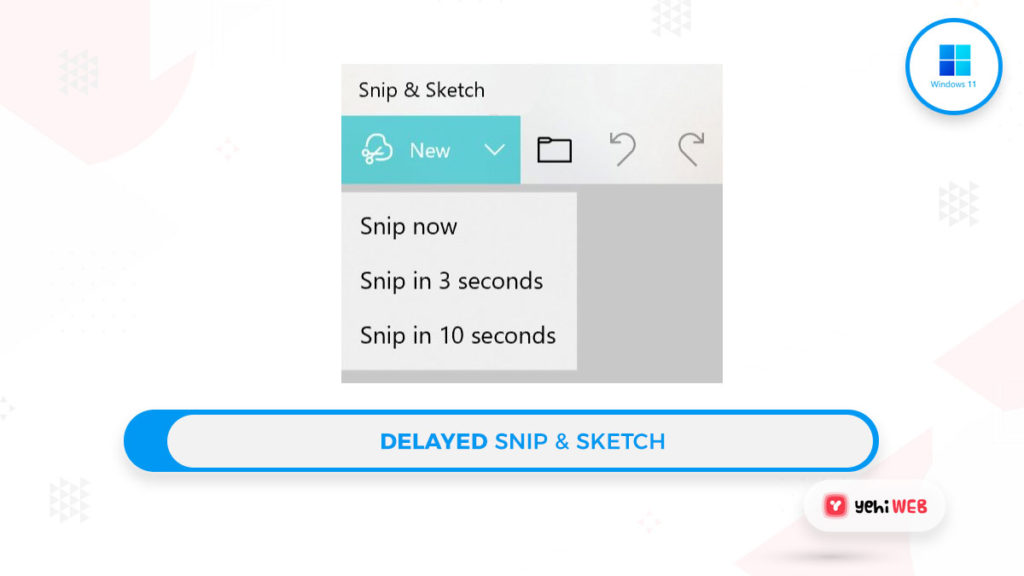
To access the app, click the search button on the taskbar and type in Snip & Sketch. We discussed this tool above, but the delayed screenshot feature is what we will look at now.
It’s difficult to capture screenshots of open menus and other sections of Windows. And if triggering the screenshot causes you to lose track of what you are doing. A timed screenshot option is included in Snip & Sketch. So you can do what you need to do and then sit back and wait for the screenshot to happen.
Select the arrow next to New while the program is open. Snip in 3 seconds or Snip in 10 seconds are the two options. Choose one and then arrange the screen for the screenshot as needed. The four alternatives listed above will appear at the top of the screen when the time you choose is reached.
Tips: How to Screenshot in Windows 11
- Use the crop tool to further specify which parts of a picture you want to keep once it’s imported in Snip & Sketch. And do so without the need to capture a new snapshot
- If your desktop wallpaper has colors or shapes, they might appear in screenshots. You may avoid this by using an all-white background.
- By opening Snip & Sketch’s settings and enabling Snip outline. You can draw an outline around any picture. And you are free to use whatever border color you like.
- If you need a certain height and width for your window screenshots. You can use the free sizer tool to resize the window before you take the picture.
Instead, you can use one of the many screenshot apps available. Increased functionality is one reason you may want an app for taking screenshots. A screenshot app, for example, allows you to capture a screenshot of a full web page. And that is something you can do using the methods above.
FAQs
How To Take a Screenshot on Windows 10?
Use the Windows+PrtSc keyboard combination to capture the whole screen. Or you can use the Snipping Tool to select a mode, choose a screenshot delay period. You can configure it further from the options box. Another way to take screenshots on Windows 10 is to use the Game Bar by pressing Windows+G and Select capture icon.
How to screenshot in Windows 11 Laptop?
Using keyboard shortcuts or the Snip & Sketch tool, you can take the screenshot the same way as before. If the PrtSc key on your laptop has several functions, you may need to use the Fn+PrtSc key to save full-screen photos.
Saad Shafqat
Related posts
New Articles
Do Older Vizio TVs Have WiFi Settings? Models, Limitations, and 3 Ways 60% of Users Get Online
Vizio has long been known for delivering affordable televisions packed with features, but if you own an older model, you…

