When using a computer, the brightness of your display is essential. Movie streaming, video games, working or creating art all rely on a good display.
All features like Night Shift are dependant on Windows 10 brightness control. Night Shift changes the brightness of your display as per your environment lighting.
But, many users have reported that Windows 10 brightness control is not functioning. It indicates that the control has vanished or that you can’t adjust the display brightness at all.
The Issue/Bug renders the users unable to Increase/Decrease the screen brightness. I have experienced it firsthand, and believe me, when I say it is more aggravating than it appears. But, there is a solution.
Windows 10 Brightness Control
For PC users, the feature to control screen brightness is crucial. And higher brightness drains the battery faster. That’s why it is one of the most reported issues many users these days are having.
In this guide, we will show you How to get Windows 10 Brightness Control to function again? For convenience, we have compiled six solutions for you. The solutions will resolve the issues with Windows 10 brightness control.
Solution #1: Update Drivers For Display Adapter
Automatic Driver Update
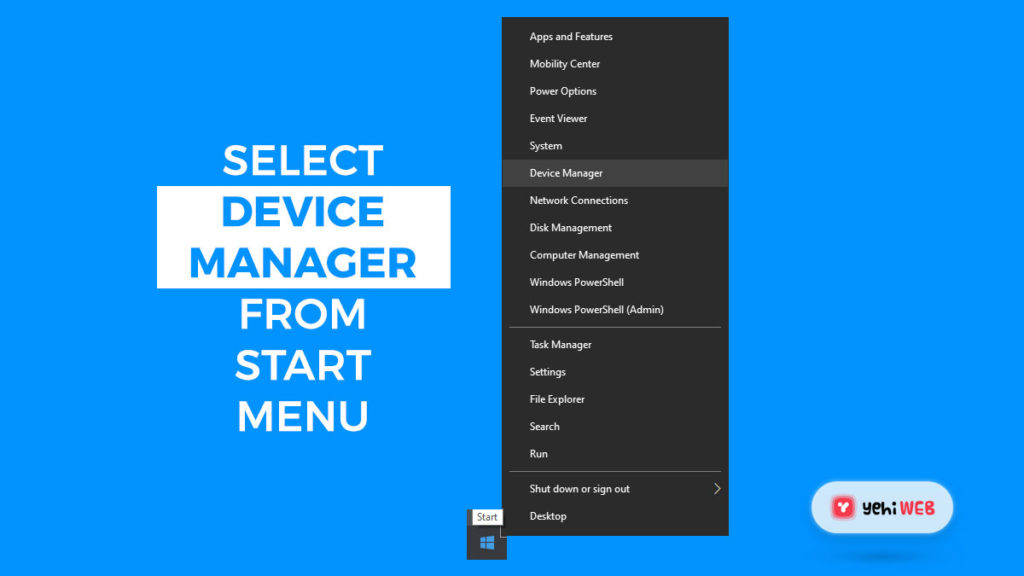
- Right, Click on Windows Start Button and Select Device Manager.
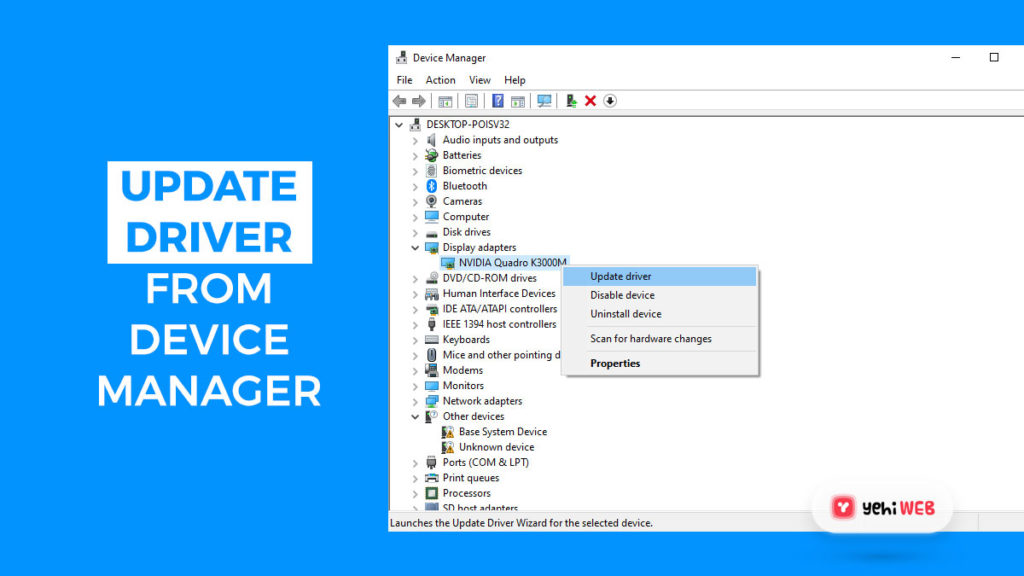
- In Device Manager, click on the arrow icon associated with Display adapters to Expand.
- Right-Click on the driver listed under Display adapter. And Select Update Driver Software.
- Select Automatically search for updated driver software to let Windows update the driver.
- After the Driver update is complete, Restart the Computer.
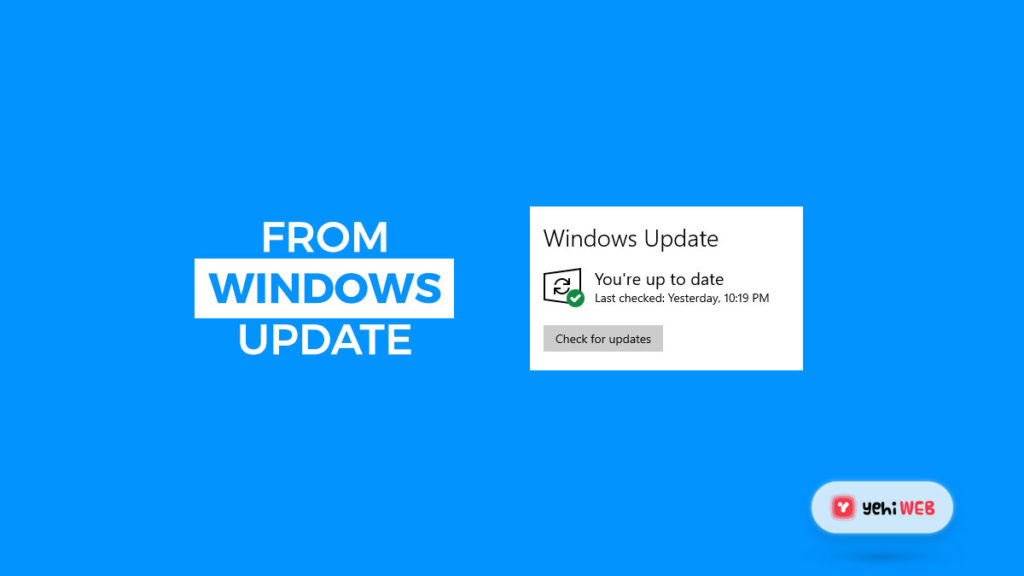
Additionally, you may also get the drivers from the manufacturer’s website for your PC. The latest display and chipset drivers are available on the manufacturer’s website.
Manual Driver Update
To update your drivers for the Display adapter, you need first to check the type of graphic card you are using. Follow the steps mentioned below to do so:
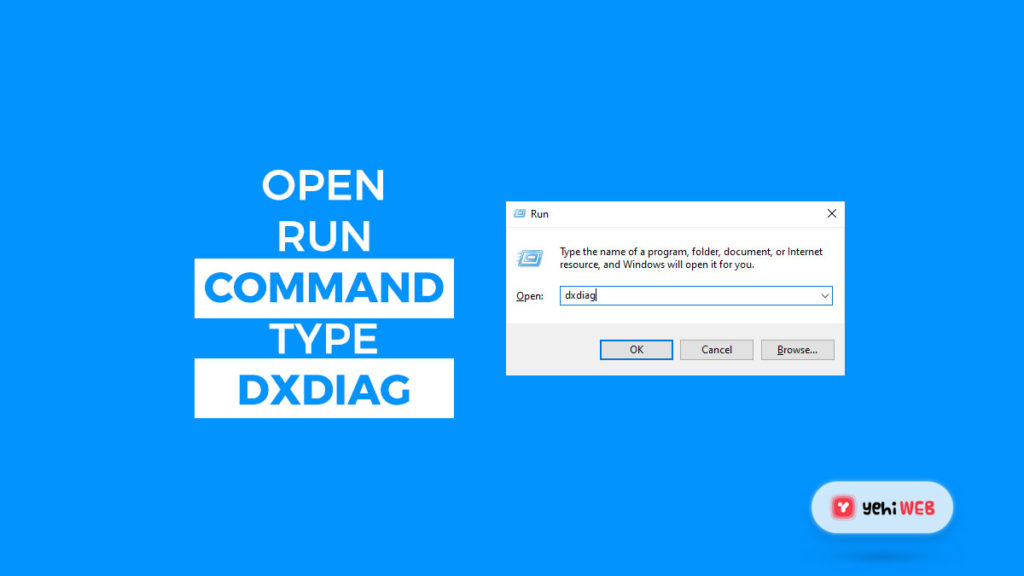
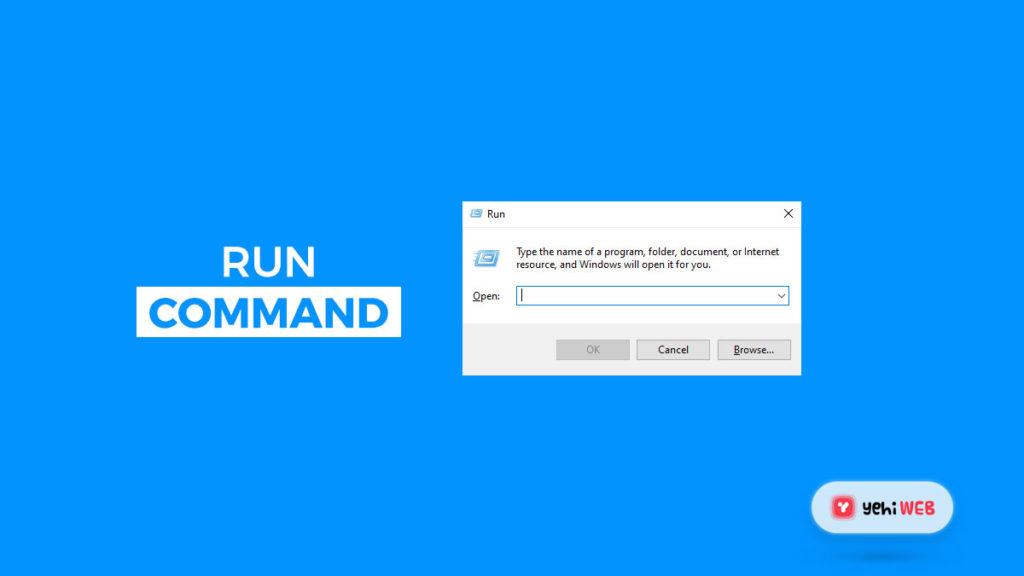
- Open Run utility by pressing Windows + R keys on your keyboard.
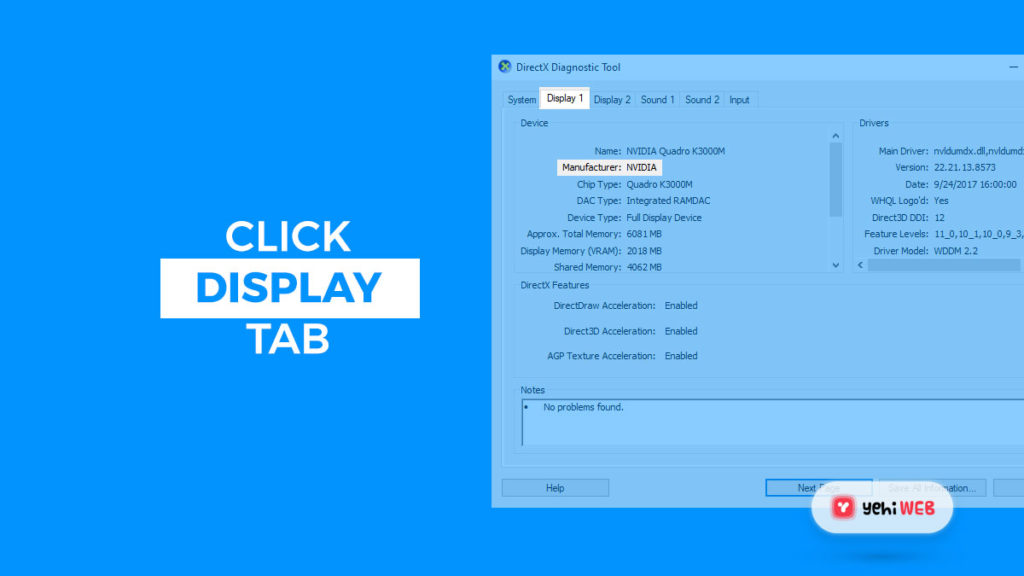
- In the Run utility search box, type DxDiag and hit enter. This will launch DirectX diagnostic tool. The applications show all information about your system & hardware.
- Once in DirectX diagnostic tool, click on the Display tab from the top bar.
- In the Display tab, you can read the name and manufacturer of your card.
Now that you have determined the name of the manufacturer of your display card. You can head to the manufacturer’s website and download/Install the latest drivers for your display card.
- Download the driver for your display adapter from the manufacturer’s website.
- Navigate to where the driver is stored after the download is complete.
- Double-click on the display driver, and follow the wizard to complete the installation process.
Solution #2: Turn On Adaptive Brightness
In this solution, we will turn on the Adaptive Brightness on the computer. This feature employs light sensors to change display brightness as per the environment. And it resolves the issue with Brightness control in Windows 10 in most cases.
Modern Laptops, smartphones, and tablets have access to Adaptive Brightness. As stated earlier, the features use light sensors to change your display brightness. To enable this feature, follow the steps mentioned below:
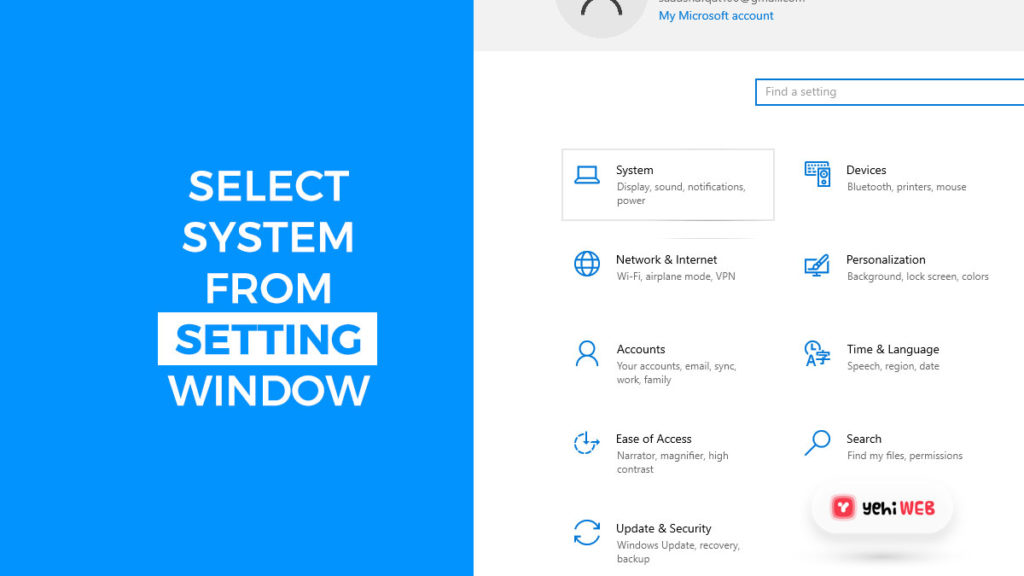
- Press Windows + I keys on your keyboard to open the Settings app. Or you can open the settings app by click on the start button and selecting the gear icon.
- From the settings app, click on the system.
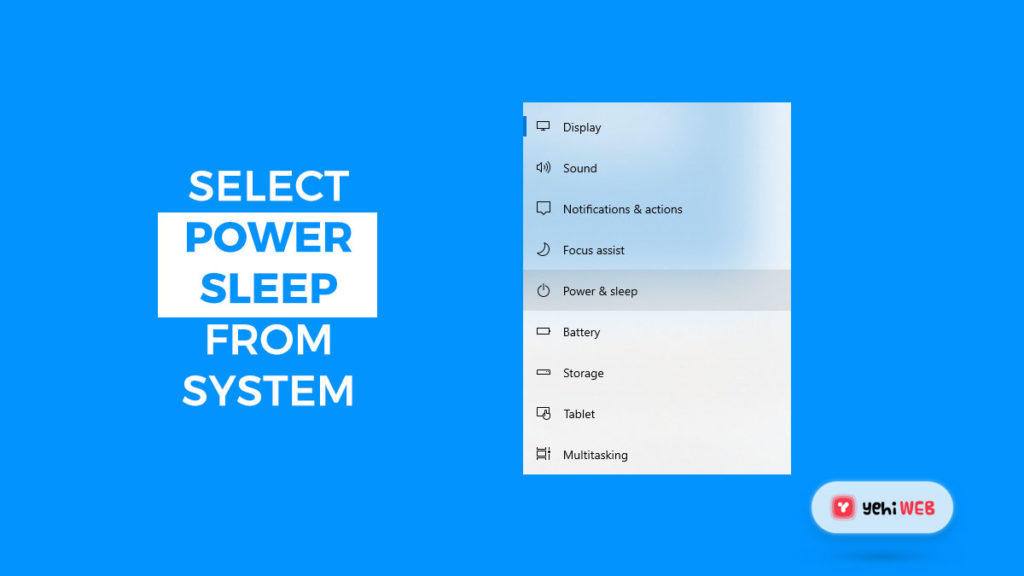
- From the menu on the left, click on Power & Sleep.
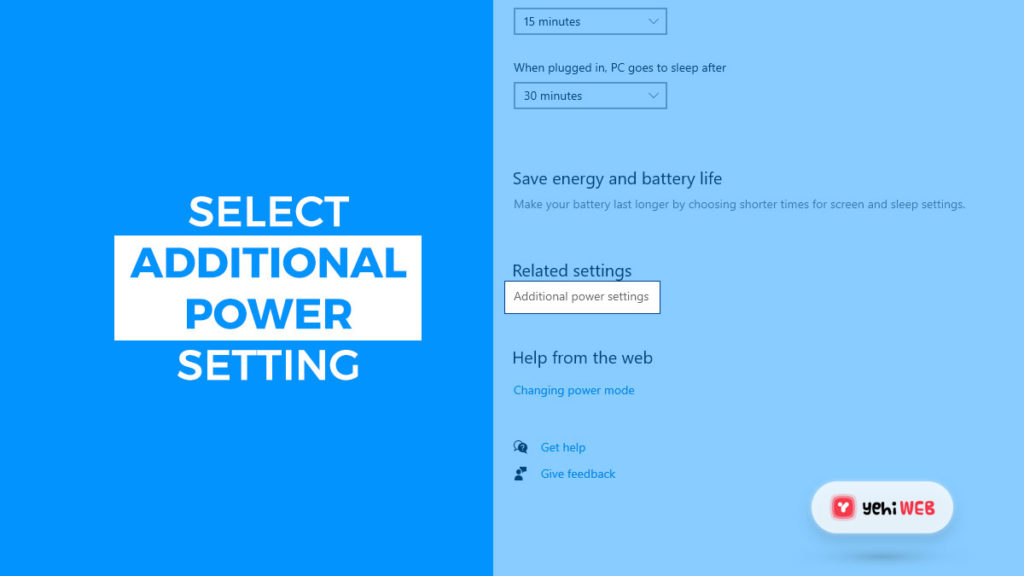
- In Power & Sleep window, Scroll down and select the Additional Power Settings link. The link will launch Power Options Window.
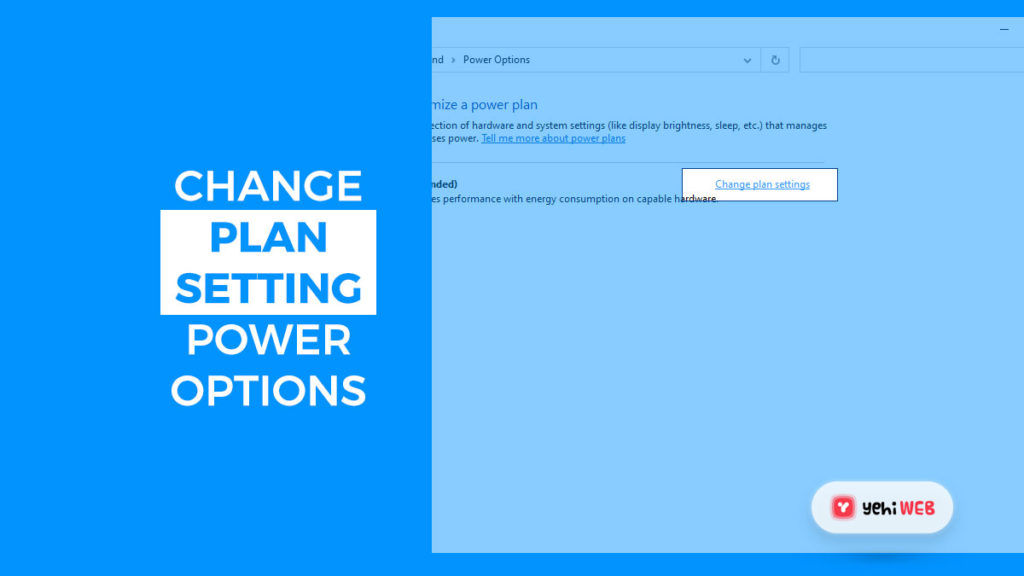
- Check the plan you are on now, and then click the Change plan settings link to the right.
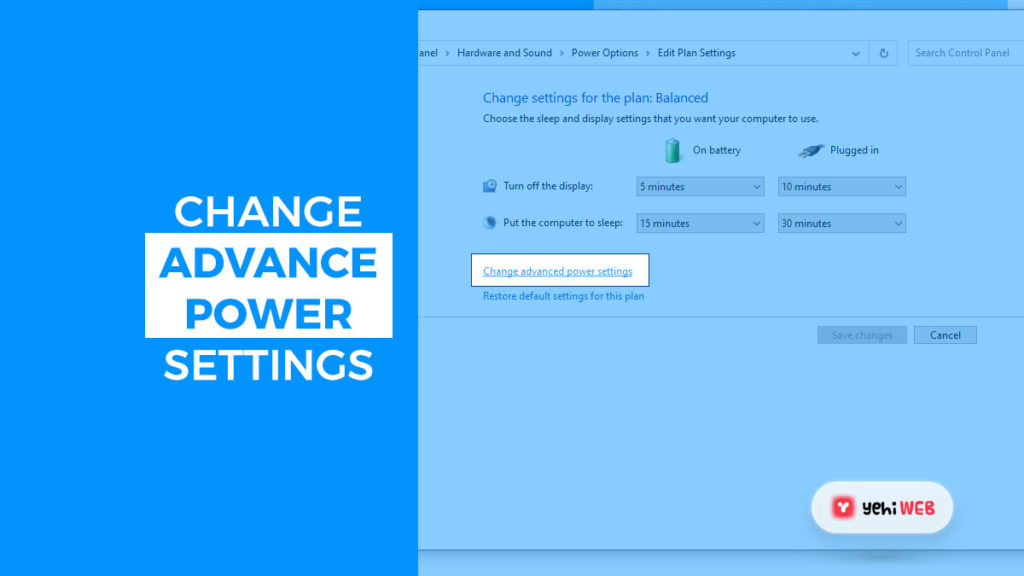
- Change advanced power settings by clicking the link.
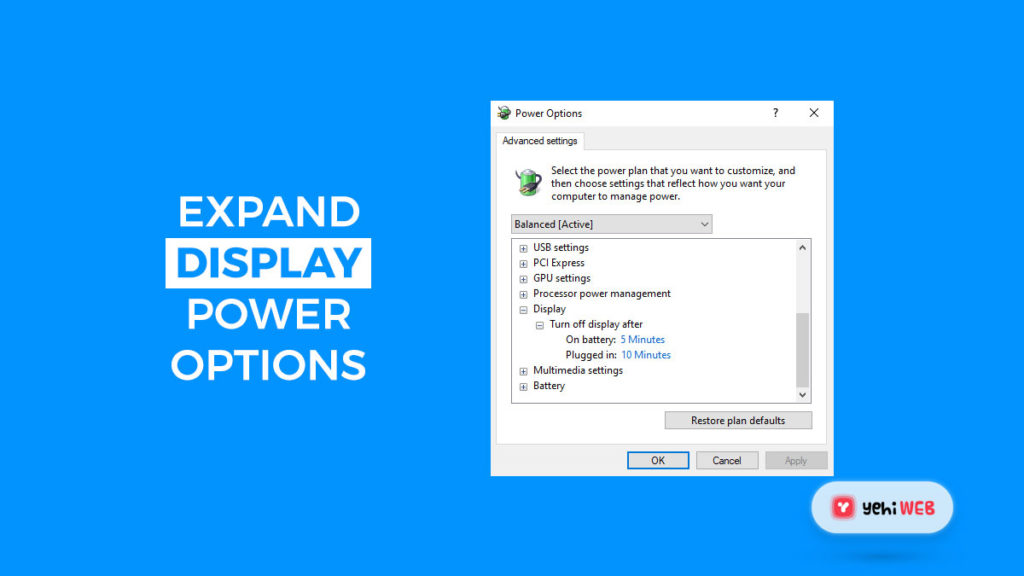
- Scroll to the bottom of the page until you see the display. To expand the section, click the + icon.
- Switch the setting to On by clicking the + icon next to Enable adaptive brightness.
- After that, click OK. If the changes don’t take effect right away, restart your computer.
Solution #3: Enable PnP Monitor
This solution works for users using Pnp Monitors. Pnp (Plug and Play) Monitors run on your computer without installing any drivers.
The issue occurs when a system driver or an update disable your monitor in the device manager. Although the cause of this is not known, it’s still a good idea to check if this happened to you.
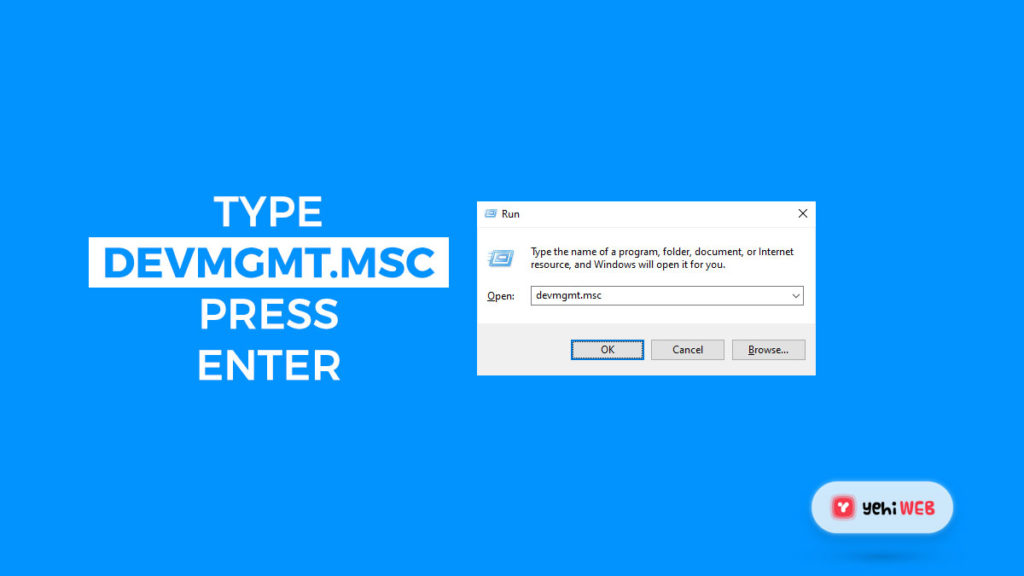
- Open the Run Dialog box by pressing Windows + R button on your keyboard.
- In the search box, type devmgmt.msc and hit enter to open Device Manager. Or you can also search for Device manager in the Windows search box.
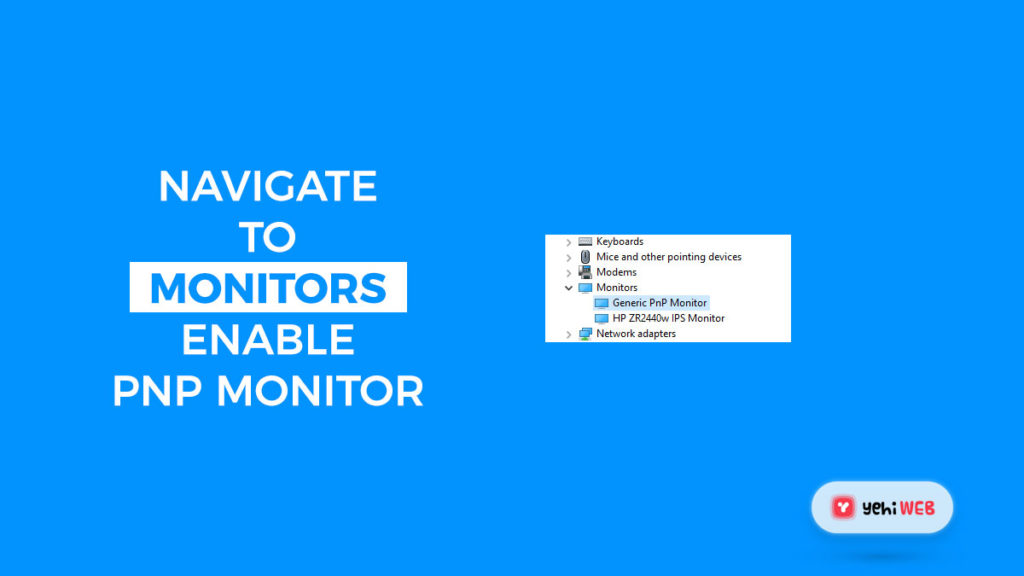
- Navigate to Monitors and click on the Arrow Icon to expand it.
- Under Monitors, right-click on your active PnP Monitor and select Enable Device.
- After following the steps mentioned above, restart your computer to apply the changes. And after that, try adjusting your display brightness again.
Solution #4: Use your Graphic Card’s Software
Your Graphic Card’s software can also take care of brightness control of your screen. And this solution works for those unable to change brightness straight from Windows.
The steps to change brightness through a graphic card vary based on your card itself. Nvidia comes with Nvidia Control Panel, and ATI comes with Catalyst Control Center.
You may see the icon of your graphics card in your system tray if you have one of these tools installed. Right-click on the icon and select the control application.
Solution #5: Update the Registry
Many ATI graphic card users have reported a bug with the Catalyst control center. The bug prevents users from controlling the brightness of your display.
This bug is most reported in Catalyst version 15.7.1. But, this does not rule out the possibility that the problem will emerge in future versions.
You are an ATI customer with Catalyst installed?
Use the following solution if you are unable to alter your brightness:
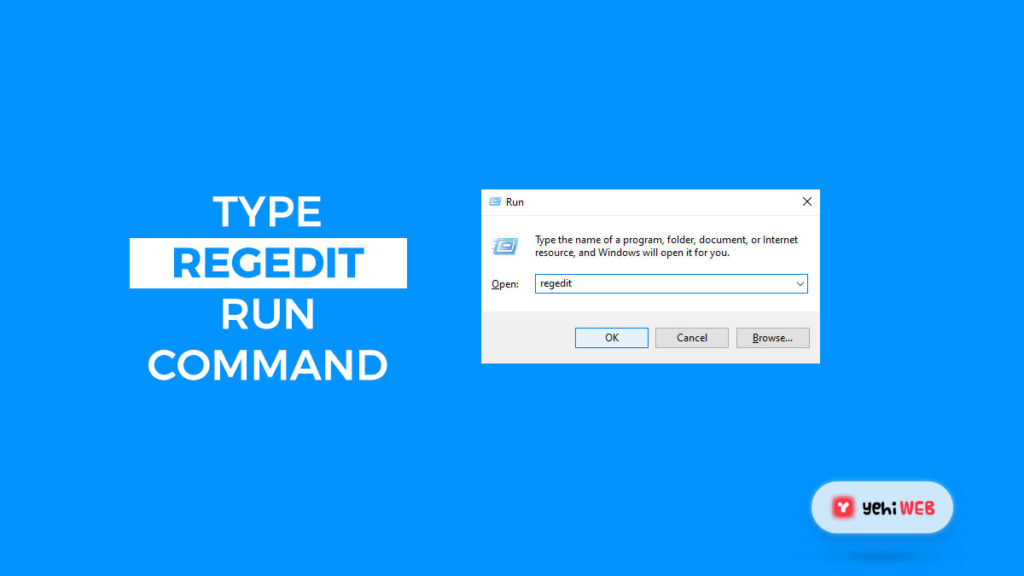
- Launch the Run application by pressing Windows + R Keys on your keyboard.
- In the search box, type Regedit and hit enter to launch Registry Editor.
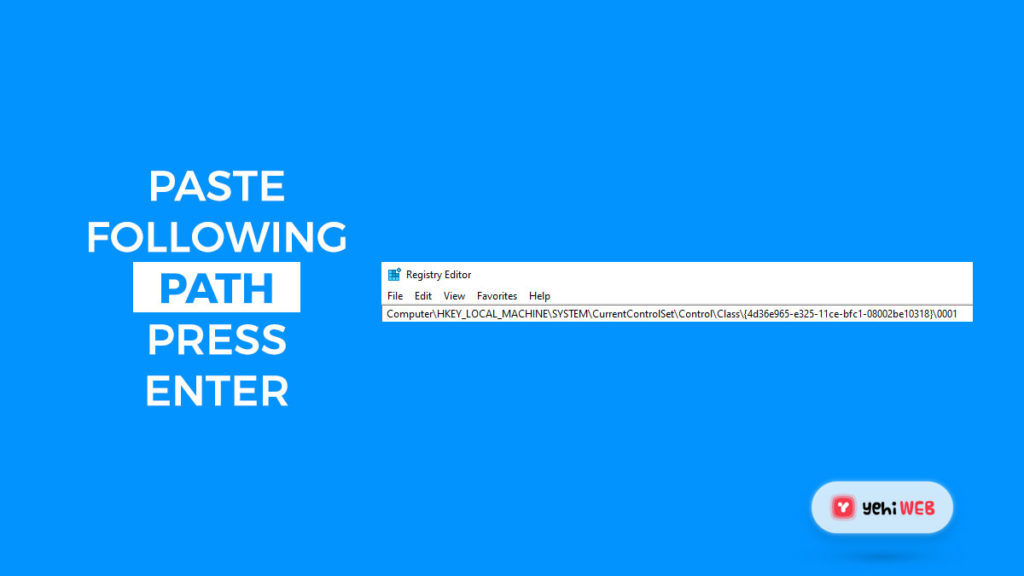
- You can navigate through the Registry Editor by clicking the arrow icon next to a folder’s name. Navigate to the following path using this method:
- HKEY_LOCAL_MACHINE \ SYSTEM \ ControlSet001 \ Control\Class \ {4d36e968-e325-11ce-bfc1-08002be10318} \ 0000
- Double-click on MD_EnableBrightnesslf2 and change the value to 0. Repeat the same process with MD_EnableBrightnessInterface2.
- Now, Navigate to the following path:
HKEY_LOCAL_MACHINE \ SYSTEM \ CurrentControlSet \ Control \ Class \{4d36e968-e325-11ce-bfc1-08002be10318} \ 0001
- Double-click on MD_EnableBrightnesslf2 and change the value to 0. Repeat the same process with MD_EnableBrightnessInterface2.
- Now, close the registry editor and restart your computer.
Solution #6: Use the Basic Display Adapter from Microsoft
In case the solutions mentioned above don’t work for you, and the issue persists. Set the device’s standard graphics card driver to Microsoft Basic Display Adapter. Doing so often resolves the issues with Windows 10 brightness control.
- Launch the run Application by pressing Windows + R keys on your keyboard.
- In the search box, type devmgmt.msc and hit enter to open Device Manager.
- Navigate to Display adaptors and click on the arrow icon to expand it.
- From the expanded list, right-click on your display driver and select Update Driver.
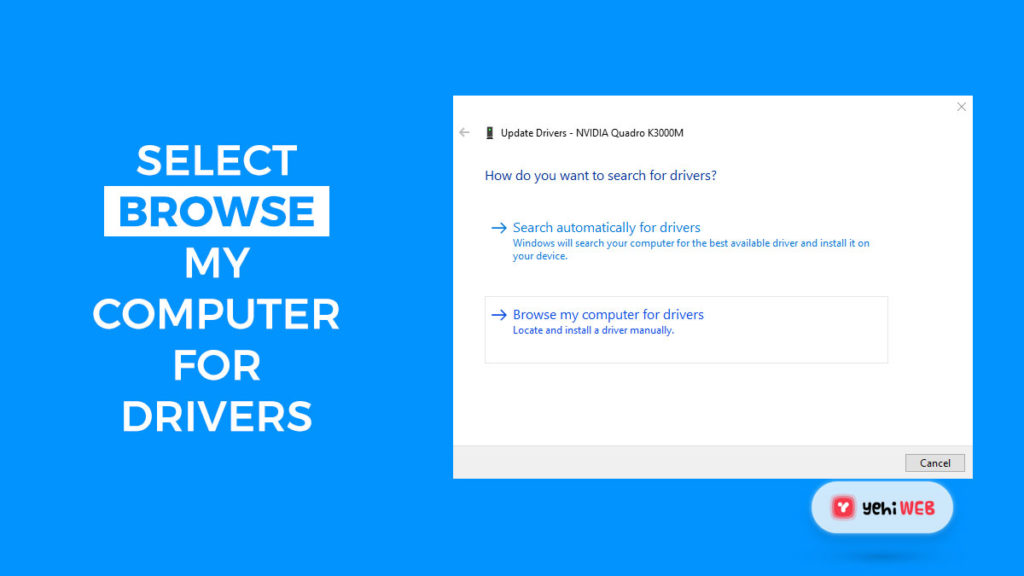
- From the new windows opened, select the Browse my computer for driver software option.
- Next, select Let me pick from a list of available drivers on my computer option.
- Wait for the list of available drivers to appear on the screen. Click the Microsoft Basic Display Adapter, then the Next button once it has loaded.
- To set it as your default adapter, follow the on-screen instructions. After that, you should restart your computer.
Bilal Shafqat
Related posts
New Articles
What is the difference between FMWhatsApp and GBWhatsApp?
In the world of messaging apps, WhatsApp reigns supreme as one of the most popular platforms for connecting with friends…

![How to get Windows 10 Brightness Control to function again? [ Complete Solution ]](https://yehiweb.com/wp-content/uploads/2021/07/How-to-get-Windows-10-Brightness-Control-to-function-again-Yehiweb-1200x675.jpg)
