install Tomcat 7
Apache Tomcat, like the Apache HTTP server, is an open-source web server from the Apache Foundation. It is used to deploy JSP and Servlet applications in Java. We can easily generate a war file and deploy it in Tomcat to deploy an application.
In this article, you will learn how to install Tomcat 7 on Ubuntu, Linux Mint & Debian.
Step 1: Verify Java is Installed
First, we must ensure that Java is installed on our system. The first prerequisite for installing Tomcat is JAVA. To see if you already have Java installed on your system, run the command below. Attempt to keep Java up to date by installing the latest version.
Use this link to install Java 8 on Ubuntu if you don’t have it installed.
Step 2: Download Apache Tomcat Archive
Let us download the Apache Tomcat archive file from Apache official site using
or use the following command to download Tomcat 7.0.68 from the Apache server after properly configuring JAVA on your system.
After the download is complete, extract the archive file to the /opt directory. This location can be changed to suit your needs.
Step 3: Configure Environment Variables
Configure environment variables before starting Tomcat by adding an entry to the /.bashrc file, so that the system environment can be set when the system boots up with the following command.
Step 4: Now Start Tomcat
Once you have completed all of the above steps, run the command below to start Tomcat. It is not necessary to compile the source. As Tomcat starts on port 8080 by default, make sure no other applications are using the same port.
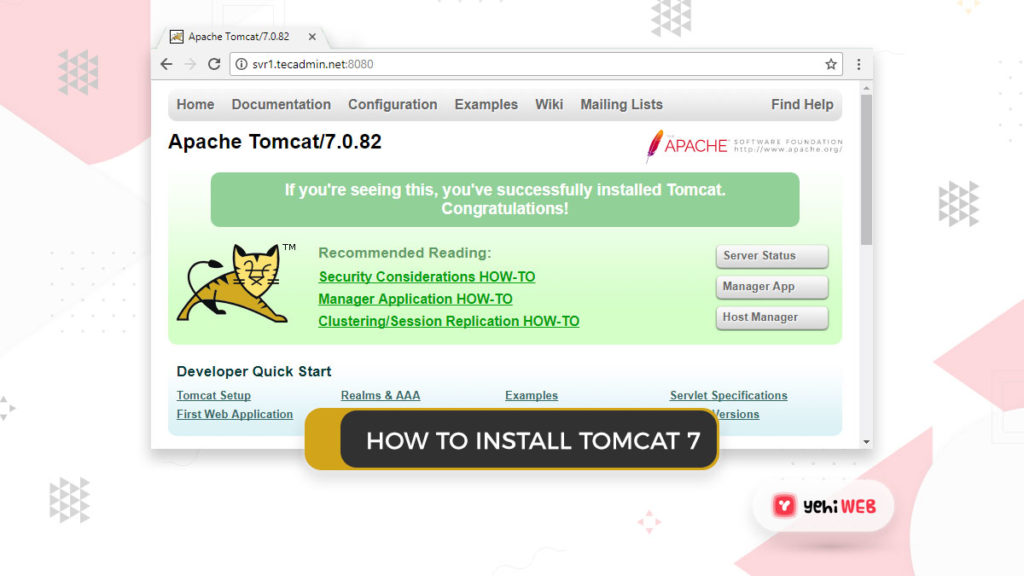
Step 5: Access Tomcat On Browser
8080. Connect your server to port 8080 and use a web browser to access Tomcat. 
Step 6: Create User Accounts
Finally, user accounts must be created in order to secure and access admin/manager pages. In your editor, open the conf/tomcat-users.xml file and paste inside the and /tomcat-users> tags.
Step 7: Create Init Script for Tomcat 7
/etc/init.d/tomcat7 init file with the following content. To configure proper permissions and symbolic links for the init script, run the following commands.
Saad Shafqat
Related posts
New Articles
Android Not Opening PDFs – Causes and Easy Fixes
Imagine settling down for a cozy evening, ready to dive into that important PDF document you’ve been meaning to review….


