Performing site backups are crucial for WordPress website maintenance. Without them, website owners risk permanently losing data due to security breaches or a corrupted database.
Backing up WordPress site data can be difficult for beginner website owners. That’s because creating backups requires a good understanding of how to use web hosting control panels and WordPress.
This article will cover the steps of creating a WordPress backup using three easy methods. You will also learn various tips about WordPress site backups.
What Is a WordPress Backup?
A WordPress backup is a duplicate version of your WordPress site containing all of its files and database.
The website files stored in the backup are the WordPress core installation files, such as themes, plugins, images, static web pages, and scripts.
Meanwhile, the database contained in the backup includes other pages, posts, and comments.

Creating WordPress Backups Using 3 Easy Methods
Backing up your WordPress sites can be tricky as you need to know how to use the web hosting dashboard, hosting file manager, and WordPress plugins.
We will go over three options for creating WordPress backups.
1. Through Your Web Host
Website owners who use a web-hosting service, such as managed WordPress hosting, can create backups directly from the hosting control panel.
Web hosting companies might use a control panel, such as cPanel, Plesk, Webmin, or ISPManager. A control panel helps users manage their servers and websites. Each control panel has a different graphical user interface (GUI) but similar tools.
Here are the steps of creating a backup using cPanel:
Step 1: Access Your Web Hosting Control Panel
First, you need to log in to your hosting account. Enter your credentials – email address or username and password – on the login page.
Once logged in, you will see your hosting dashboard with various tools, including cPanel. Click on the link or button to access the cPanel dashboard.
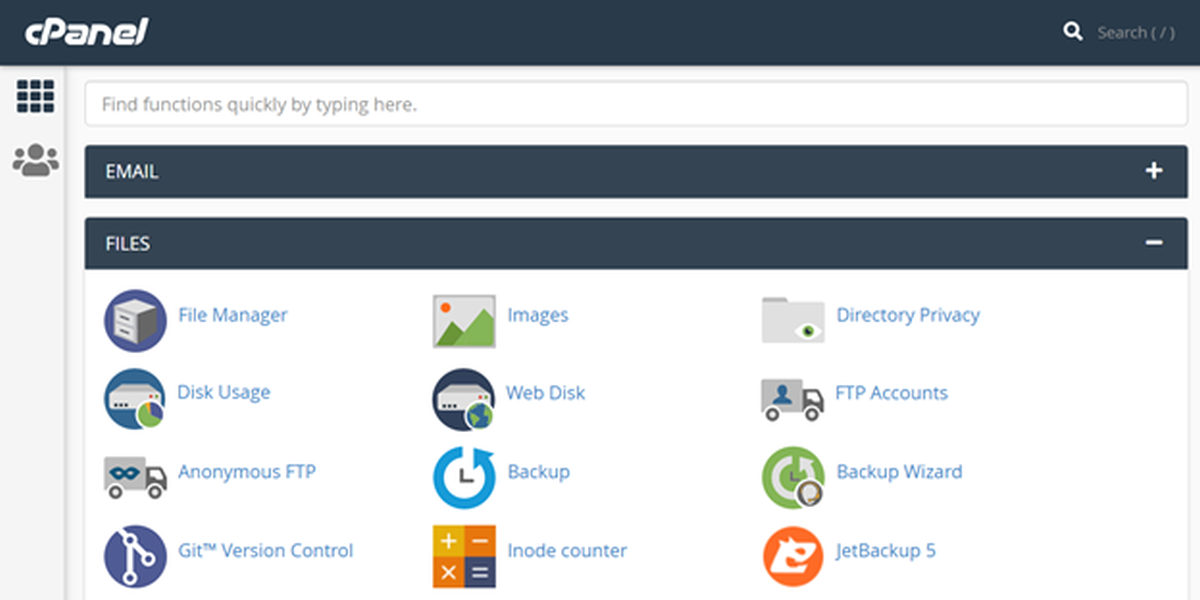
Navigate to the Files section containing the file management tools. You will find two backup tools there – Backup and Backup Wizard.
The main difference between them is that backup provides advanced backup creation, while Backup Wizard offers a simpler way of creating backups.
Step 2: Backup Your Website Files
Consider using Backup Wizard, as you can back up your entire website files in just three steps.
During the first step, you’ll see two options – Backup and Restore. Click on the Backup button to start the backup process.
You’ll have to choose whether to create a Full Backup or Partial Backup. Pick the Partial Backup option as Full Backup is used to create a copy of your account or to move it to another server.
Download the backup file by clicking on the Home Directory button. The file will be saved on your local machine.
Step 3: Backup Your Database
To create a database backup, go back to Backup Wizard and click Back Up. Select the Partial Backup option, then hit the MySQL Databases button.
After that, choose which database file you want to download from the available list. Once you click one of the database files, the download process will begin.
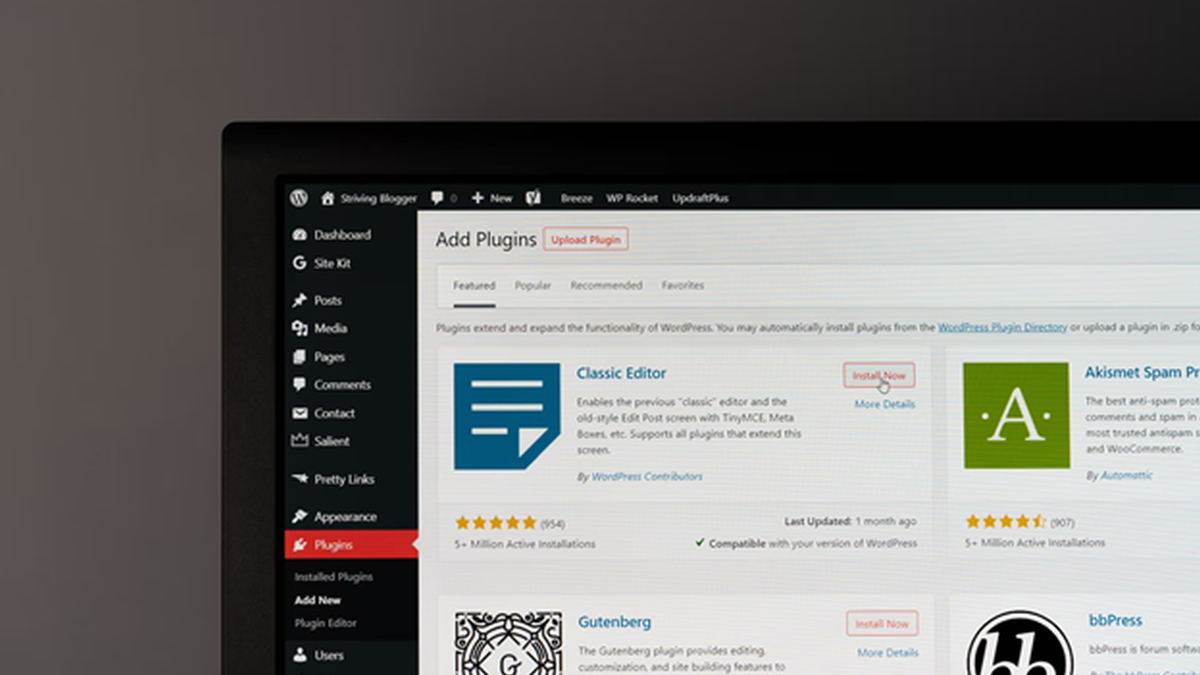
2. Using a WordPress Backup Plugin
There is another way to back up your WordPress website that involves using a plugin.
There are various WordPress backup plugins to choose from. One of the most popular is UpdraftPlus.
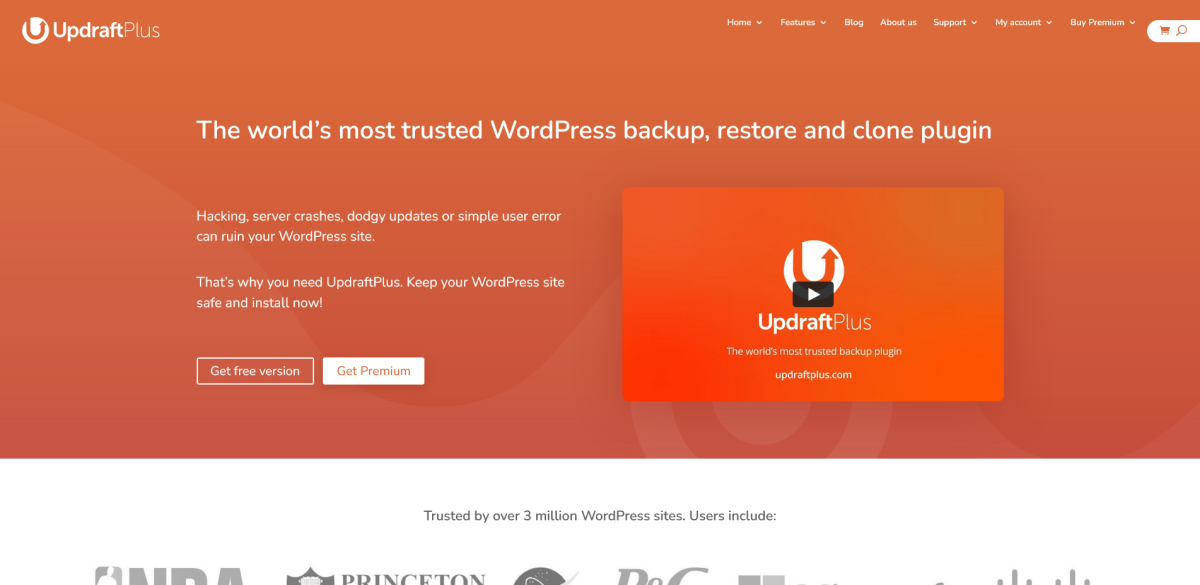
UpdraftPlus has a free and premium version. Though the free version provides the basic functionality, the premium one has many additional features, such as migrating or cloning a website, incremental backups, and restoring backups made by other plugins.
If you plan to use UpdraftPlus as your WordPress site backup tool, consider trying out the free version before paying for the premium version.
Step 1: Set Up UpdraftPlus Backup Plugin
Once downloaded and activated, you can configure UpdraftPlus for maximum usabilities, like setting up where to store the backup file.
UpdraftPlus allows you to save your backups on remote storage, such as Google Drive, Google Cloud, Dropbox, and Microsoft OneDrive.
To choose a remote storage provider, begin by going to the WordPress dashboard and navigating to Settings -> UpdraftPlus Backups. Click the Settings tab and select one of the cloud storage platforms. Finish by clicking the Save Settings button.
The plugin will show you a pop-up window containing the link to authorize your selected cloud storage account. Fill in the fields to proceed.
If the authorization is successful, you will be taken back to the UpdraftPlus Settings tab.
If you don’t choose any remote storage option, your backups will remain on the webserver. This is not recommended because you might lose your backup files permanently if the server crashes or its data becomes corrupted.
Step 2: Backup Your Website Files and Databases
For a manual backup, navigate to the UpdraftPlus main screen from the WordPress dashboard and access the Backup / Restore tab.
Click on the Backup Now button. You will see a pop-up window that contains checkboxes. Tick them to choose whether to back up the WordPress site files and database or either of them.
Click the Backup Now button inside the pop-up window to initiate the backup process. The process duration will depend on the size of your WordPress site and database.
Once the process is complete, you’ll see the backup generated in the Existing Backups section.
Step 3: Schedule Automatic Backups
UpdraftPlus also lets you schedule backups. Open the plugin’s main screen and go to the Settings tab. There you’ll find two options – File Backup Schedule and Database Backup Schedule.
Tweak how often the automatic backups should occur. For example, if you regularly update your web pages, consider choosing daily or weekly backups.
3. Backup Manually
The third backup option involves manually backing up the entire WordPress site and database.
Performing a manual backup requires some technical knowledge like how to use a file manager and phpMyAdmin. It can also be done using an FTP client like FileZilla.
Step 1: Backup Website Files via File Manager
First, log into your web host account and access your hosting control panel.
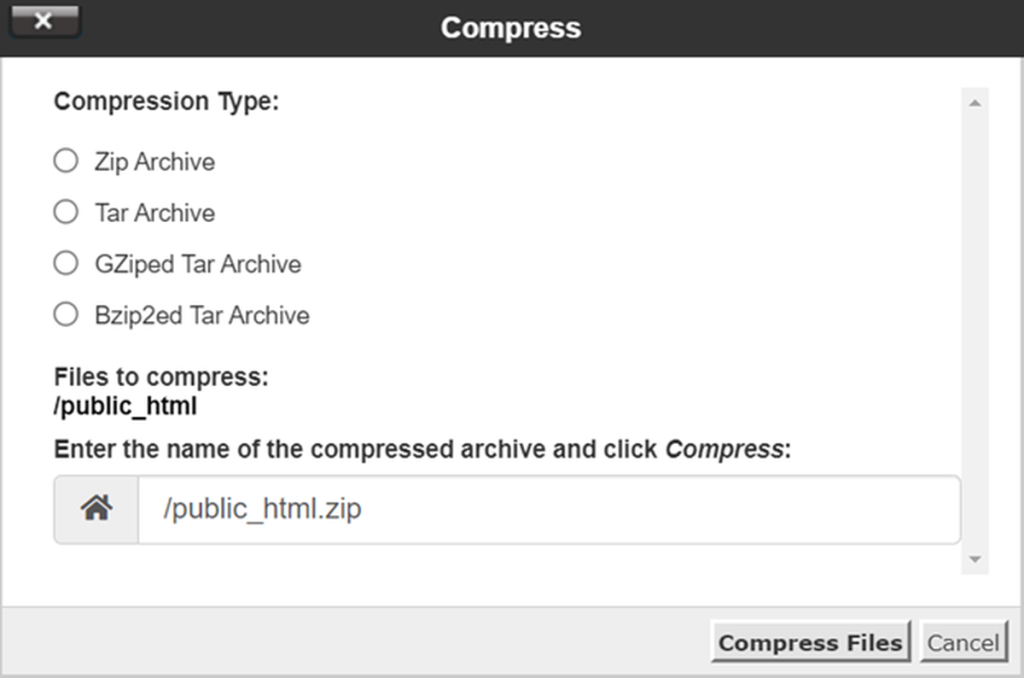
Next, open File Manager under the Files section. Navigate to the public_html folder—Right-click on it and select Compress.
You will have to choose the compression type, like Zip, Tar, GZiped Tar, or Bzip2ed Tar. In this example, we’ll select Zip. Hit the Compress Files button to start the process.
The compression may take a while. Once finished, you’ll be able to download the archived file.
Step 2: Backup Database Files using phpMyAdmin
To manually back up the WordPress database, access your hosting control panel and open phpMyAdmin under the Databases section.
Select the Databases tab in the phpMyAdmin work area. Click on your database. If you are unsure which database to choose, check your wp-config.php file using File Manager.
You can see the database information in the following code snippet:
| // ** MySQL settings – You can get this info from your web host ** //
/** The name of the database for WordPress */ define( ‘DB_NAME’, ‘the_database_file_name’ ); |
After choosing the right database, simply select all the database tables and click the Export button.
A pop-up window will appear asking you to choose the export method. The default option is SQL.
Finally, download the file. The downloaded file will be in the .sql file format.
Conclusion
Performing regular backups is one of the top priorities for every website owner. Most hosting companies might offer managed hosting services or automatic backup tools, but it is still important to know how to perform backups yourself.
Here is a recap of the three easy methods to back up a WordPress website discussed in this article:
- Backup via your web host.
- Backup using a WordPress backup plugin.
- Manual backup via File Manager and phpMyAdmin.
Whichever method you choose, make sure to do it carefully and thoroughly to avoid errors. Good luck!
Product Manager Resume Examples That Help You Land Interviews
A product manager resume has one primary job: to earn an interview by proving that the candidate can guide products,…