Amazon Web Services’ CloudFront is a well-known caching and content delivery network service. It uses its global data centers to provide data to consumers. CloudFront also creates a local cache of content on its servers, which it then utilizes to respond to user requests more quickly.
Remove Cloudfront Cache
Before the Cloudfront cache expires, we may use the Invalidation to remove the object(s) from it. It allows you to remove a single object from the cache as well as numerous objects using the allowed wildcard character. You may also use the “/*” parameters in invalidation requests to remove all items from the cache.
You will learn how to remove the CloudFront cache using the AWS CLI or management console in this tutorial. To make CloudFront invalidations and remove an object from the cache, use one of the methods listed below.
Using The AWS CLI, Create CloudFront Invalidation
Assuming you already have AWS CLI installed on your machine. If not, follow the steps in this tutorial to install and configure Amazon Web Services CLI on your system.
To create CloudFront invalidations and clear files from the cache, use the example commands below.
- To Remove specific files from the cache. You can remove several files from the cache by specifying their full paths.
- Remove all content from a specified directory
- Remove all objects from the cache.
Using AWS Console, create a CloudFront Invalidation
- In the AWS Management Console, go to CloudFront.
- To open the CloudFront ID configuration, select it from the list.
- Select the “Invalidations” tab.
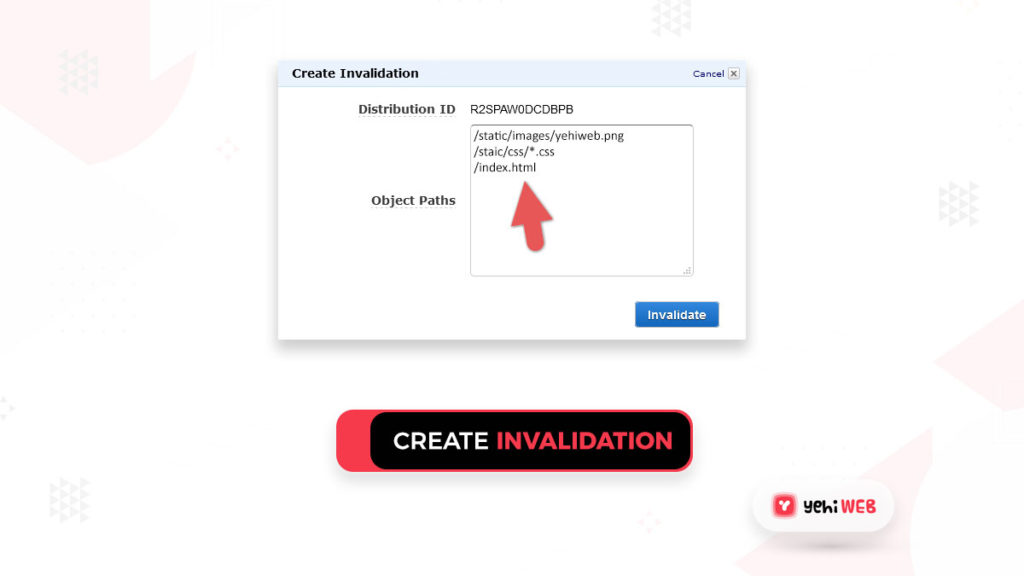
- Select “Create Invalidation”
- To remove the cache, enter file names with full paths. You can also use the wildcard “*” as a name.

- Use “/*” to remove all cache. After that, click the Invalidate button.
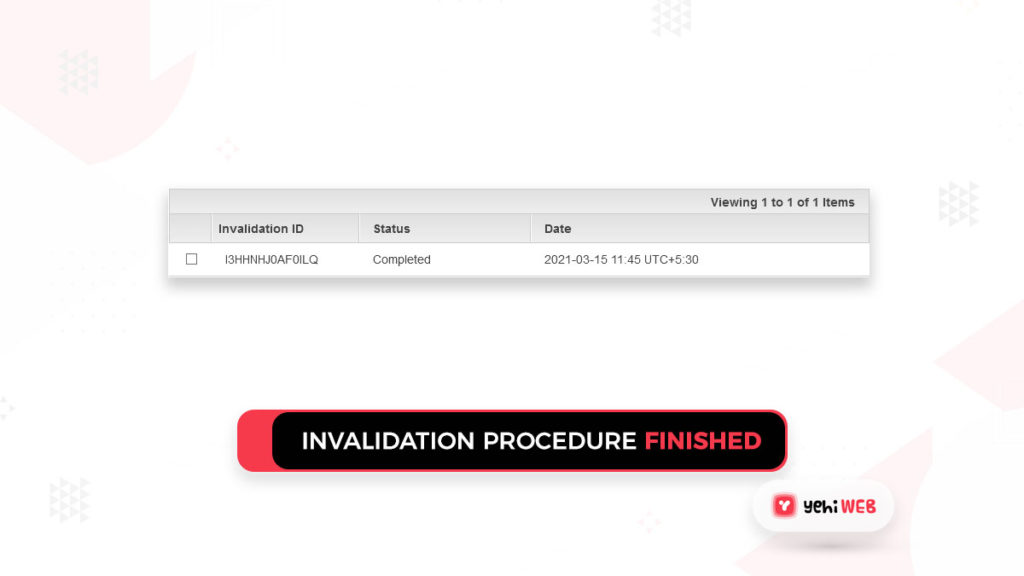
- Wait till the invalidation procedure is finished.

- All done.
Conclusion
This tutorial shows you how to create an invalidation request in CloudFront using the AWS CLI or Management Console.
You may also use the Python script to clear the CloudFront cache and automate the process.
READ MORE
2021’s Top Cloud Computing Trends
Saad Shafqat
Related posts
New Articles
What is the difference between FMWhatsApp and GBWhatsApp?
In the world of messaging apps, WhatsApp reigns supreme as one of the most popular platforms for connecting with friends…

![How To Remove Cloudfront Cache Using AWS CLI Or Management Console [ Solution ]](https://yehiweb.com/wp-content/uploads/2021/05/How-To-Remove-Cloudfront-Cache-Using-AWS-CLI-Or-Management-Console-Yehiweb-1200x675.jpg)
