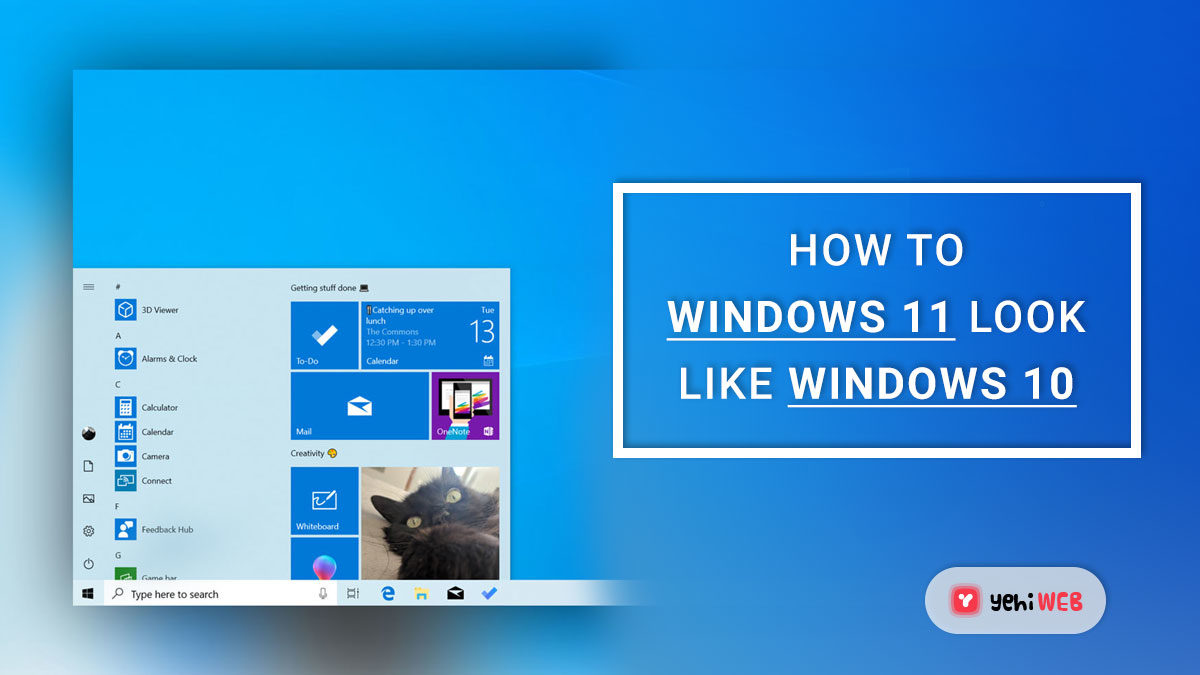
Although Windows 11 is a significant update, the sweeping aesthetic changes may not be to everyone’s liking. Here’s how to make it look more like Windows 10.
The era of Windows 11 has come. Microsoft has announced the release of its new desktop operating system on October 5th, with most Windows 10 machines getting a free upgrade.
This process will take several months, but you can join the Windows Insider Program right now to get a near-final version. It should be stable enough to operate on your main laptop or PC because it is in the Release Preview Channel.
However, whether you’ve already updated or plan to do so soon, some of Windows 11’s significant aesthetic changes may not appeal to you. You might not consider the new centralized taskbar icons, revamped Start menu, or new File Explorer layout improvements.
Of course, the most straightforward approach is to avoid upgrading to Windows 11. Microsoft will maintain Windows 10 until October 2025 though limited to only security updates.
There is, however, another option. You can still run Windows 11 if you make the following five modifications, but it will look and feel a lot more like Windows 10.
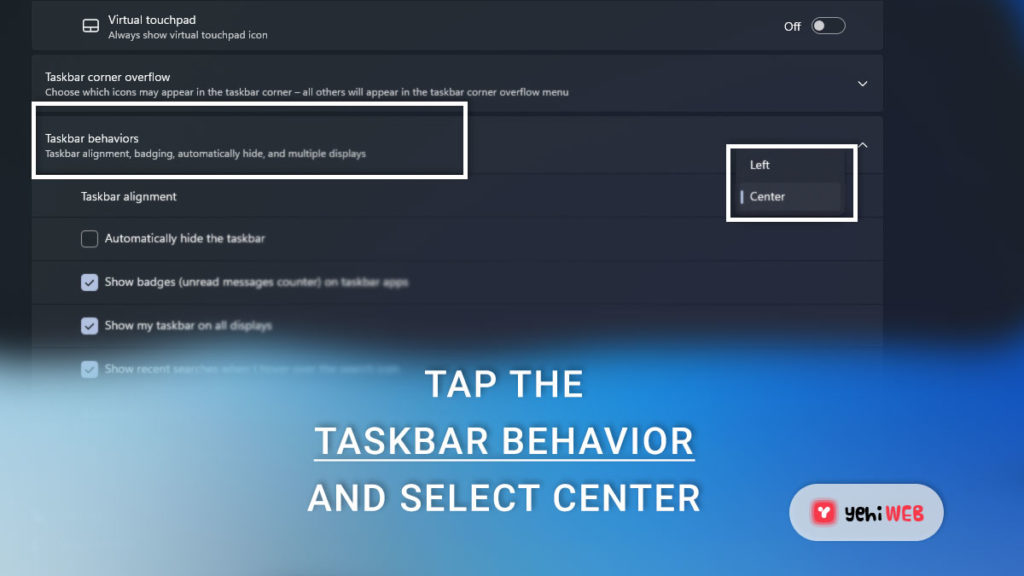
Reposition the taskbar icons to the left
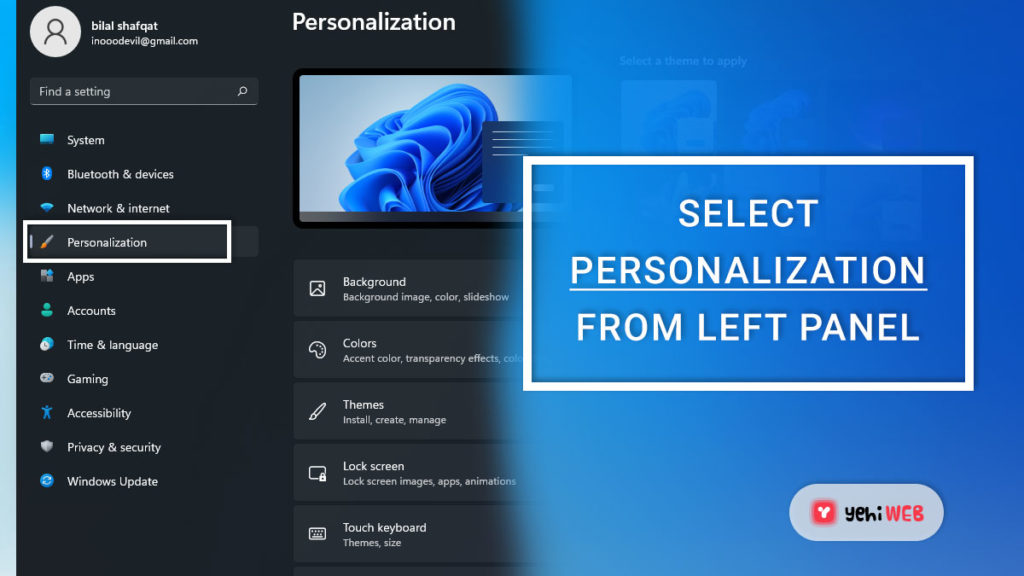
- Select ‘Personalisation’ from the left pane of Settings.
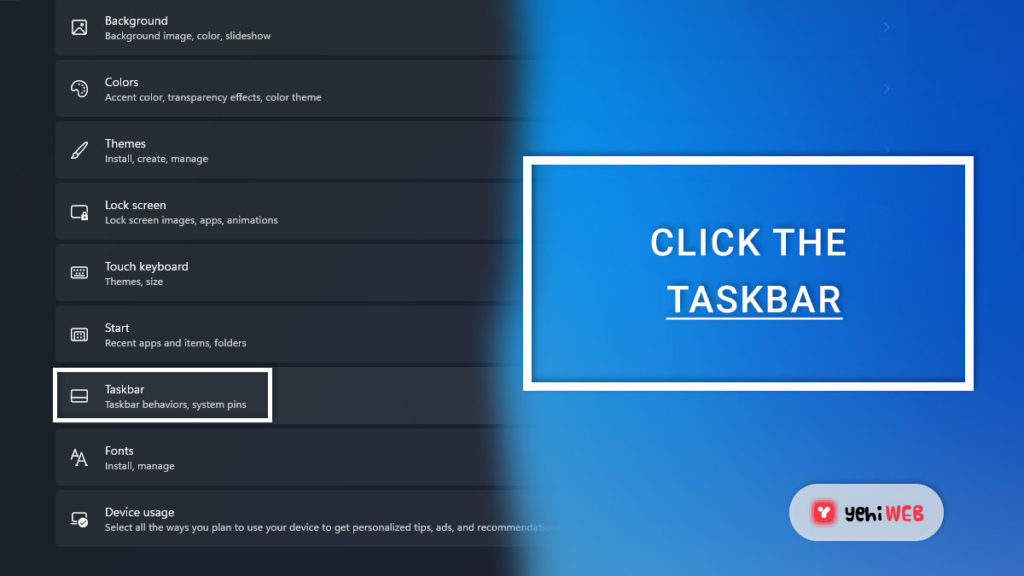
- Scroll down until you see ‘Taskbar,’ then click it.
- Click ‘Taskbar Behaviours,’ then select ‘Left’ from the drop-down option for ‘Taskbar Alignment.’
Restore the old Start menu
It’s worth noting that there’s no way to make the Windows 11 Start menu appear precisely like the one in Windows 10. However, three third-party apps work admirably.
OpenShell is a free alternative that doesn’t require registry modifications, although it looks more like previous versions of Windows than Windows 10. There are still lots of customization options, including three old Start menu layouts that you can choose. Make sure you move the taskbar to the left first to avoid any problems.
Try StartIsBack++ if you want something a little more sophisticated. It restores all of the functionality that you may have lost in Windows 11, albeit it looks a lot like Windows 7 rather than Windows 10. It would be best if you first altered the taskbar using the registry (method below), which costs $3.99 after a 30-day trial.
At the time of writing, Start11 is still in beta and requires the same registry changes. It’s the most polished option, with various themes that closely resemble Windows 10. The one major drawback is the cost: every 30 days of membership costs £4.99/US$4.99.
Restore the old taskbar
This method involves modifying the registry, so proceed if you’re comfortable doing so. It’s remarkable that it still works, but Microsoft is likely to stop it at some time soon. There are also a few icons that aren’t working, including Cortana and a taskbar that isn’t working. However, for pure aesthetics, this suffices.
Please keep in mind that you’ll need to have your chosen Start menu installed first.
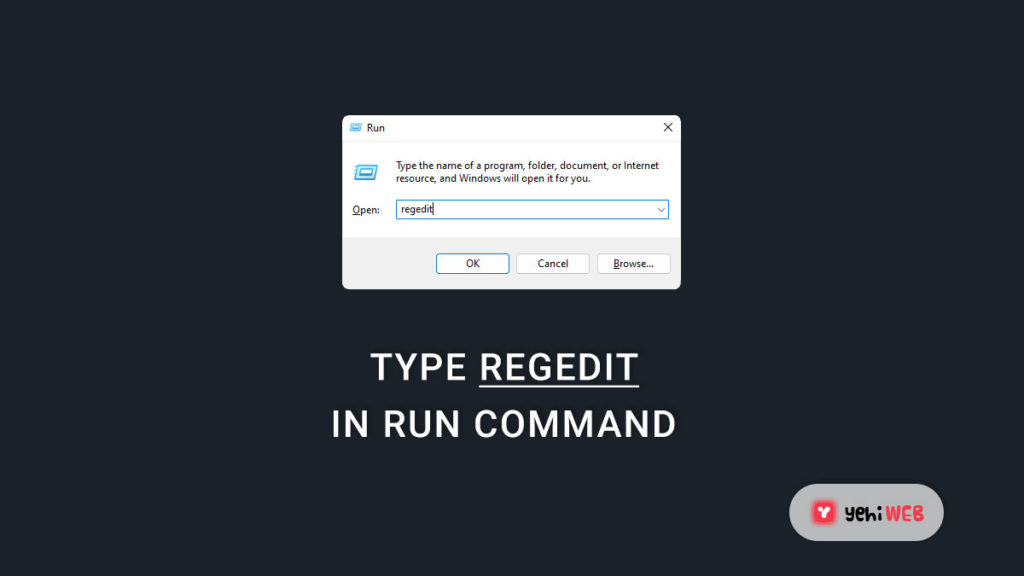
- Press the Windows + R keys to open the ‘Run’ Window.
- Type ‘Regedit‘ in the window and hit ‘OK.’
- Click ‘Yes’ to confirm that you agree to the changes.
- Paste the code in the address bar above ‘Computer.’ and then hit enter.
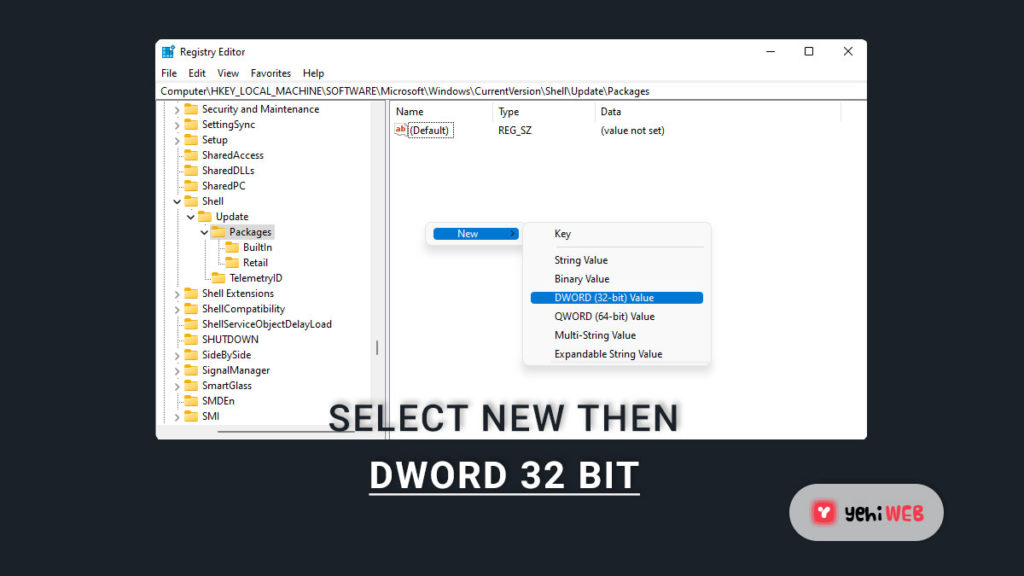
- Right-click anywhere in the white space and Select New > DWORD (32-bit) Value from the context menu.
- Give it the name ‘UndockingDisabled,’ and then double-click it to open the settings box.
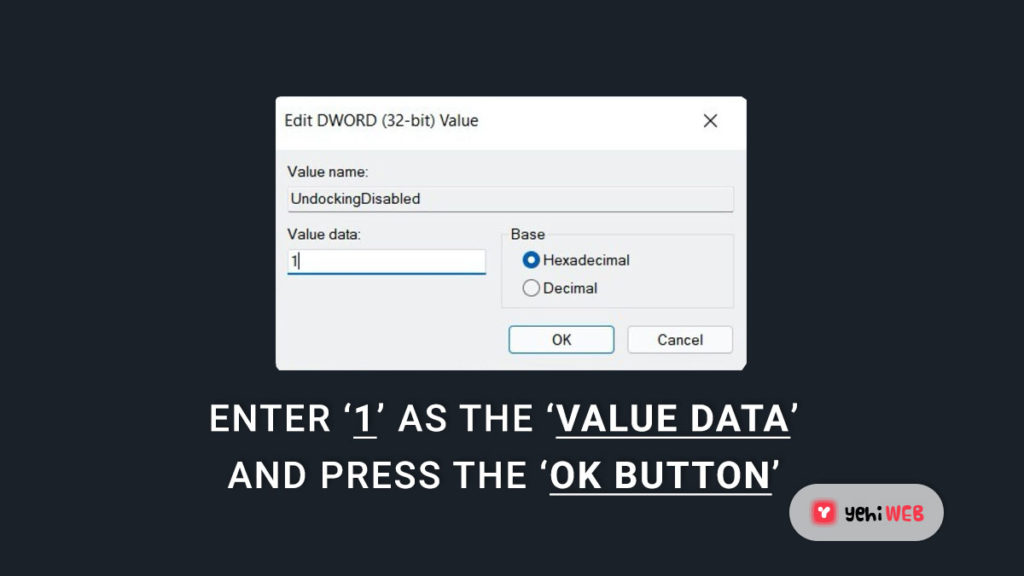
- Enter ‘1’ as the ‘Value data’ and press the OK button.
- ‘Restart‘ your device after closing the Registry Editor.

- Press the Windows key + R combination once more to open the ‘Run’ Window.
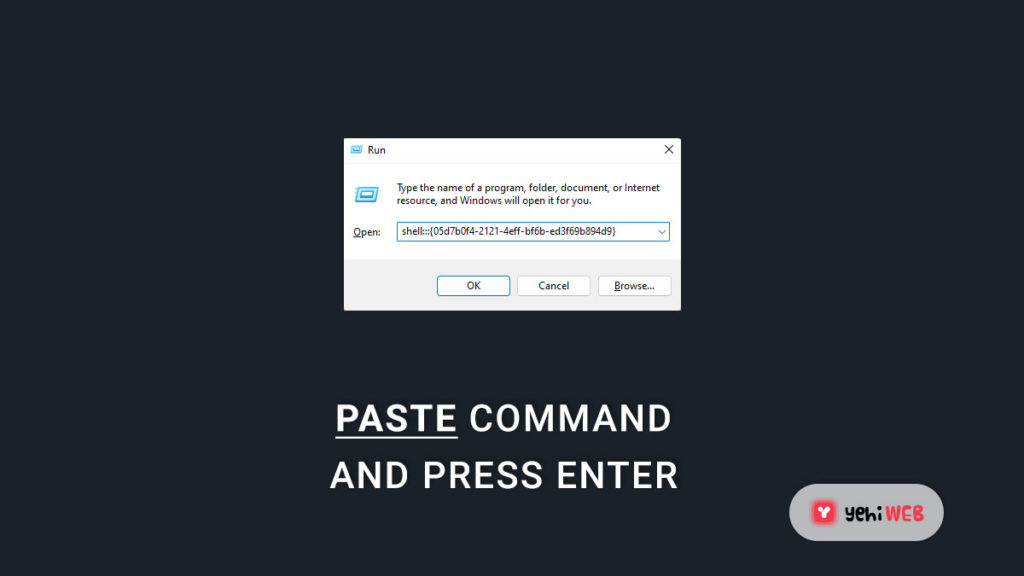
- Paste ‘shell:::{05d7b0f4-2121-4eff-bf6b-ed3f69b894d9}’ in the ‘Run’ Window and hit enter.
- Select “Turn system icons on or off” from the “Notification Area Icons” Window.
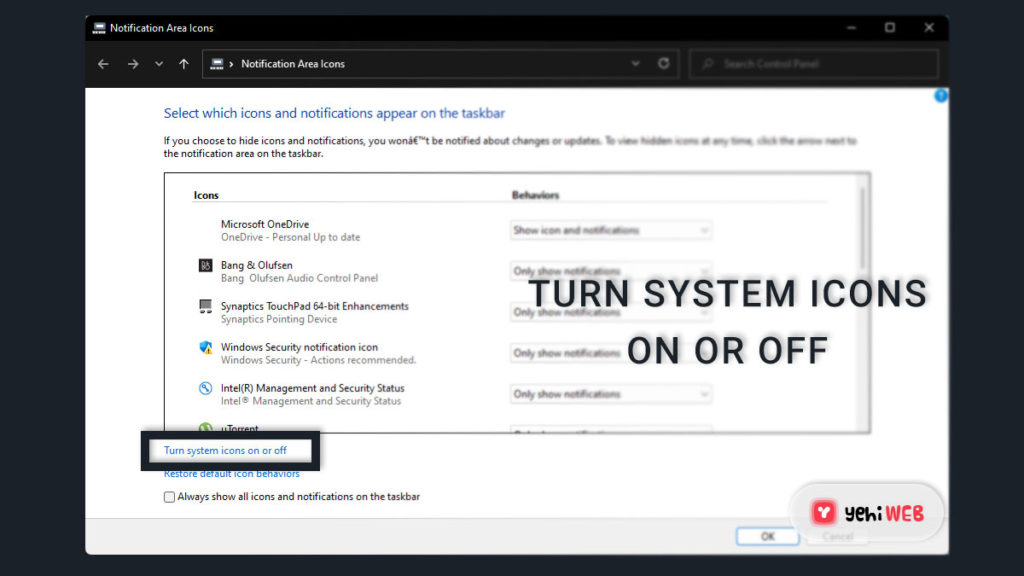
- Select ‘On’ from the relevant drop-down menu next to Clock, Volume, Network, or anything else you’d like to see on the taskbar.

- To confirm, click ‘OK.’
You can also disable Cortana by right-clicking the taskbar and unchecking the ‘Show Cortana’ checkbox.
Restore the old File Explorer and context menu
- Press the Windows key + R keys again to bring up the ‘Run’ Window.

- Type ‘Regedit‘ in the window and hit ‘OK.’
- To confirm that you agree to the changes, click ‘Yes.’
- Paste ‘HKEY_LOCAL_MACHINE\SOFTWARE\Microsoft\Windows\CurrentVersion\Shell Extensions’ in the address bar above ‘Computer’ and then press enter
- Right-click ’Shell Extensions’ in the left pane and select New > Key.
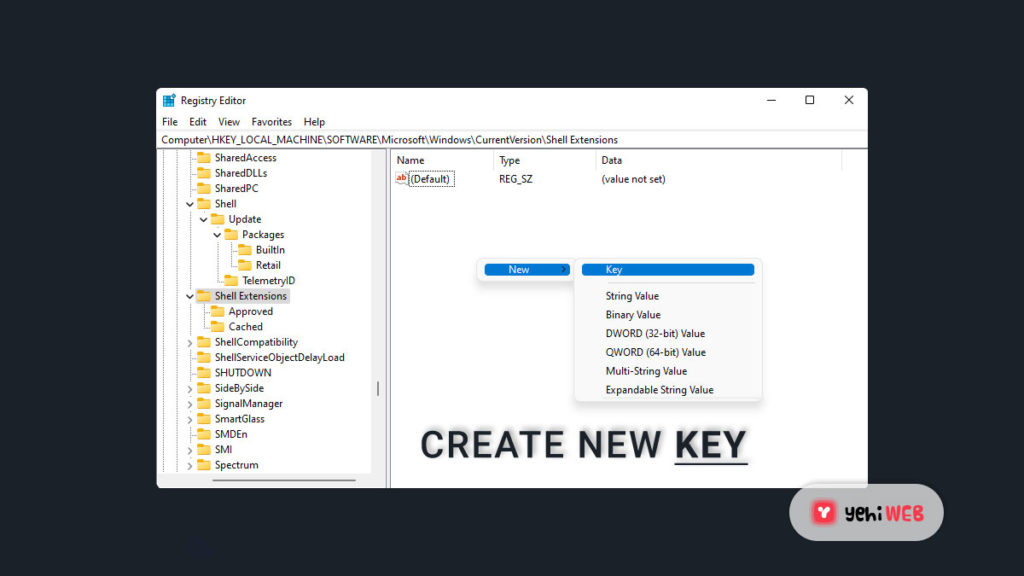
- Enter ‘Blocked’ as the name and hit enter.
- Right-click any white space within the new ‘Blocked’ key and choose ‘String Value.’
- Paste ‘{e2bf9676-5f8f-435c-97eb-11607a5bedf7}’ into the name field. and then press enter
- To make the changes take effect, restart your device.
Change to a stock Wallpaper for Windows 10
It’s incredible how much a change in your desktop background can make. Fortunately, WallpaperCave has the default Windows 10 wallpaper accessible for download.
It’s then easy to ‘Browse pictures’ and select a custom background from Settings > Personalisation > Background.
Bilal Shafqat
Related posts
New Articles
How to Adjust Ken Burns Effect in Filmora
If you’ve ever marveled at the subtle zooming and panning effects often seen in documentaries and cinematic slide shows, chances…

