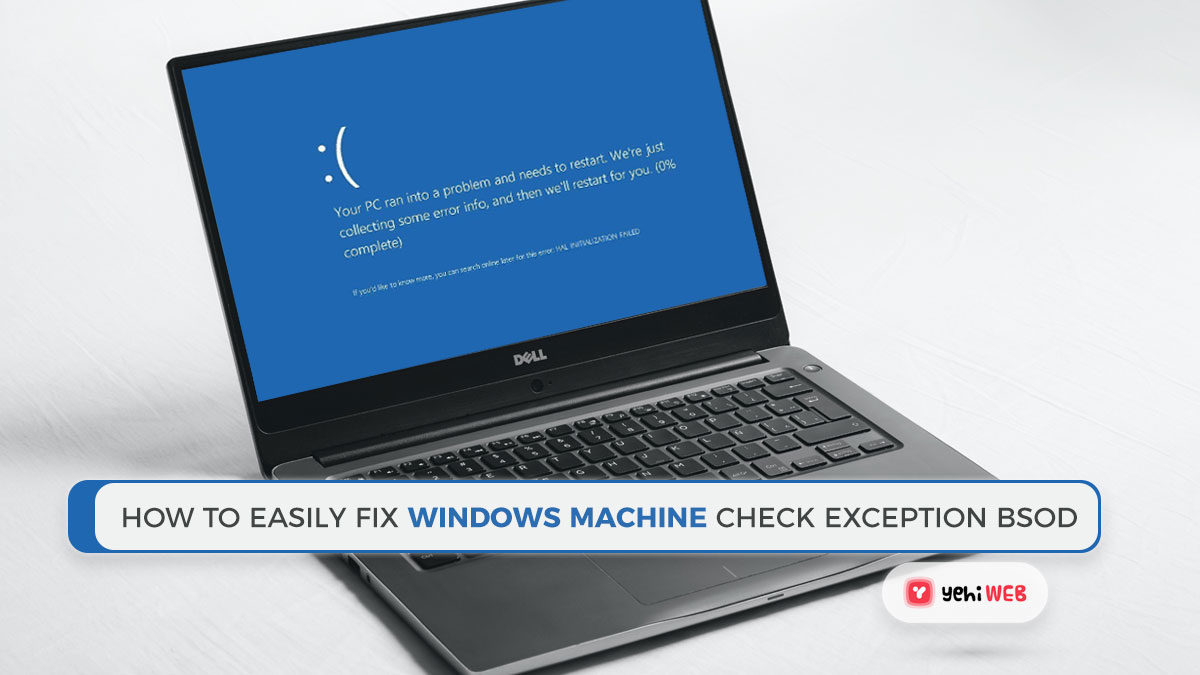
Use these tips and tricks to fix the Win10 Machine Check Exception error effectively. A critical Windows system error is a Machine Check Exception. What is the result? A deathly blue screen. A Machine Check Exception error is not usually a one-time occurrence.
Machine Check Exception failures have afflicted some consumers, forcing them to try a lengthy series of possible solutions before reaching the promised land.
This article compiles all of the solutions found to work and compiles them into a nice list. Here’s how to properly fix your Win10 Machine Check Exception error.
What Is a Win10 Machine Check Exception Error?
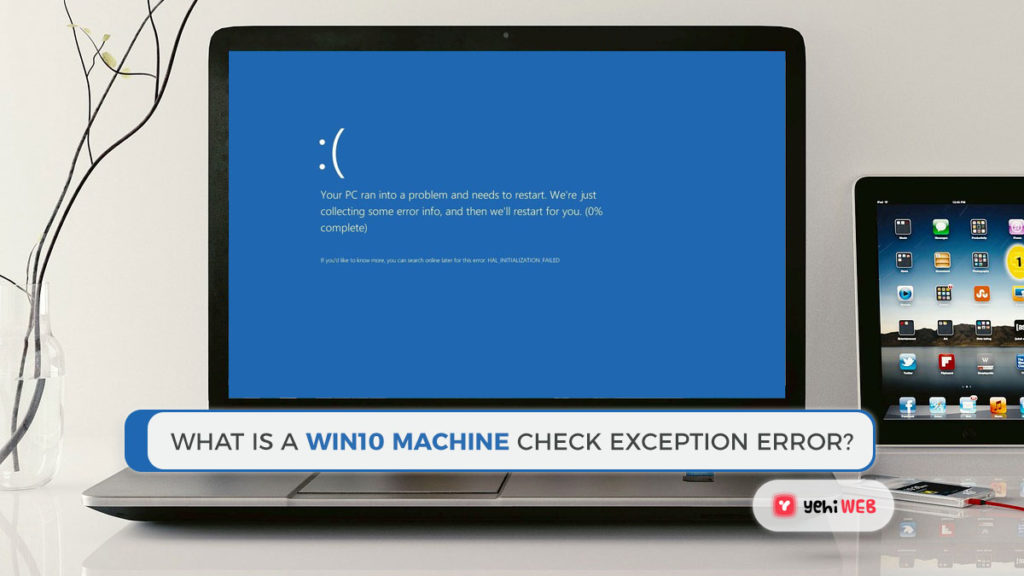
A Win10 Machine Check Exception (MCE) is usually an issue with the system’s hardware. Unfortunately, the stop codes that result do not always offer the best picture of what is wrong. The Windows Hardware Error Architecture (WHEA) does its best to pinpoint the origin of the error, but even the WHEA can fail.
- Hardware-related system failures
- Overclocking causes problems and overstress.
- Issues with memory
- Physical hardware issues
- Drivers that are out of date or have been corrupted
Is not that an impressive range? Since they work with hardware and virtually everything else, Win10 Machine Check Errors can come from almost anywhere (similar to the faulty hardware corrupted page stop error). Don’t worry; keep on reading to learn how to fix the Win10 Machine Check Exception bug.
1. Update or Repair Windows Drivers
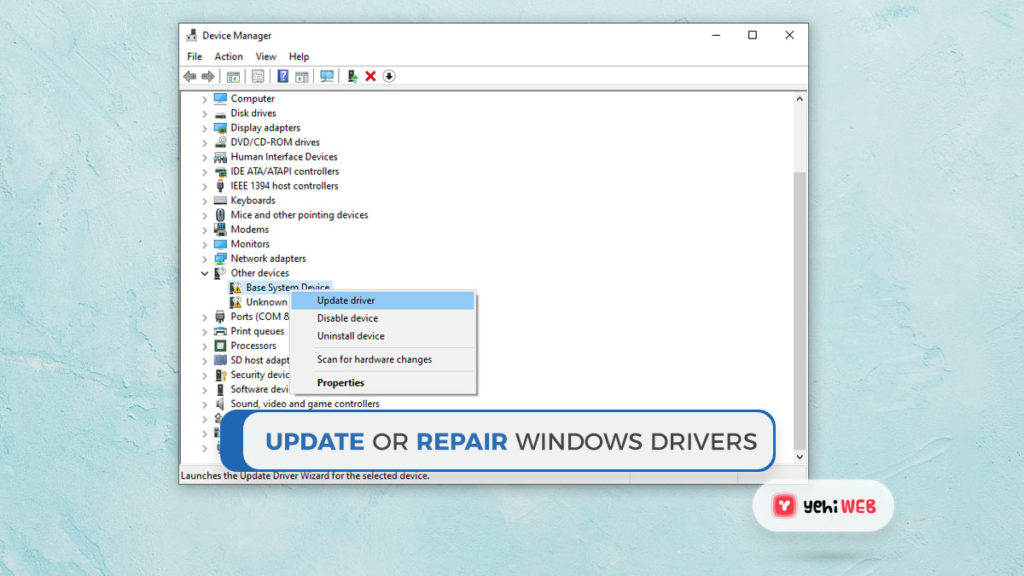
To open the Settings panel, press Windows Key + I, then select Update & Security > View update history. You can find any driver updates here. Now, in the Start menu search bar, type device manager and choose the best match.
Look for an error sign when you go down the page. If there is nothing, it is unlikely that your driver status is the root of the issue. Updating outdated system drivers is one of the most common Win10 Machine Check Exception error fixes.
On Windows 10 machines, out-of-date drivers are becoming less common as Microsoft manages driver updates automatically. However, this would not rule out the risk of out-of-date drivers. In the Update & Security section of the Settings panel, Windows 10 lists the drivers it updates.
However, you can update all of your device drivers at once using a third-party app.
2. Examine the physical hardware
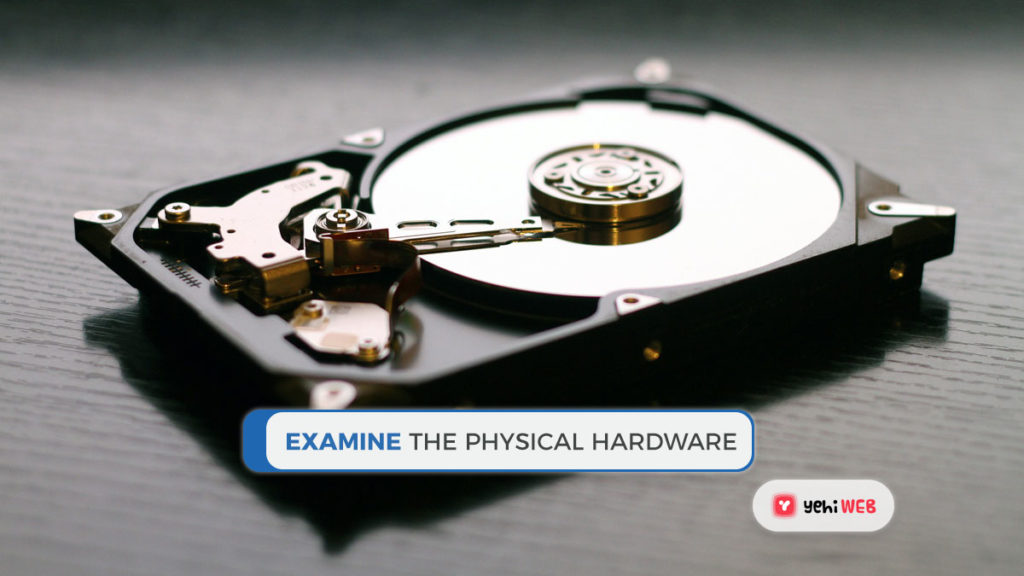
Next up, perform a quick physical hardware check. Is all of your RAM correctly seated? Is your CPU heatsink adequately installed? Is your GPU out of place?
A Machine Check Exception error is closely related to the hardware of your device. Have you replaced some hardware or mounted a new component?
Also, while you are inside your case, please clean it up a little. This entails cleaning the fans of dust and buildup. Give your fans and your GPU fans a little toot if you have compressed air. Besides that, some good old deep breaths and hard blows have the same impact (albeit less effective).
3. Reset the System Overclocking
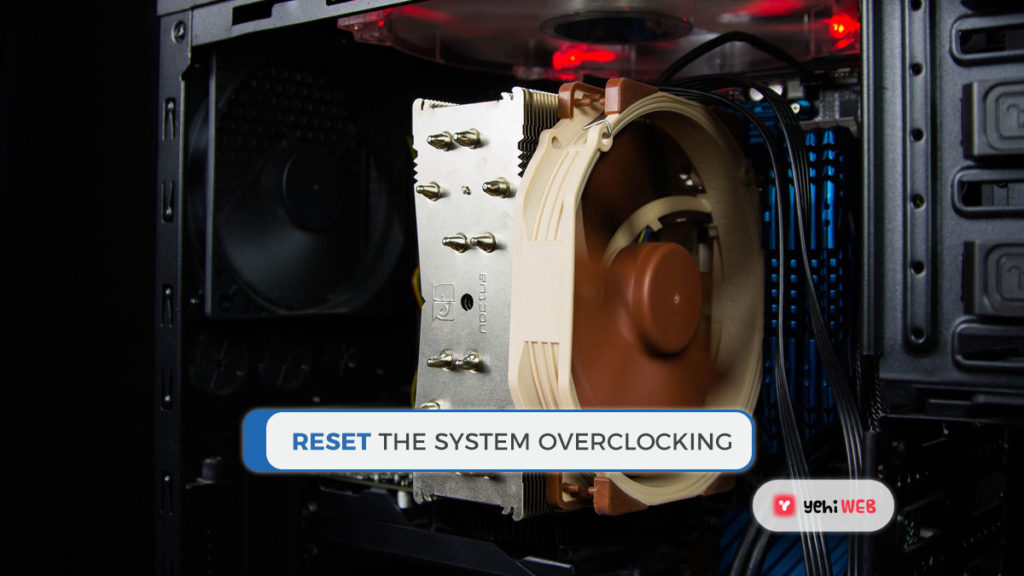
Overclocking places further pressure on the system’s hardware. If done right, you will get a little more value out of your system’s hardware. It has never been easier to overclock. There are numerous guides available for almost any piece of hardware, and online forums abound with other users’ overclocking experiences.
On the other hand, overclocking puts extra pressure on the hardware, even though it stays under the advertised hardware limits. Machine Check Exception errors may be cleared by resetting any overclocking.
Most likely, you would need to use your system’s BIOS or UEFI menu. To do so, turn off your computer. Then, restart your computer by pressing the button BIOS/UEFI menu entry key (usually F2, but other standard keys include F1, F10, DEL, and ESC).
The BIOS and UEFI settings differ depending on the manufacturer, but the menu names are usually the same. You are looking for a way to overclock your computer. Overclocking options are typically included in the Advanced, Performance, Frequency, or Voltage menus.
Reset the overclocking choices by going to the menu. Resetting the system will restore it to its factory settings, but it will also remove the Machine Check Exception error.
Reset the settings for BIOS/UEFI
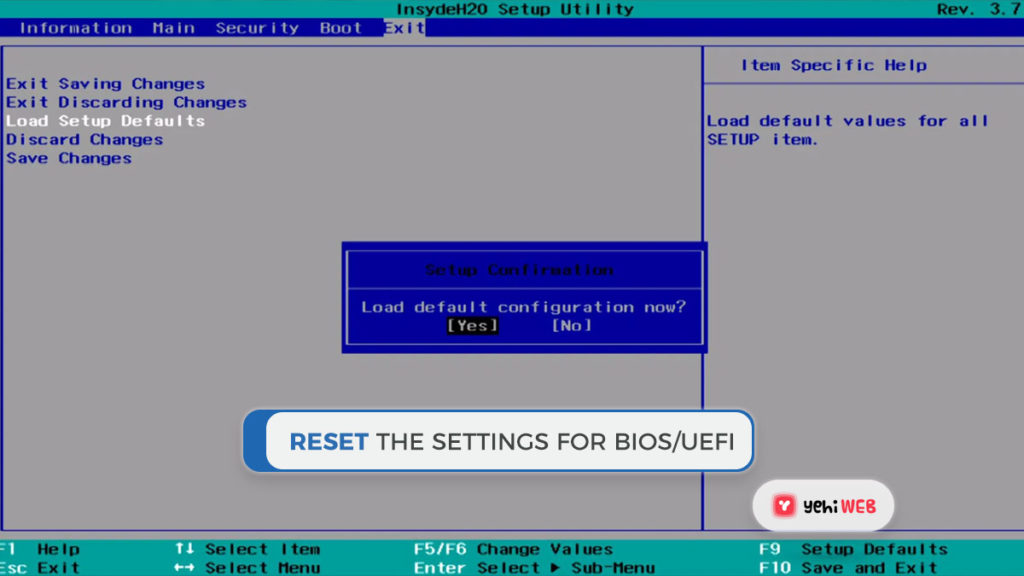
If clearing your BIOS/UEFI overlock settings does not help, consider resetting your BIOS completely. There is an option to perform a full BIOS settings reset somewhere in the BIOS menu. Locate and pick the appropriate choice.
4. CHKDSK Repair
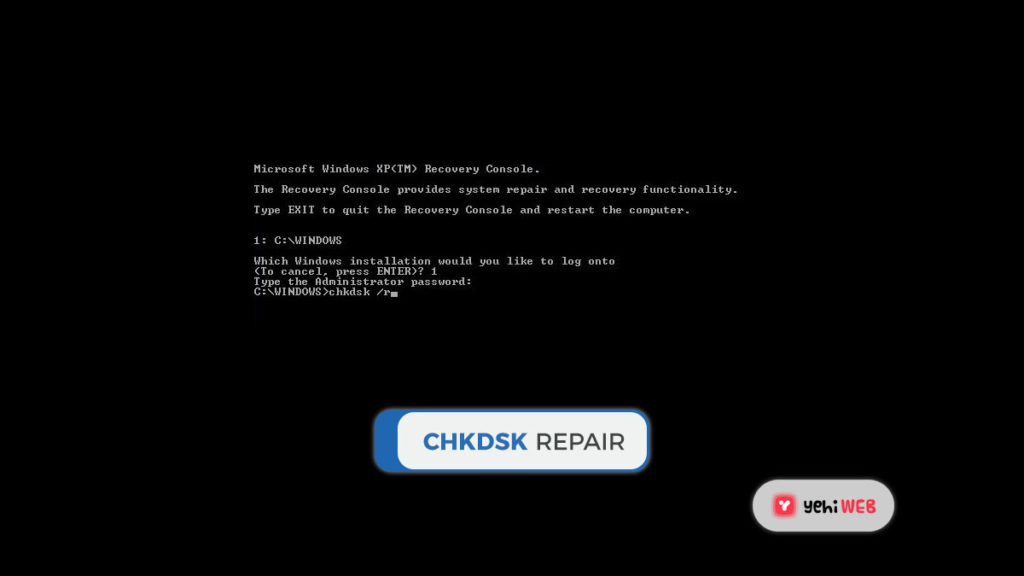
Windows Check Disk is a built-in Windows utility that you can access from the Command Prompt. CHKDSK Repair checks the device files and addresses any problems it finds.
Type the command prompt in the Searchbar menu, then right-click the best fit and choose Run as administrator. (Alternatively, click X when holding down the Windows key, then select Command Prompt (Admin) from the menu.)
After that, select chkdsk /r and hit Enter. The command will search your system for errors and fix any problems it finds.
5. Run SFC Scan
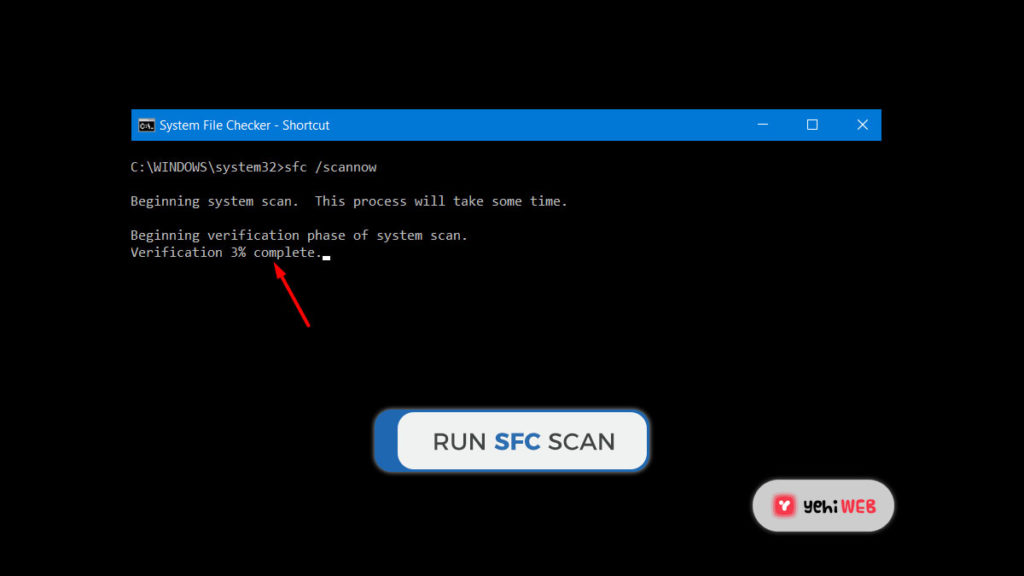
Run SFC Scan after that. Another Windows system tool that scans for lost or compromised files is SFC. Is not it the same as CHKDSK? On the other hand, SFC looks for errors in Windows system directories, while CHKDSK looks for errors through the entire drive.
However, before running the SFC command, double-check that it is fully operating.
(DISM) is a term for Deployment Image Servicing and Management. DISM is a comprehensive Windows utility that performs a wide range of tasks. The DISM Restorehealth command guarantees that our next fix is effective in this situation. Work your way through the steps below.
- Type Command Prompt (Admin) into the Start menu search bar, then right-click and select Run as administrator.
- Enter the command DISM /online /cleanup-image /restorehealth.
- Wait for the command to finish. Depending on the state of the device, the procedure could take up to 20 minutes. At times, the process seems to be stuck, so wait for it to finish.
- When the procedure is over, enter SFC /scannow and click Enter.
6. Use MemTest86 to check the RAM.
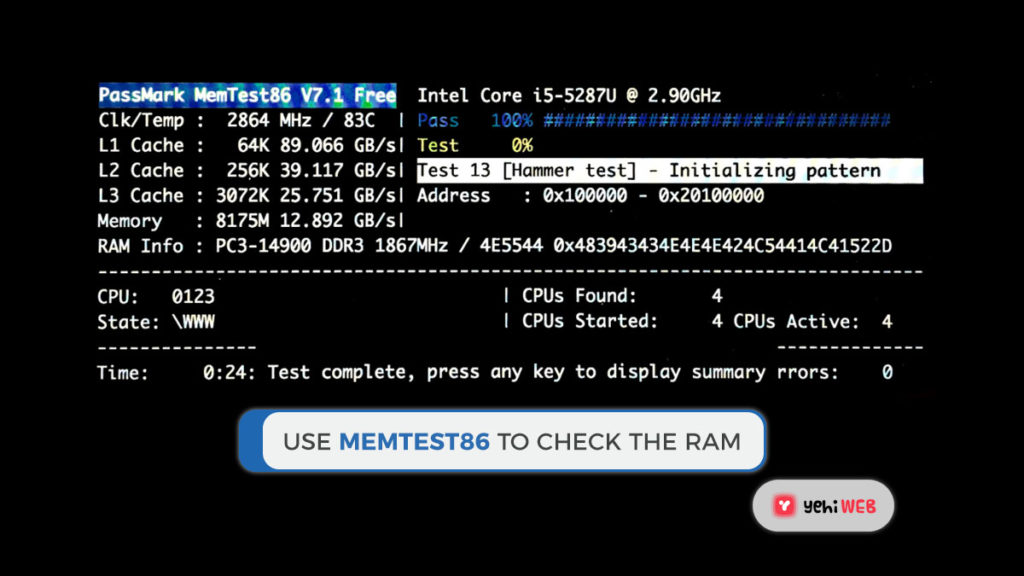
MemTest86 is a standalone memory verification application for x86 machines that is available for free. MemTest86 is operated from a USB flash drive (or a bootable disc) to test the RAM system. A MemTest86 RAM scan often takes a long time to complete; depending on the amount of RAM you have mounted, a single pass will take hours.
At least two passes (two complete cycles) are needed to get the whole MemTest86 experience. MemTest86, on the other hand, could, according to most sources, reveal a significant RAM problem after a short period.
Download the image for making a bootable CD from the MemTest86 download page (ISO format). You must then write the MemTest86 ISO to a USB flash drive. Create a bootable USB flash drive with this list of ten free tools.
Shut down your system after burning MemTest86 with the method of your choosing. Reboot the device while holding down the F10, F11, DEL, or ESC key, then pick the bootable MemTest86 USB flash drive from the Boot Selection menu. The memory test will begin on its own.
If it does return RAM errors, do a Google search for the error code and type to figure out what to do next.
7. As a last resort: Reset Windows 10 To Factory
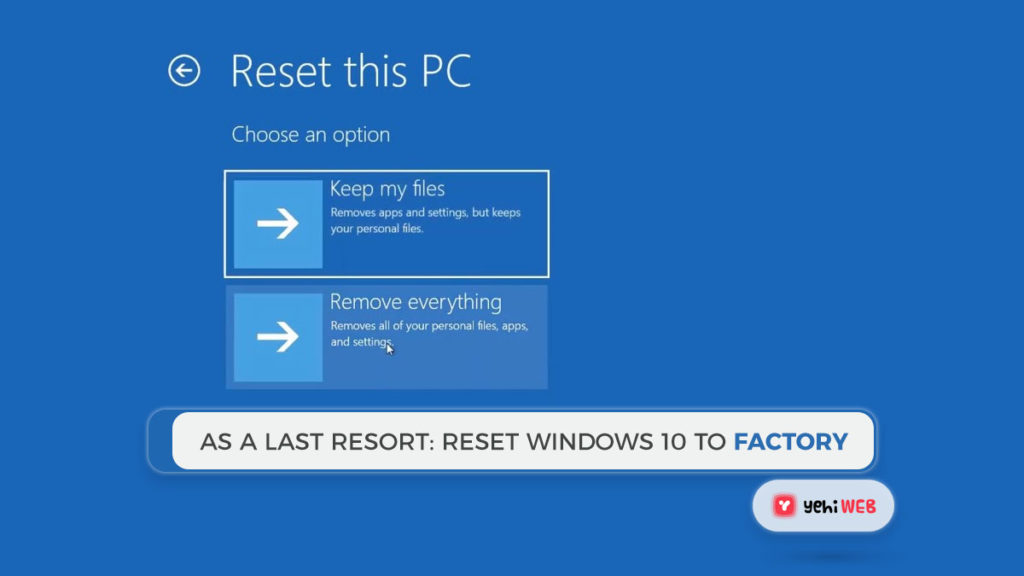
You should use the Windows 10 Reset feature to reset windows 10 to Factory if nothing else works. Windows 10 Reset replaces the configuration files with a brand new collection of files, ostensibly resolving any remaining problems with your Machine Check Exception error while maintaining the rest of your essential files unchanged.
Go to Settings > Update and Security > Recovery, then pick Get started under Reset this PC. Since your system will restart as soon as you press the button, make a backup of all important files before pressing the button. After your machine has restarted, you can choose to keep your files or delete them all.
READ MORE
Best way to Download Youtube Videos
Saad Shafqat
Related posts
New Articles
GTA 6 Release Date: Everything You Need To Know
After over a decade of anticipation, Rockstar Games has finally ignited fan excitement with the official announcement of Grand Theft…

