Install Tomcat 9
The Apache Software Foundation has released yet another product, Apache Tomcat. It is a free and open-source Java Servlet and JavaServer Pages (JSP) implementation.
The Java-based web application is hosted by Tomcat, a web server. The Apache Tomcat team has released Tomcat 9. This guide will show you how to install Tomcat 9 on Ubuntu 19.10, 18.04 LTS, and 16.04 LTS.
Step 1: Verify/Install Java
Before you can install Apache Tomcat on a Linux VPS, you must first install Java. To run Tomcat 9, you will need Java 8 or later. You should double-check that the correct version of Java is installed.
Run the commands below to fulfill requirements if you do not have Java installed or have an older version.
Step 2: Download and Install Apache Tomcat 9
To get the Tomcat archive, go to the official download page or one of its mirrors. Using the commands below, download and install the Apache Tomcat 9 archive file. You should also go to the official download page to get the latest version.
Step 3: Configure the Required Environment Variables
Configure the Tomcat’s required environment variables now. Set CATALINA HOME to the tomcat directory that was extracted. Set Java environment variables according to the Java version installed on your system.
Step 4: Create User Accounts for Tomcat
Finally, in order to secure and access admin/manager pages, we must create user accounts. Copy the contents of the conf/tomcat-users.xml file into the and /tomcat-users> tags.
Step 5: Enable Remote IP Host/Manager
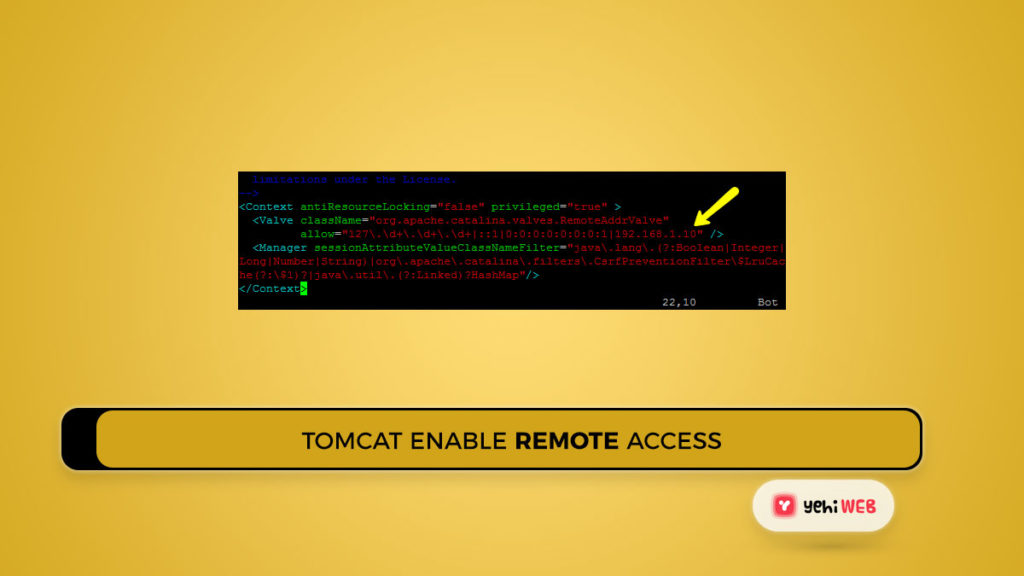
Only localhost is allowed to access the default manager and host-manager web pages. You must enable the IP or IP range in the application-specific context.xml file to access these pages from a remote system.
Edit the above files and replace your IP address like the one seen in the screenshot. Restart Tomcat after you have made the changes.
Step 6: Start Tomcat 9 Service
Tomcat is very simple to use; there is no need to compile its source. Simply unpack the archive and launch the Tomcat server. Tomcat starts on port 8080 by chance, so make sure no other applications are using the same port.
Output
Step 7: Access Tomcat 9 in Browser
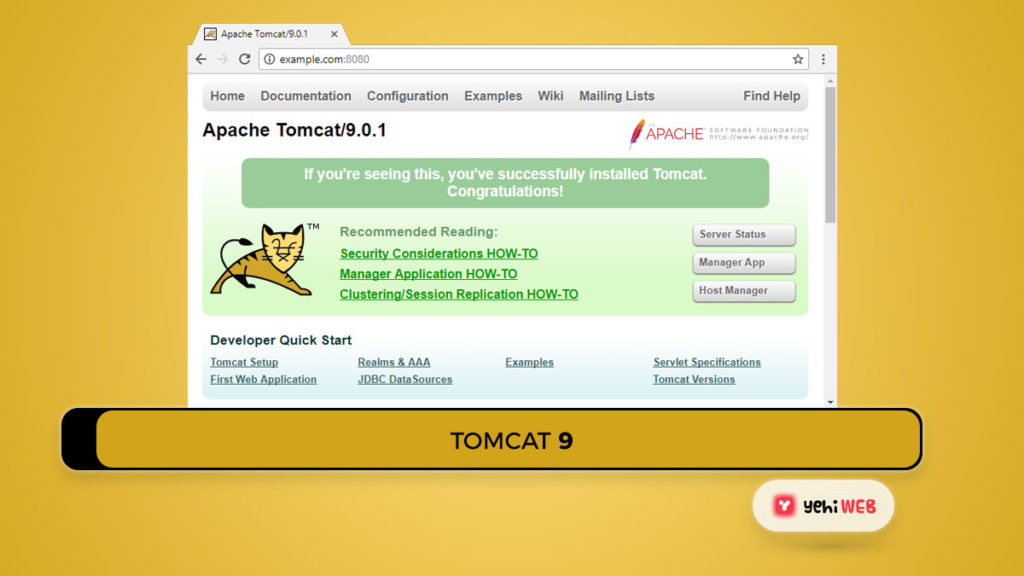
The default port for the Tomcat server is 8080. Connect your server to port 8080 in your web browser to use Tomcat.
Tomcat Home– This is Tomcat 9’s default home page. This page does not need authentication to access.
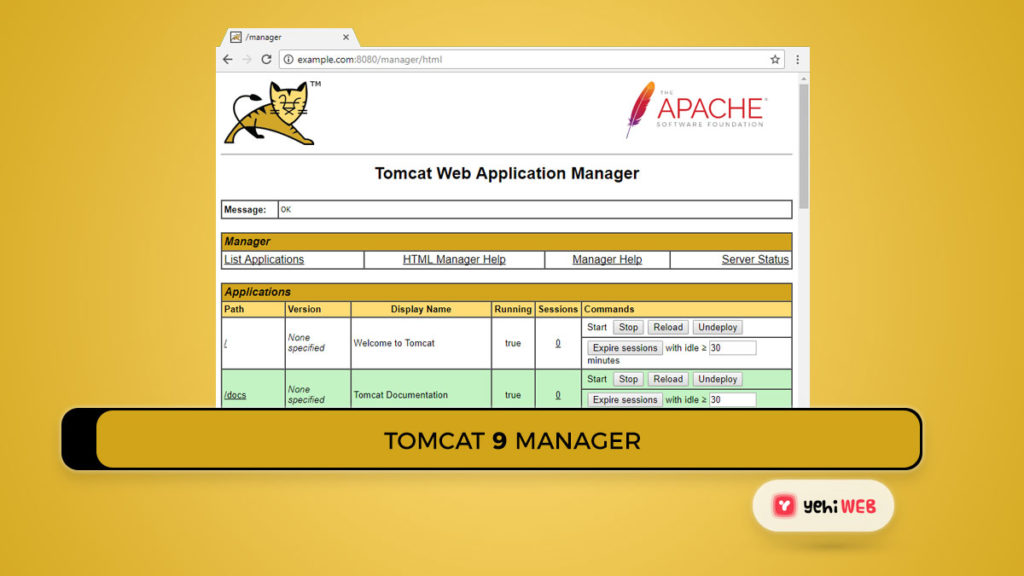
To access the Manager App, go to the home page and click the Manager App link. This page is open to both administrators and managers.
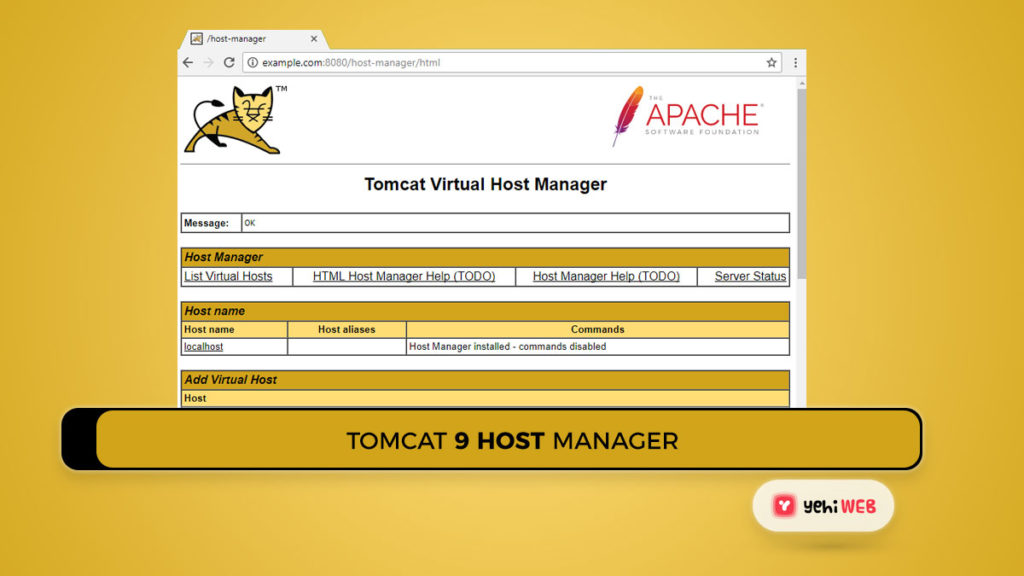
To access the Host Manager page:- On your Tomcat home page, click the Host Manager link. This page is only accessible to administrators.
Saad Shafqat
Related posts
New Articles
What is the difference between FMWhatsApp and GBWhatsApp?
In the world of messaging apps, WhatsApp reigns supreme as one of the most popular platforms for connecting with friends…

