You may be tempted to close your Microsoft account for a variety of reasons. Perhaps you’re using a different account or switching to a different desktop operating system. Even with all of the new features, Windows 10 is still far from being a universal success.
The many privacy violations, the clumsily designed start menu, and the entire suite of software may lead you to close permanently delete your Microsoft account.
But deleting your Microsoft account is more than just a means to show your displeasure with the parent company; it’s also a great way to ensure that none of your personal information is used by Microsoft without your permission.
You will also prevent any third-party source from gathering behavioral information about you if you go the extra mile and delete yourself from the company’s database.
To make the process of deleting all your account data easier for you, we’ve created a series of step-by-step tutorials. Two equally important steps are listed below to ensure that all data in your Microsoft account is deleted from the company’s servers.
How to permanently delete your Microsoft account?
To guarantee that all of your Microsoft account data is erased, you’ll need to perform two major steps.
First, we’ll teach you how to erase your Microsoft account data from your local computer. If you also have an Outlook account, you’ll need to log in to the web version and then close it.
Finally, go to Microsoft’s website and cleanse your account and account information. Use the steps listed below to guarantee that your Microsoft Account and other associated data are properly deleted.
Step #1: Locally deleting the Microsoft account
Let’s start by ensuring that any account data on your local PC is taken care of. Keep in mind that you won’t be able to remove an account if you’re still logged in with the same account you’re trying to delete. Instead, you’ll need to create a new local account.
To delete your Microsoft account locally, follow the instructions below:
- Make sure you’re signed in to a different Microsoft account than the one you’re trying to delete. It could be a local or another Microsoft account.
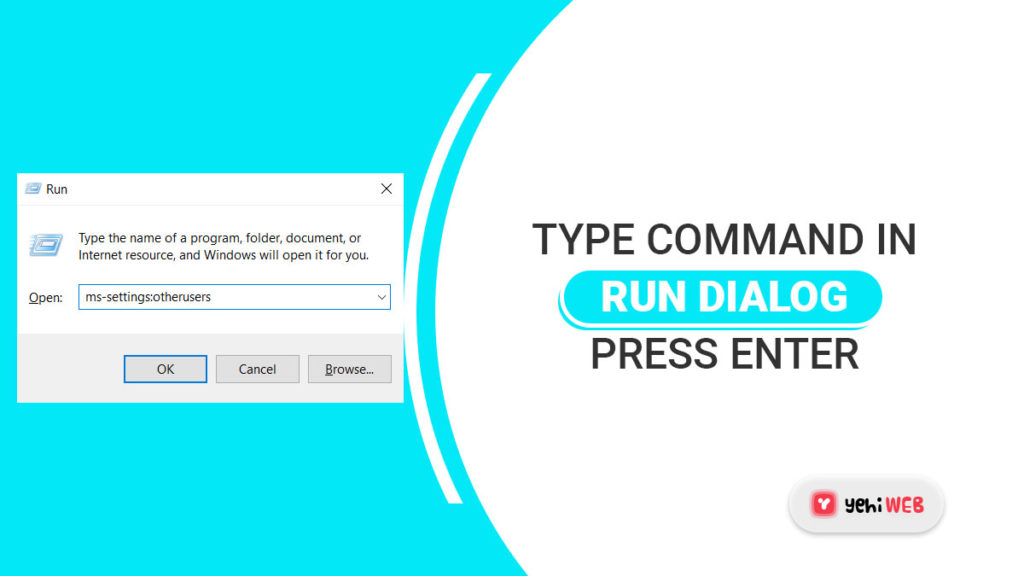
- Launch a Run dialog box by pressing Windows + R key. Next, in the search bar, type “ms-settings:otherusers” and hit enter. That will open the Family & other people tab of the Settings pane.
- You may delete a user account by clicking on it and selecting Remove. Then, to confirm the deletion of your Microsoft account from this PC, click Yes once again.
Step #2: Remove Account Information From Microsoft’s Database
Take note that even after you finish step 1, your data remains on Microsoft’s server and is still available to Microsoft and other third-party firms that purchase behavioral data in bulk.
Fortunately, there is a way to remove all of your account data from Microsoft’s database. But before we get started, make sure you empty your Windows Store digital wallet and cancel all of your ongoing subscriptions.
More importantly, make sure that any documents, photos, or other personal data are stored safely. When you’re ready, follow the steps outlined below:
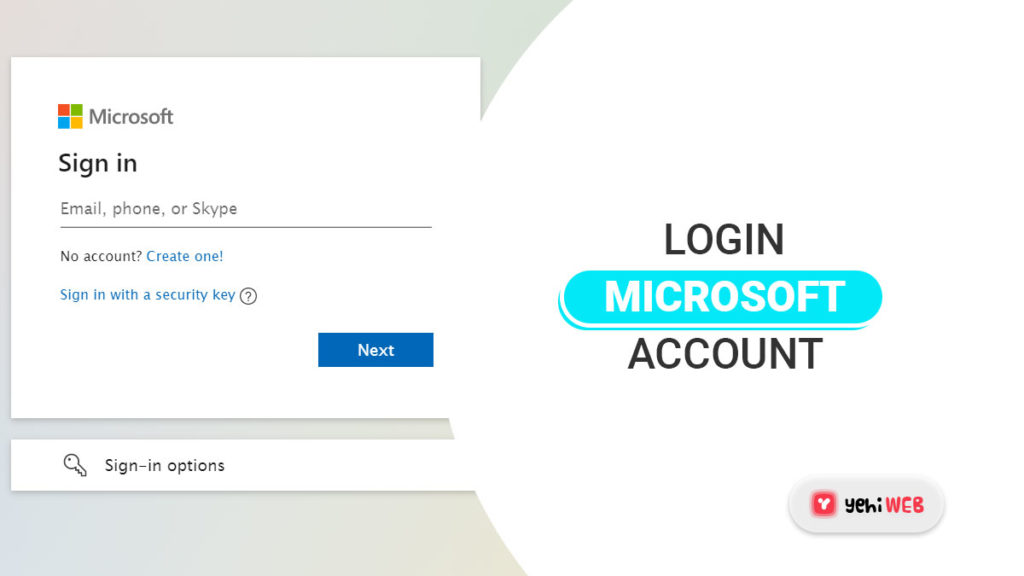
- Click the Sign in button in the top-right corner of this page (here).
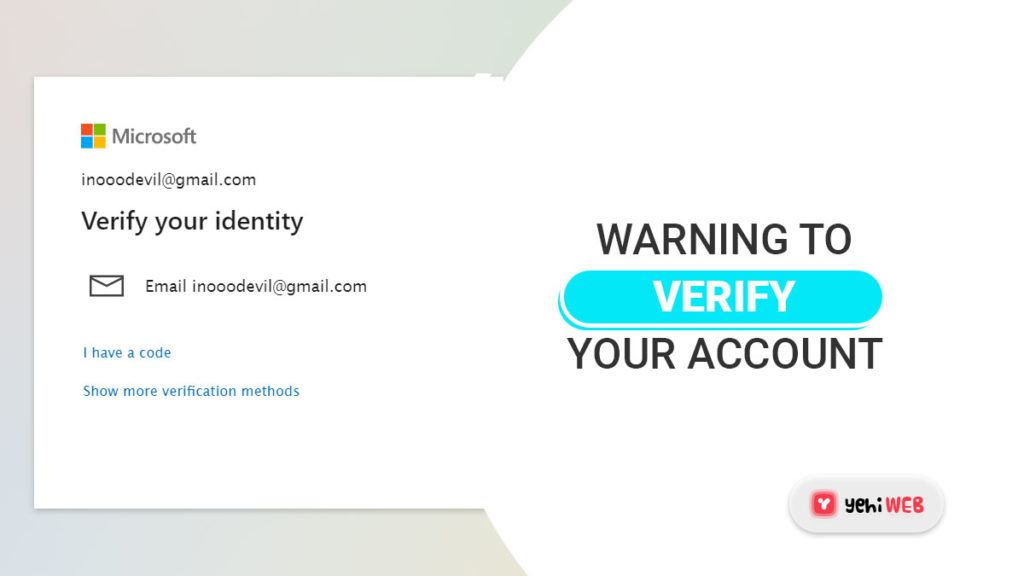
- Log in using your chosen sign-in method to the Microsoft account you want to close.
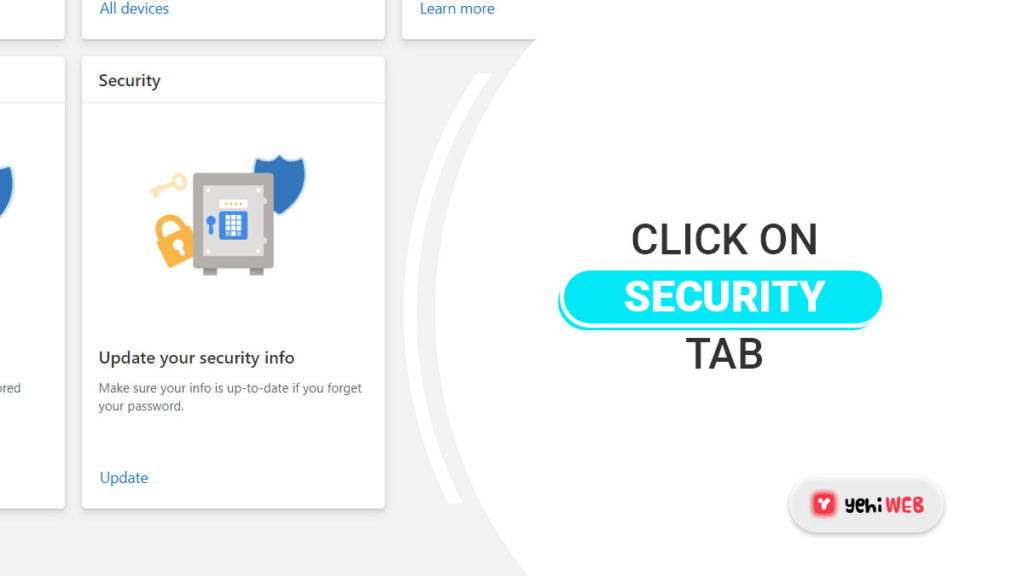
- Once you’ve logged in with the Microsoft account you want to delete (under Account), click the Security tab.
- Scroll to the bottom of the Security basics page and choose More security options.
- Now scroll down to the bottom of the page in the Advanced Security options menu and click on Close my account under Close your account.
- Check the to-do list on the following page to ensure you’re not losing any data or credits. Click the Next button once you’ve double-checked that you’re ready to continue.
- To acknowledge that you received the warnings, read each account closure effect and tick each related item.
- Select the option closest to your scenario from the Select a reason drop-down list once all check boxes have been ticked. When you’ve decided on a reason, click Mark account for closure.
- When you reach this far, keep in mind that your account has been designated for closure. Together with any related information, Microsoft will permanently delete your account from Microsoft’s servers after 60 days.
However, bear in mind that you still have a window of chance to halt the closure operation during this period. You can do so by visiting this link and logging in with your account (here).
Saad Shafqat
Related posts
New Articles
What is the difference between FMWhatsApp and GBWhatsApp?
In the world of messaging apps, WhatsApp reigns supreme as one of the most popular platforms for connecting with friends…

