
DHCP lookup failed is a troublesome error for chrome book users, although it’s a light device. Many chrome book users have reported this error in forums and manufacturers’ websites.
In fact, we ourselves came across this error as a Chromebook user and resolved it. Chromebook is a light device, and it runs on an Operating system called ChromeOS. The Operating system rarely gives you an error, as per our experience.
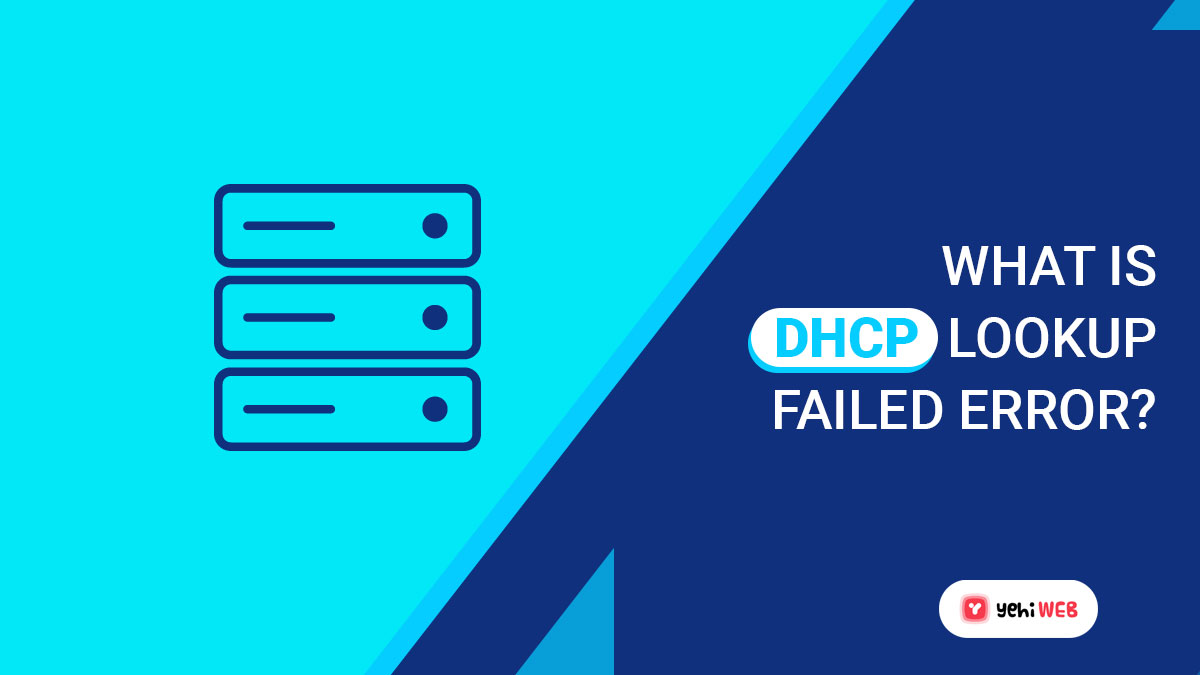
DHCP Lookup Failed error means that your Chromebook cannot get an IP address from the DHCP server. Every device requires an IP address to communicate with the router and internet.
Remove any source of electromagnetic interference, like a Bluetooth device or a router. Also, check to see whether the network is using a hidden SSID. Furthermore, if you are trying to use a VPN, make sure to disable the VPN client.
Also, if you’re using a Wi-Fi extender, turn it off because Chromebooks have had issues with them in the past.
Now, if you get the DHCP Lookup Failed error in Chromebook when you attempt to connect to a network? Don’t worry! In this guide, you will learn how to fix the DHCP Lookup Failed error in Chromebook.
What is DHCP Lookup Failed error?
DHCP (Dynamic Host Configuration Protocol) is an internet-based device configuration protocol. It assigns IP addresses and allows default gateways to devices. The protocol allows for quick and smooth connections between IP network devices.
DHCP Lookup Failed error occurs when your device failed to get an IP address from the DHCP server. Your device will be unable to retrieve information from the DHCP server as a result of the issue.
DHCP Lookup Failed: Causes
There are few known causes for this issue. However, here are a few of them:
- VPN – By masking your IP Address, VPS can cause this issue.
- Wi-Fi extenders – Wi-Fi Extenders have a history of not working well with Chromebooks.
- Modem/Router Settings – Results in connectivity issues and a DHCP Lookup Failed error.
- Outdated Chrome OS – An outdated OS is bound to create problems on any device. DHCP Lookup Failed error is a common occurrence in this case.
Basic Troubleshooting
Before moving on to advanced troubleshooting, we need to double-check a few things. We may fix the problem with a few easy changes. Sometimes, we need to avoid or get rid of a few things to solve our problem.
- Ensure that you have a working internet connection.
- Try connecting to another wifi network, such as an office, a school, or public wifi.
- If you’re using a Chromebook of any organization, it may be configured to work on a specific network. You can contact the system administrator if that’s the case.
- Select Wifi Network from the Status Area, then use the Slider Button to disable and enable WiFi.
If the issue persists, move to the solutions listed below to fix the DHCP Lookup Failed issue.
Solutions: DHCP Lookup Failed on Chromebook
As a Linux-based device Chromebook runs ChromeOS, developed by Google. It, like other devices, may encounter a few glitches and problems as you use it.
The most common issue reported by Chromebook users is connectivity issues. When connected to a Wireless Network, users often get a DHCP Lookup Failed error message.
There are several reasons why you may encounter this issue on your Chromebook. Following are the most probable ones causing this issue on your device:
- An Outdated Operating System
- Broken Firmware
- Issues with Router or the Internet Service Provider.
Now let’s jump to solutions that work and resolve the issue in the scenarios mentioned above. We will show you all solutions available allowing you to fix the DHCP Lookup Failed error.
Solution #1: Make sure your internet connection is working

Before doing any troubleshooting, let’s first ensure that our internet connection is working. And, given the problem is network-related, it’s possible that your router is malfunctioning.
DHCP Lookup Failed error occurs when your router fails to communicate with your ISP. To check your Internet connection, restart it by removing the power cord from your router.
After doing that, wait for at least 5 to 10 seconds then plug back the cord back in your router. Now that your router is back on, try connecting to it and see if that resolves the issue.
You can also try connecting other devices of yours like your phone to your network to see if there’s an issue. And any other device of yours can’t connect with the router, then the problem is with your ISP.
In case, if the culprit is your ISP, contact their customer service to report the issue with their service. But if your other devices connect to your network without any issue. Proceed to other solutions listed below.
Solution #2: Restart Your Chromebook
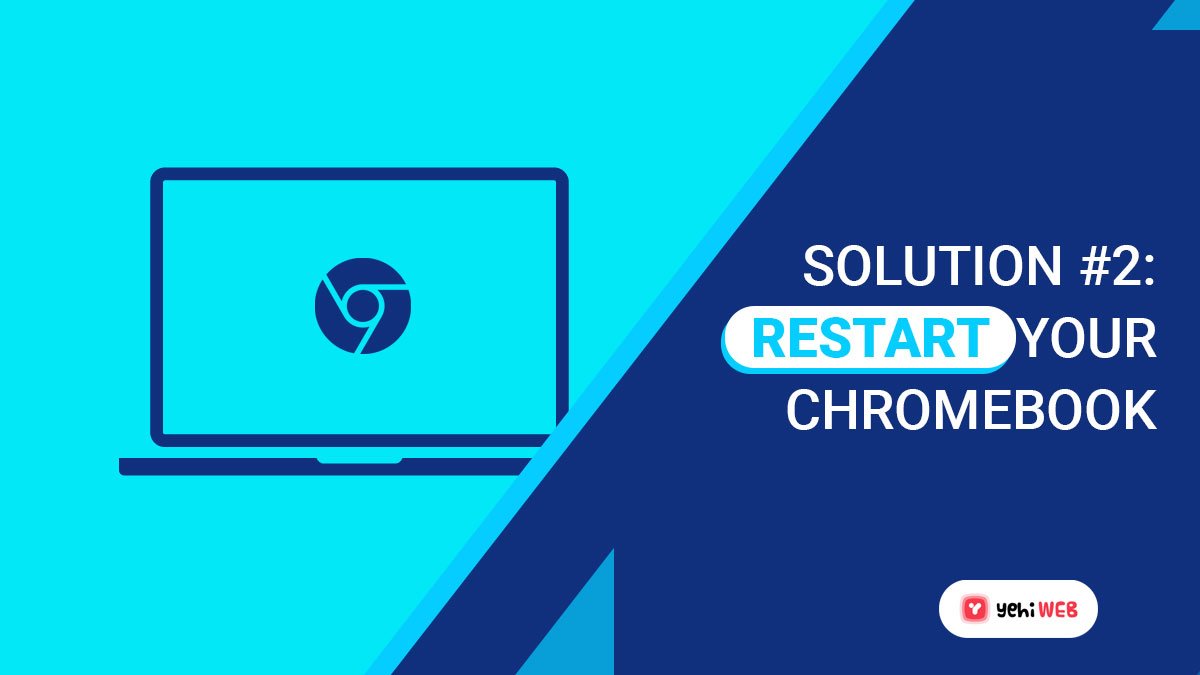
A temporary software glitch can also cause DHCP Lookup Failed error. This happens when your Chromebook does not function as it should and can’t with your network.
Restarting your Chromebook can resolve any issue caused by the temporary glitch. And doing so also ensures that your Operating system loads properly on startup.
Restart your Chromebook by following the instructions outlined below:
- Click the Notifications menu in the lower right corner of the screen on your Chromebook.
- Then, to turn off your device, click on the Power button.
- Now, wait for your device to power off, after that press the Power button on your device to turn it on.
Wait for your Chromebook to boot up before attempting to connect to your internet. See if connects with your network and DHCP Lookup Failed error message appears or not.
Move to the next solution if the issue still persists.
Solution #3: Connect Without Using A WiFi Extender Or Repeater
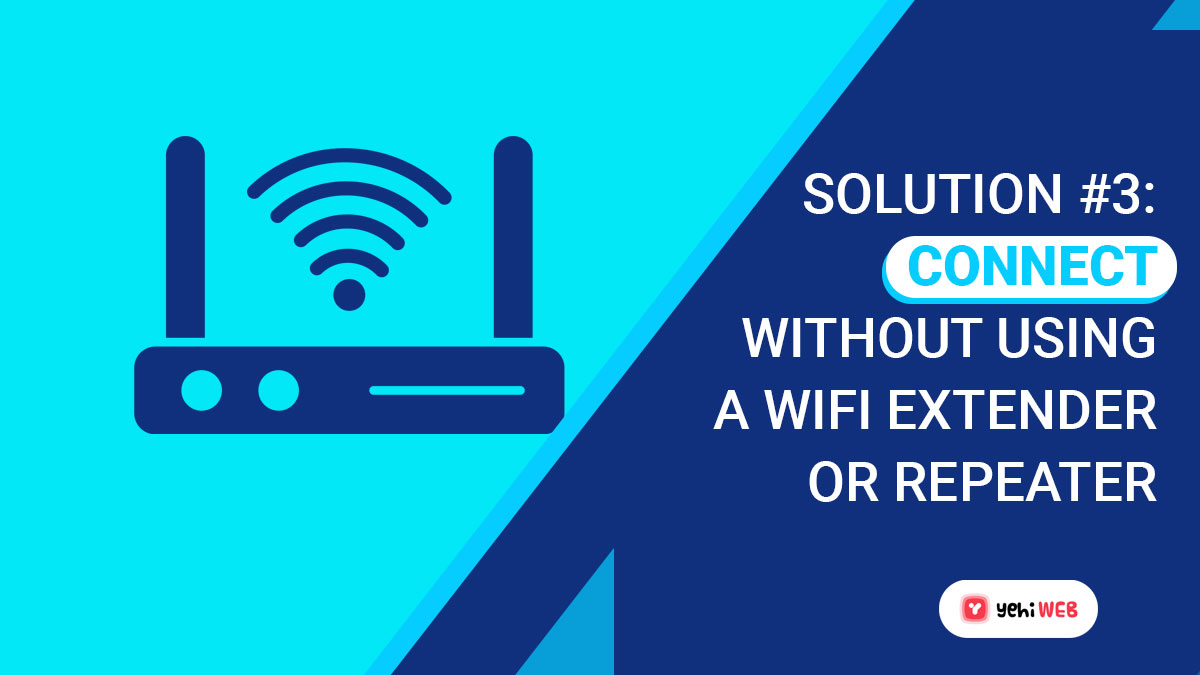
WiFi Extender or a repeater is the main culprit behind DHCP Lookup failed error in most cases. So, we would connect to your network without either of them.
See if the direct connection to your network resolves the issue. And if doing so does resolve DHCP Lookup Failes error then the problem is with the extender.
Invest in a high range router, or in Google Wifi router for better WiFi coverage if you don’t want this problem.
Solution #4: Remove Your preferred Networks
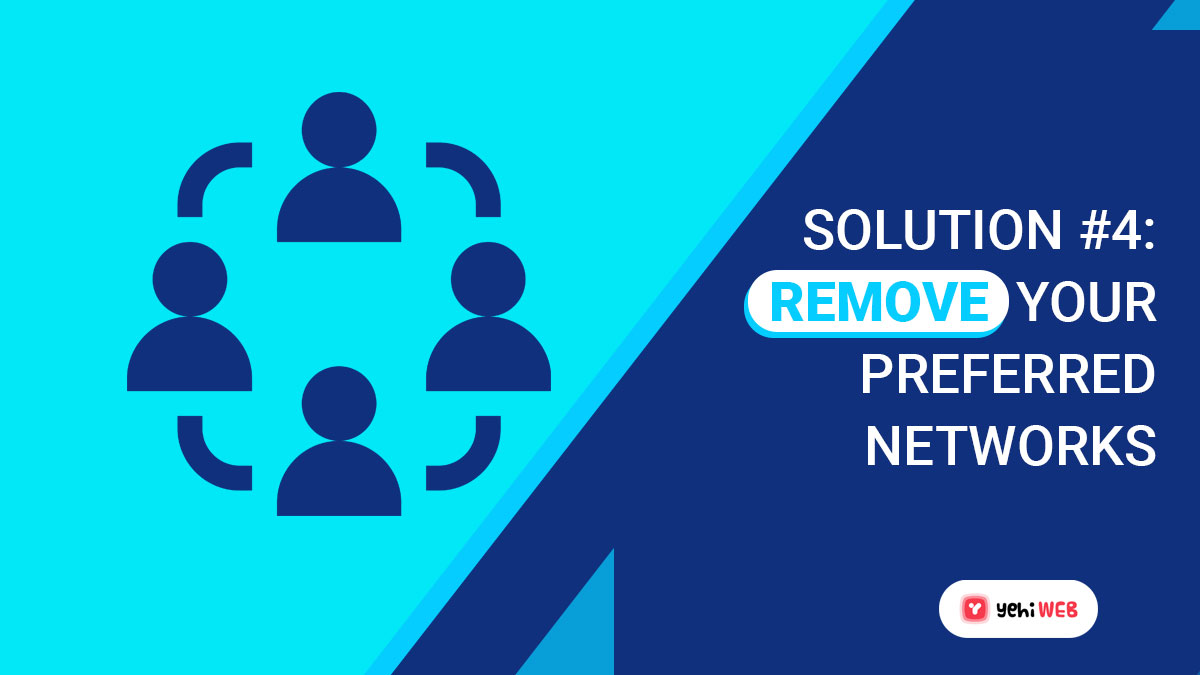
Like other Operating systems ChromeOS on Chromebook also saves network credentials. The features allow you to connect to the same network without entering a password.
Chromebook keeps storing network credentials as we connect to more WiFi networks. It creates a list of all preferred networks depending on past connections and data usage.
Although it’s a convenient feature, it causes network stuffing. So, remove the saved preferred networks and check if the issue persists. To do that, follow the instructions given below:
- Click the Network Icon in the Status Area of your screen, then select Settings.
- You will find a Wi-Fi network under the Internet connection option. Select it by clicking on it.
- After that, select Preferred Networks. Here you will find the full list of all saved networks.
- You will see an X mark when you hover over the network names. To remove the network of choice, click it.
- Repeat the process to remove each Preferred Network one at a time.
- After clearing the list of all your preferred networks. Connect to your desired network by verifying the password.
Solution #5: Use Google Or Automatic Name server
DHCP Lookup Failed error also occurs when your device can’t interact with the DHCP server. To resolve the issue, you can either use Google name servers or automatic name servers.
Option 1: Use Google Name Server
- Go to Chrome Network settings from the Notification menu.
- Select Wi-Fi from the Network settings menu.
- Next to the network to which you are unable to connect, click the right arrow.
- Locate and pick the Name server option by scrolling down.
- In the drop-down box, select Google Name Servers from the selection that appears.
Check the verify if the issue got resolved or not by connecting to your WiFi network.
Option 2: Use Automatic Name Server
- Restart your Chromebook if the issue persists after using the Google name server.
- Now, go back to the Network Settings page where you left off.
- Look for the Name Servers label at the bottom of the page. Select Automatic Name Servers from the drop-down menu this time. For further information, see the image above.
- Check if the DHCP issue got resolved or not by reconnecting to the Wi-Fi network.
Option 3: Use Manual Configuration
- If using either server doesn’t fix the problem, go back to the Network Settings.
- Toggle off the configure IP address automatically option, as shown.
- Now manually set the Chromebook’s IP address.
- Restart your Chromebook and try reconnecting to the network.
By now, the DHCP lookup failed problem on Chromebook should be resolved.
Solution #6: Change the Wi-Fi network’s Frequency Band

Sometimes your device does not support the WiFi frequency offered by your router. In that case, change the frequency settings to meet the frequency standards.
- Start Chrome and go to the router’s webpage. Make sure you’re logged in to your account.
- Select the Change Band option under the Wireless Settings tab.
- If the default value was 2.4GHz, select 5GHz, or vice versa.
- Finally, save all your changes and quit.
- Now restart your Chromebook and reconnect to your network.
Check whether changing the WiFi frequency rectified the DHCP error.
Solution #7: Extend the network’s DHCP range of addresses
If you have more than one device connected with your home network, DHCP Lookup Failed error can occur. This happens due to a limit that your DHCP router has. And once your router reached this limit, you won’t be able to connect other devices to the network.
You might try increasing the number of devices that can connect to your network to rectify this. Keep in mind that depending on the model and brand of your internet router, the procedures to do so may vary.
- Enter your router’s IP address into your browser to visit its web portal. It’s 192.168.1.1 in our case.
- Next, input your router’s Username and Password.
- After that, find and navigate to your router’s DHCP settings.
- Finally, change the DHCP range to 100–253. This allows more devices to connect to your wireless network.
After extending the limit, try to connect to your WiFi router to see if the issue got rectified or not. But, if you still encounter a DHCP Lookup Failed error, proceed to the next solution below.
Solution #8: Restore Your Router/Modem to Factory Settings

Your Router/Modem’s corrupted firmware can also cause the DHCP Lookup Failed issue. And in that case, restoring your router/modem to factory settings can resolve the issue.
It’s not a complicated process and it resolves many other issues related to the network. But due to various manufacturers and models of the device. It’s impossible to cover all the steps to restore the device to factory settings.
There are two methods to restore the router/modem to factory settings:
- The first method to reset the device is via a button on the device (The power button can also reset the device on some models)
- The second method requires the use of a router/modem’s web portal.
Reset Via Reset Button on the Device:
- Turn on your router or modem (if already not powered on).
- Locate the Reset button, which is generally found on the device’s bottom or rear.
- Now, for at least 30 seconds, press the reset button. You may need to use a little, pointed object, such as a paperclip. Restart the Router
- Then press and hold the power button till the router resets and powers up. It usually takes between 30 and 60 seconds.
- If your device does not have a button, read the manual to see if you can use the power button to reset the device.
You can also perform the reset procedure of your device using the web portal of your device.
- Launch your Web browser, and navigate to the default gateway of your router/modem. You can find the default gateway either by using the IPConfig command in CMD or check the router’s back.
- Once you are on the router/modem’s web portal page, enter your credentials to access the settings. (In most cases, the default login and password is “admin”)
- Now look for the option to reset. It’s usually found under the General or System tabs. Locate and choose the option Reset Settings (or Restore Defaults). Then confirm that you want to reset and wait for the process to finish.
- After restoring the router/modem to factory settings. Restart your system and connect to your network to verify if it rectified the DHCP error.
Move to the next solution given below if the DHCP Lookup Failed error still persists.
Solution #9: Update Your Chromebook ChromeOS
Bugs in your current version of ChromeOS can also cause DHCP connection issues. In this case, Google may roll out an update to fix the DHCP lookup failed errors for Chromebook devices.
Follow the instructions below to check for an update on your Chromebook:
- First, use an ethernet cable to connect to the internet on Chromebook, as you can’t join a wireless network.
- Now on your Chromebook, open the Settings and click on About ChromeOS from the side menu.
- From here, click on the button “Check for Updates”. If the update is available it will download and install it.
- Wait for the update to complete.
After the update is complete, restart your device. After the Chromebook boots up try connecting to your wireless network. Check and verify if the update rectified the DHCP Lookup Failed error.
Solution #10: Change Chromebook DNS Settings

DNS settings may play a significant role in the DHCP lookup failed error on a Chromebook. Many people have stated that altering the DNS settings was all it took to solve the problem.
- Click on the Chromebook’s Status Area.
- Select Settings.
- Click on the WiFi option from under Network
- Choose the WiFi Network’s Name.
- It will expand, and the Name Server option will appear on the Button Screen.
- Change your name server to Google’s.
Close this window and see whether you can connect to the wifi network with no issue.
Solution #11: Clear Your Chromebook’s DNS Cache

After changing the DNS settings, now you should also clear your DNS cache. Doing so will remove all previous DNS settings from your device.
Clearing DNS Cache on Chromebook is very easy. To do so, launch Chrome browser, and in the address bar type
hit enter. Doing so will open up a new page with an option to clear the DNS Cache.
Click on the Clear Host Cache button on the page to clear your DNS cache. After doing that verify if clearing the DNS cache rectified the DHCP Lookup Failed error or not.
Solution #12: Run Chromebook Connectivity Diagnostic Tool
If the DHCP lookup failed issue still persists, and none of the above solutions worked. One last thing you can do is running Chromebook connectivity diagnostic tool. It will not only scan for the root cause but also fix all issues with your wireless network.
- Download and install Connectivity Diagnostic Tool on your Chromebook.
- Double-click on the downloaded file to launch the installation wizard.
- Follow the on-screen prompts to install the diagnostic tool on your device.
- After the installation is complete, launch the diagnostic tool and let it run. It will scan for errors and attempt to fix all network-related issues.
After the diagnostic tool completes the scanning process. Restart your Chromebook and try connecting our Wireless connection. Check and verify if the DHCP lookup failed error got rectified or not.
This concludes our guide on resolving the DHCP lookup failed error on Chromebooks. If you know of any other solutions to fix this issue on Chromebooks, please let us know.
Bilal Shafqat
Related posts
New Articles

SSL Received a Record That Exceeded the Maximum Permissible Length: How to Fix It
Few browser errors are as oddly specific yet confusing as “SSL received a record that exceeded the maximum permissible length.”…